
Introduction This document outlines how to configure and manage SAP systems for SAML-based authentication. Enabling SAML integration allows SAP to use secure, centralized Single Sign‑On (SSO), improving user access, strengthening security, and supporting modern identity management practices.
Follow these steps for SAP SAML Integration:
- Download SP Metadata File
SP metadata file contains certificate, entity ID, name ID format and SSO. -
On SAP admin console Home page, click Administrator .

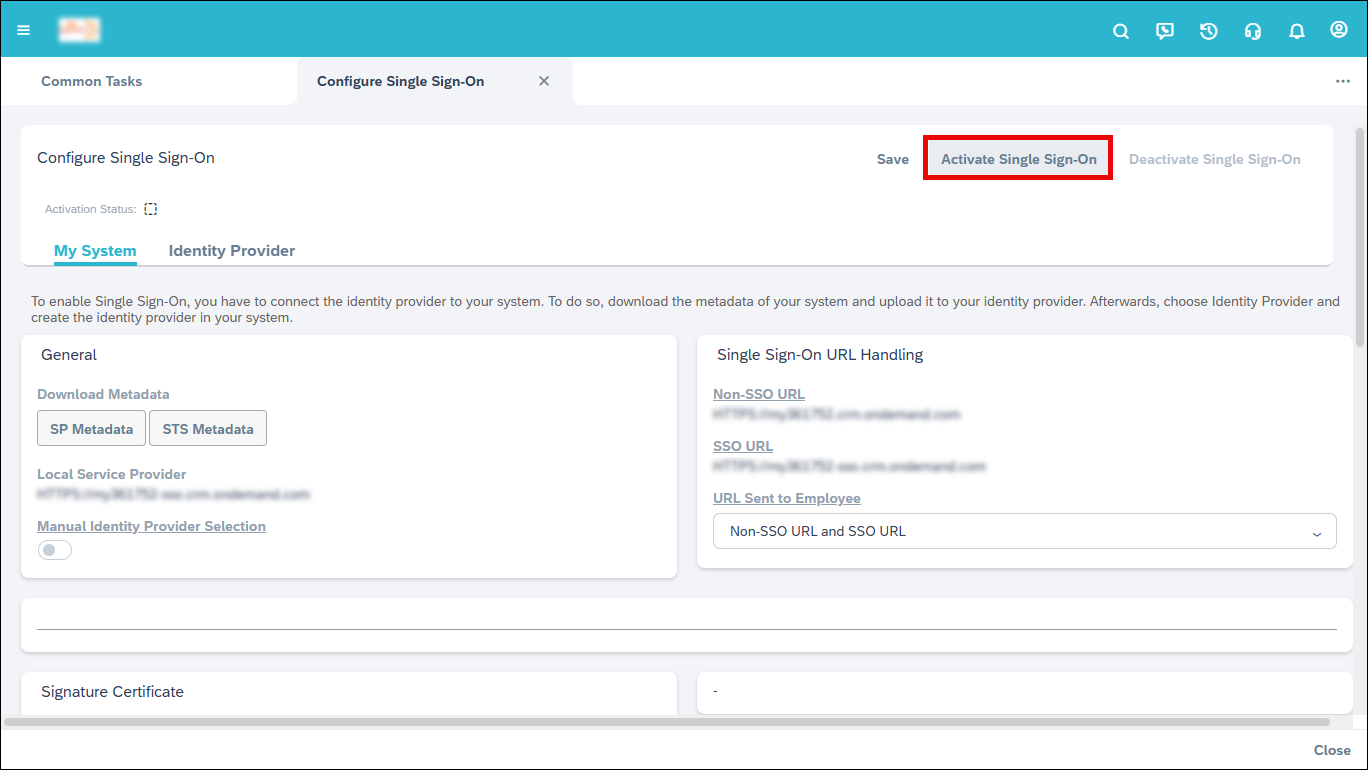
- Click Common Tasks >> Configure Single Sign-on >> My System.


- Add SaaS Application to Seqrite ZTNA
- Login to ZTNA admin console.
- Go to Application section.
- Click SaaS Applications tab.
- Click Browse SaaS Application Catalog .
- Click Add+ of SAP application.
- Enter the Application Name and Application Description.
- Select below check boxes to control access from managed laptops, desktops, or mobiles.
- Allow access from ZTNA Compliant Devices
- Only users with ZTNA Compliant Devices (on which the ZTNA agent is installed and enabled), including both desktops and laptops, can access the applications.
- Allow access from mSuite
- Mobile users are able to access applications only through the Workspace.
- iOS is not supported. iOS users can access applications outside the workspace.
- Allow access from ZTNA Compliant Devices
- Click Add to add the application.
- Configure the ACS URL and Entity ID
-
To Configure the ACS URL and Entity ID while creating SaaS application, check the downloaded SP Metadata file from the SAP admin console under Configure Single Sign on tab.

- Click
 to download the Metadata, once the SAP Application in Zero Trust Console is created and published.

- Upload Metadata File to Auto‑Configure SAML Settings
- On SAP admin console Home page, click Administrator .
- Click Common Tasks >> Configure Single Sign on >> My System.
Once the metadata file is uploaded it will automatically configure the Entity ID, SAML Login URL and SAML Certificate.
- Click New Identity Provider, upload the metadata file and click on Save.

- Enter Email Address in Supported Name ID Formats.

- Navigate to My System, set SSO URL for URL Sent to Employee.

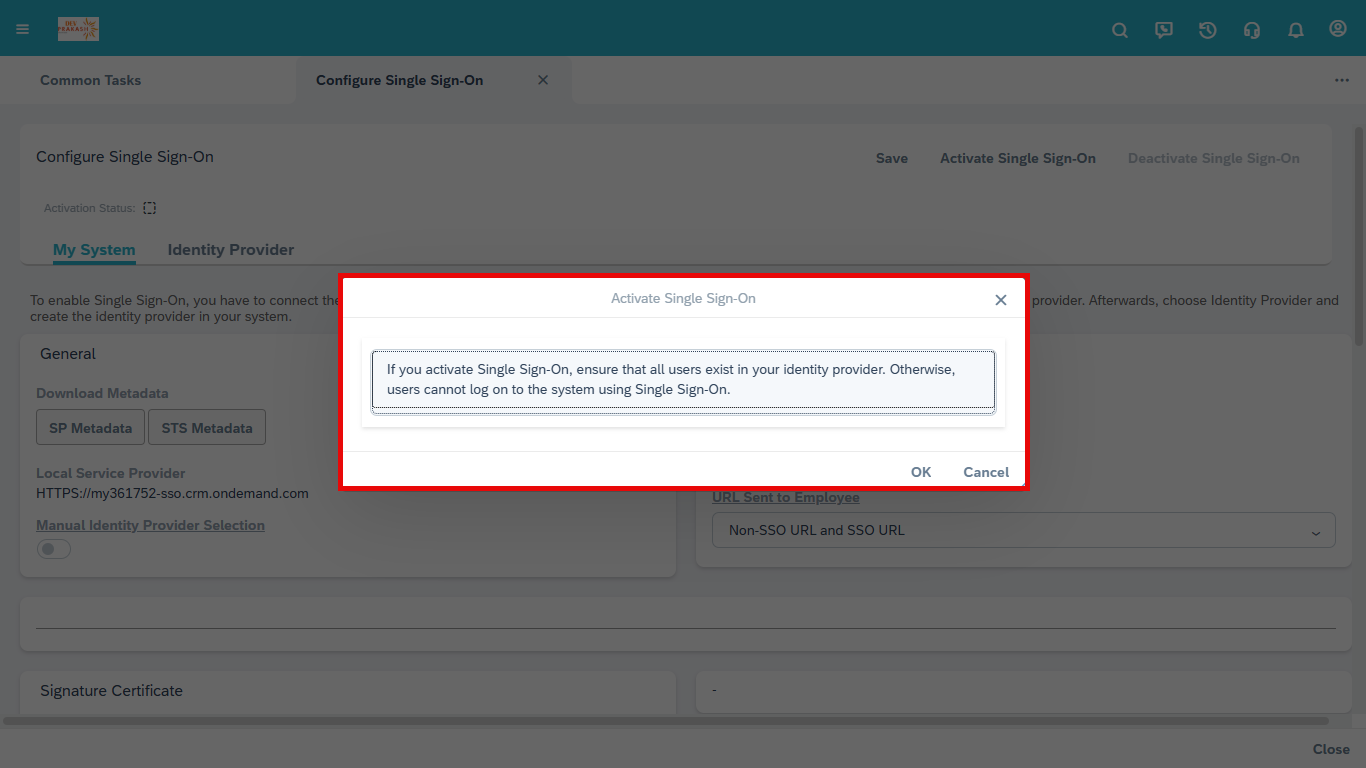
- On The Configure Single Sign on tab click Activate Single Sign-On .
A confirmation pop up appears. - Click OK to activate the single sign-on.
Steps to download SP metadata file from SAP admin console:
To add the SaaS application to seqrite ZTNA, follow these steps:
To automatically configure the SAML settings, you need to upload the metadata file.
To upload the metadata file: follow these steps:
Note: Make sure ZTNA Admin console users are mapped with the SAP SaaS application in policy page before end users accessing the SAP from ZTNA user portal.