Here you can create create schedulers to generate reports and send reports to added email address.
Create New Schedule
In Seqrite XDR, you can create schedulers to generate reports and send reports to added email address. You can configure them to include data from Dashboards, Alerts, and Incidents. You can create daily, weekly, or monthly reports. You can generate reports in the PDF or Excel sheet format. You can add email address to whom the reports are sent.
Note ☛
- Only users with Super Admin, Admin, or SOC Manager privileges have the ability to schedule reports.
- In the Dashboard report scheduling feature, users will exclusively receive the Default dashboard in PDF format, without any filters applied.
Creating a schedule for Dashboard, Incidents, and Alerts
-
- Navigate to the respective pages for Dashboards, Incidents, and Alerts.
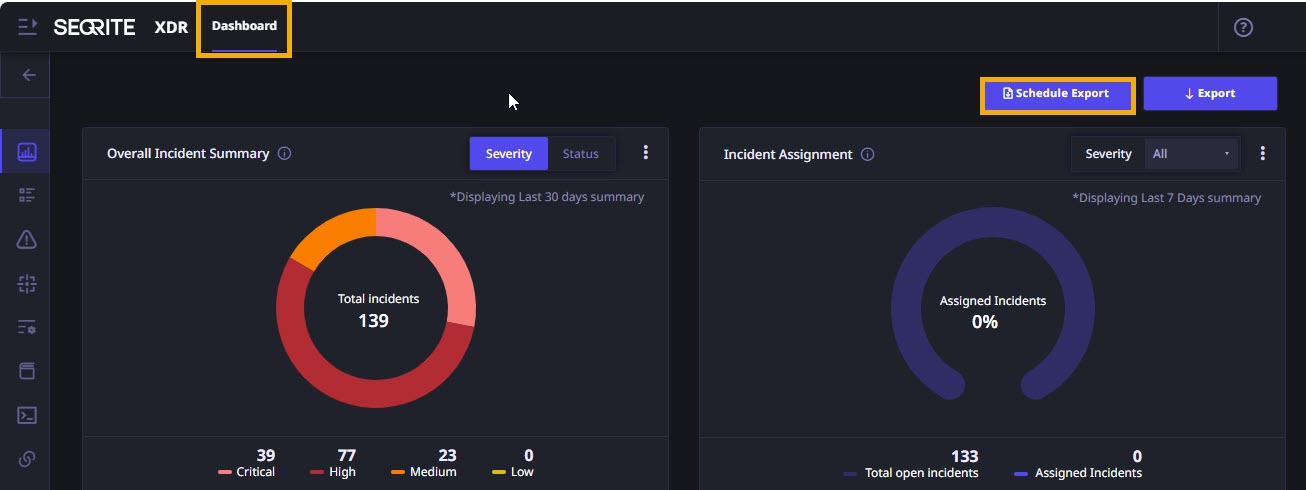
- Locate the Schedule Export button on each page, then click it to set up automated report generation and delivery.
- Dashboard

- Incidents

- Alerts

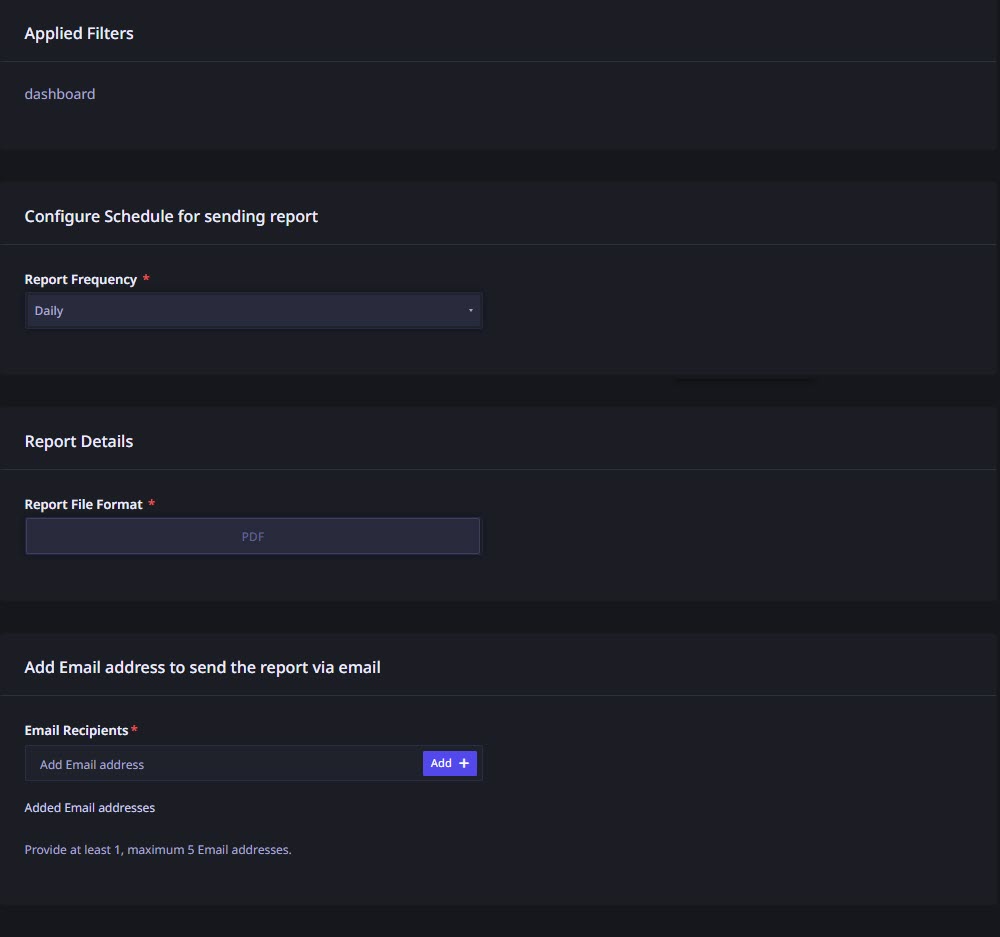
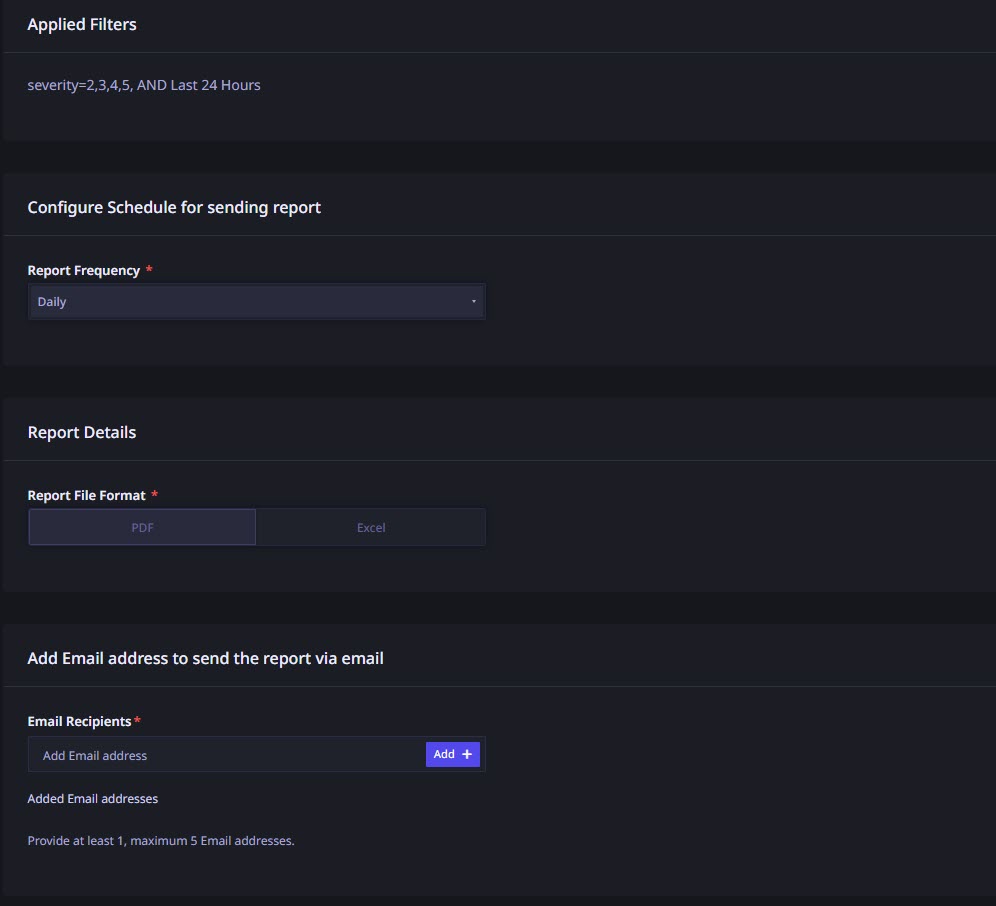
- A new dialog appears
- for Dashboard

- for Incidents and Alerts

- for Dashboard
- Select the frequency of the report, that would be generated by this scheduler, whether Daily, Weekly or Monthly.
– If you select Weekly, select the Day of the Week from the list. On the selected day, the report will be generated.
– If you select Monthly, select the Date of the Month from the list. On the selected date, the report will be generated. - In the Report Details section, select the format of the Report whether PDF or Excel.
- Enter Email address in the Email Recipients text box. Click the Add + button to add the email address. Add 1 email address at a time. Minimum 1 and maximum 5 email addresses can be added.
- Click Save on the upper right corner.
The scheduler is created successfully.
Whenever the conditions specified in the scheduler are met, the report is sent to the added email addresses.
Deleting a scheduler
- Go to Dashboard > Settings. Existing schedulers if any are listed.

- Click on the scheduler that you want to delete. The corresponding icons for Edit and Delete (Trash) are displayed.
- Click the Trash icon.
- Click Delete on the confirmation dialog box.
The scheduler is deleted.
Editing a scheduler
- Go to Dashboard > Settings. Existing schedulers if any are listed.

- Click on the scheduler that you want to edit. The corresponding icons for Edit and Delete (Trash) are displayed.
- Click the Edit icon. The scheduler description dialog appears.
- Make the changes as required to the frequency of report, format of report, duration or email address as required.
- Click Save on the upper right corner.
The updated scheduler is saved.
Viewing scheduler
You can view the schedulers created earlier by the administrator or the IRs. You can sort these schedulers by timestamp. You can also use the filter to view the schedulers as per criterion. You can choose to view the schedulers created by you, or by others as required.
- Go to Dashboard > Settings. Existing schedulers if any are listed.

- On the report scheduling page, you’ll find a list of report schedulers categorized by their respective types: Dashboard, Incidents, and Alerts
- To filter schedulers as per your requirements, enter the criterion in the filter box, add more conditions as required. The displayed schedulers list is automatically updated as per the set criteria.
- To sort the schedulers by Timestamp, click the corresponding icon at the top of the Timestamp column. The displayed list is sorted accordingly as per the most recent or the oldest.
- To view schedulers created exclusively by you, in the Created by drop-down list, select Me. The displayed list is sorted accordingly. By default, the list displays schedulers created by all.
- To view schedulers created by others, in the Created by drop-down list, select Others. The displayed list is sorted accordingly.

