
Overview
Seqrite Endpoint Protection is a security solution designed to safeguard your system from threats. If you need to remove it—for example, when upgrading, troubleshooting, or switching to another product—you can do so through the Windows Control Panel. The uninstallation process requires super admin credentials and follows a defined sequence to ensure complete removal of the client and associated files.
Steps to Uninstall
- Open the Run dialog box
- Press Windows Key + R on your keyboard.
- Type
controland press Enter to open the Control Panel.
- Navigate to Programs
- In the Control Panel, go to Programs > Programs and Features
- • Or , navigate to C:\Program Files\Seqrite\EndpointProtection\Admin folder- you will see a file- uninstall.exe
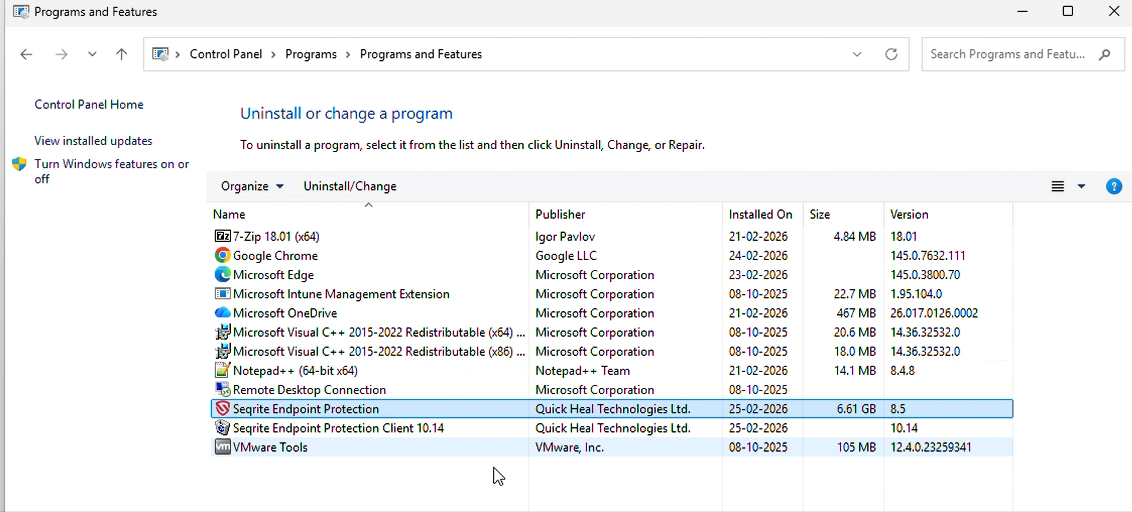
- Locate Seqrite Endpoint Protection
- Scroll through the list of installed applications.
- Find Seqrite Endpoint Protection
- Start Uninstallation
- Right‑click on the application and select Uninstall.
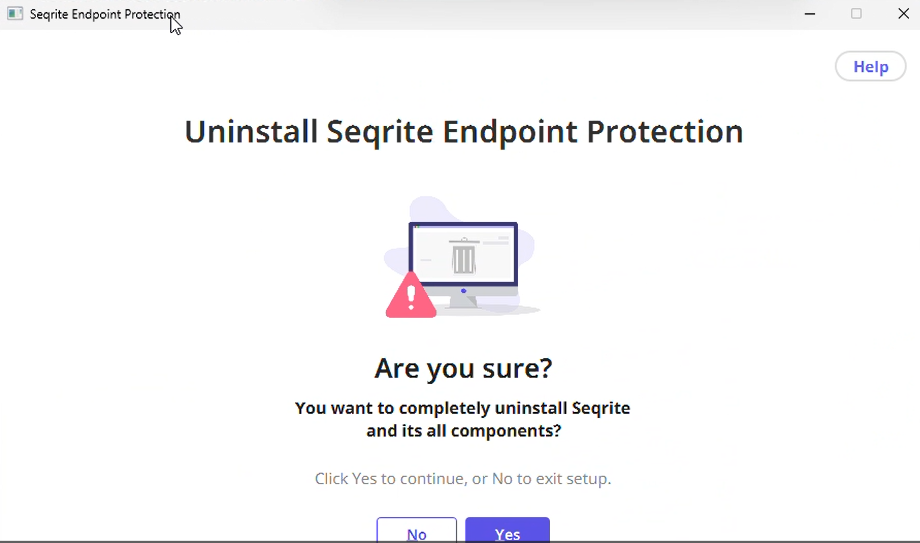
- This opens a screen asking you if you are sure to uninstall Seqrite EPP
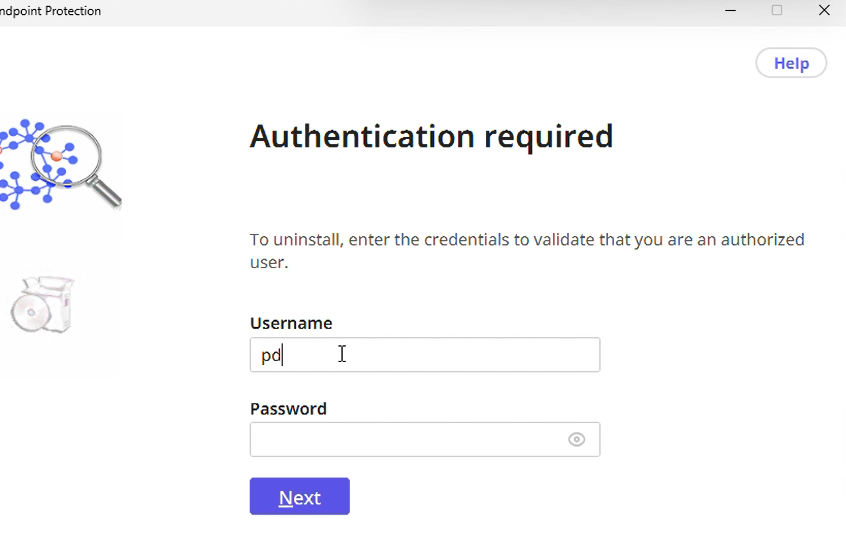
- Enter the super admin username and password in the Authentication Required screen
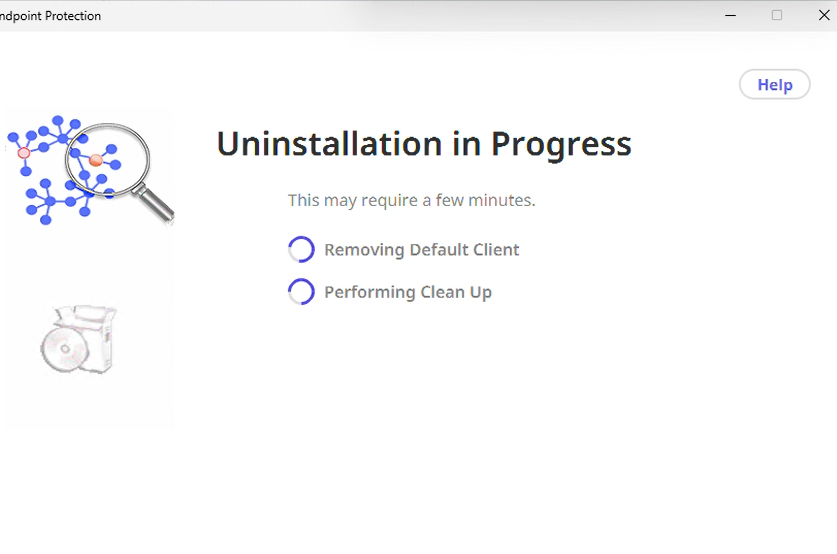
- The uninstallation process will begin.
Uninstallation Process Order
The removal occurs in two stages:
- Removing Default Client – The main client software is uninstalled.
- Perform Cleanup – Residual files and settings are cleared from the system.
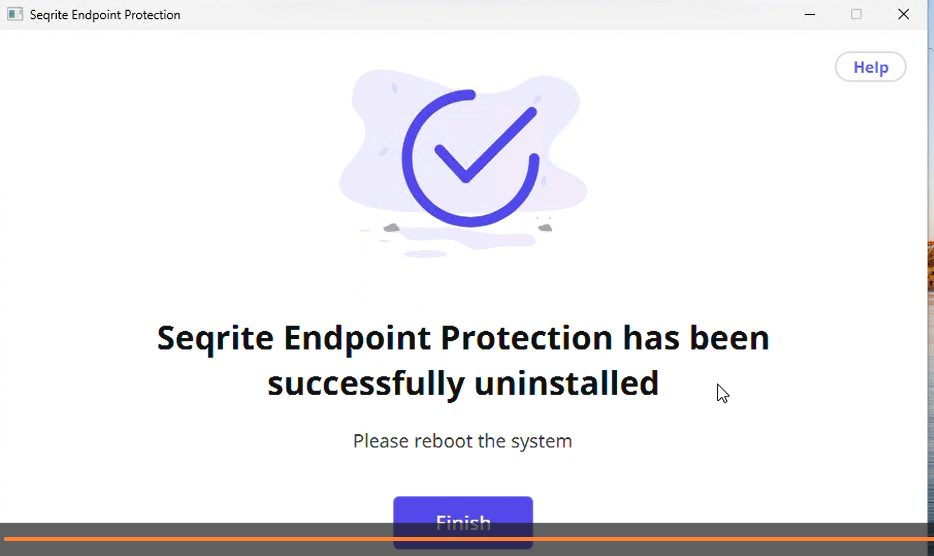
Once both the processes are completed, a success screen appears. Click Finish to end the process
Best Practices After Uninstallation
- Reboot your system to ensure all changes take effect.
- Verify removal by checking the Program Files folder. Confirm that all Seqrite folders have been deleted.
- If any folders remain, manually delete them to complete the cleanup.