1. Creating a user sync app on google cloud console
- Log on to the Google Cloud Platform https://console.cloud.google.com/
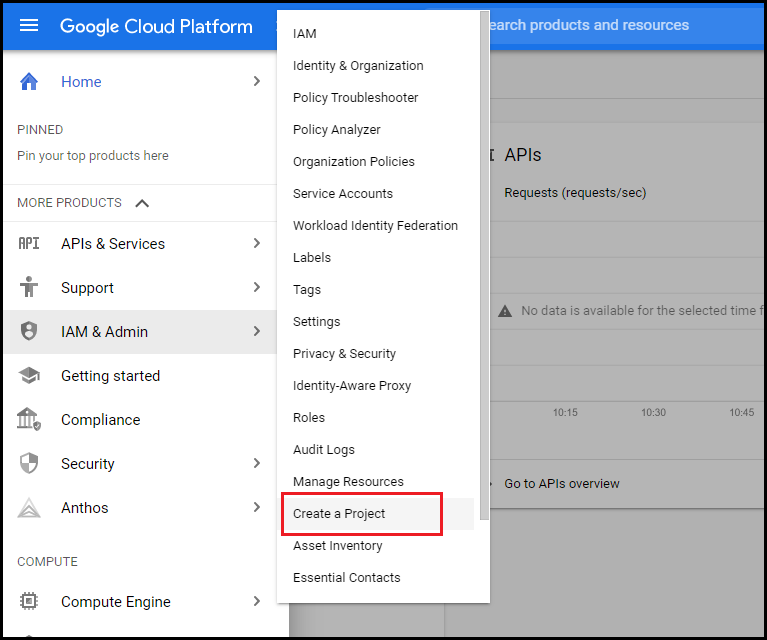
In the left pane, navigate to IAM & Services > Create a Project.
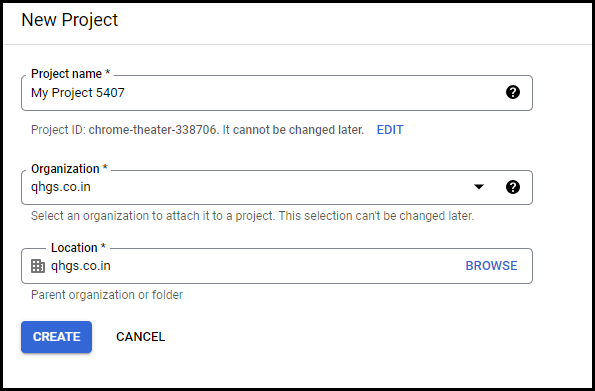
Fill all the required information and click Create.
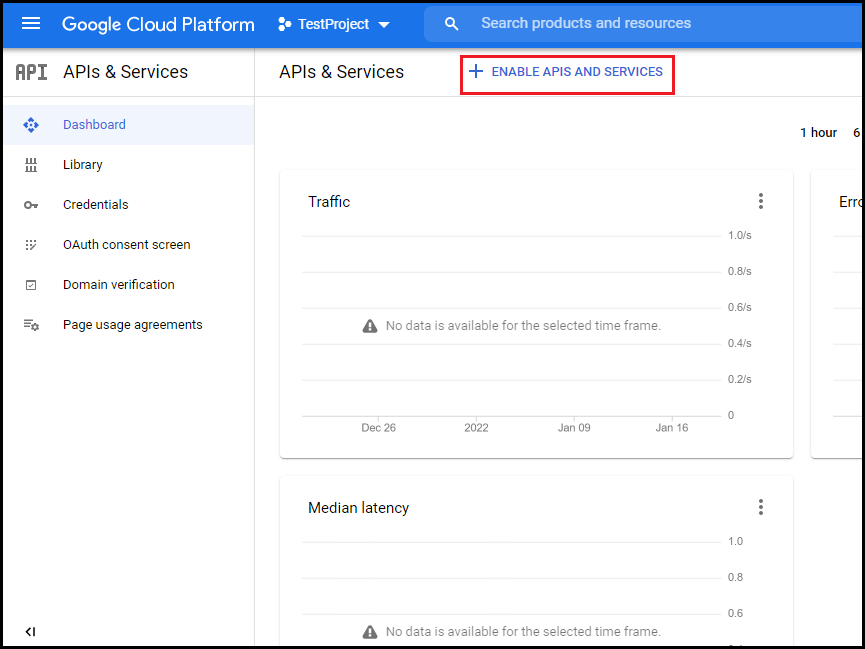
- In the left pane, navigate to APIs & Services > Dashboard.
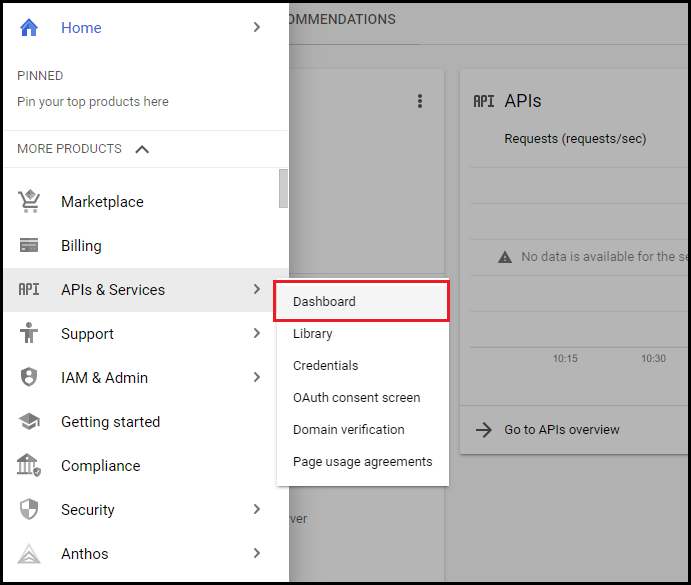
- Click ENABLE APIS AND SERVICES.
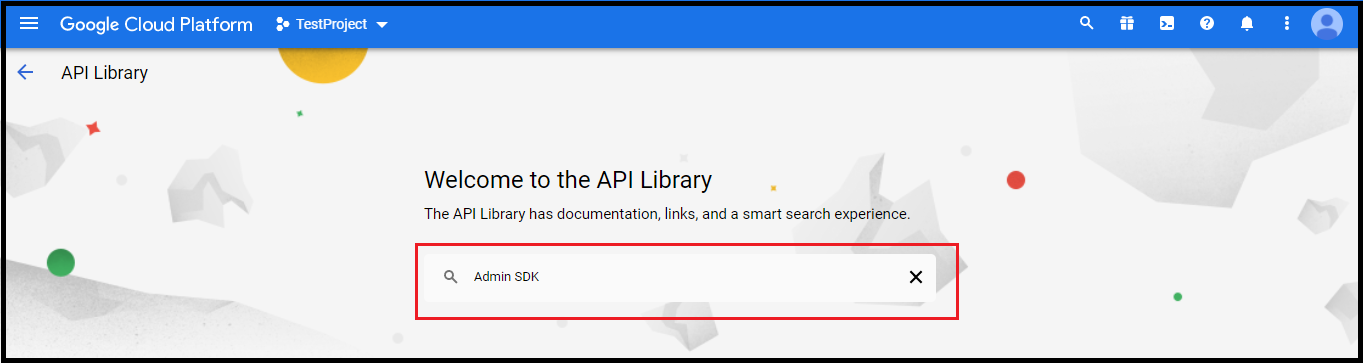
- In the API Library search box, search Admin SDK and select Admin SDK API.
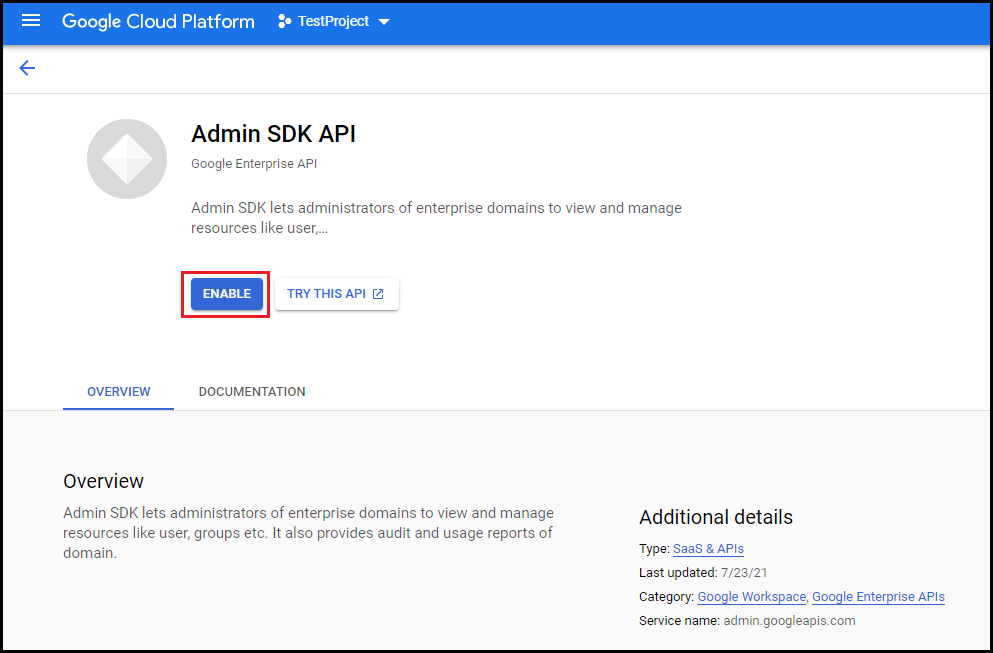
- Click the Enable button.
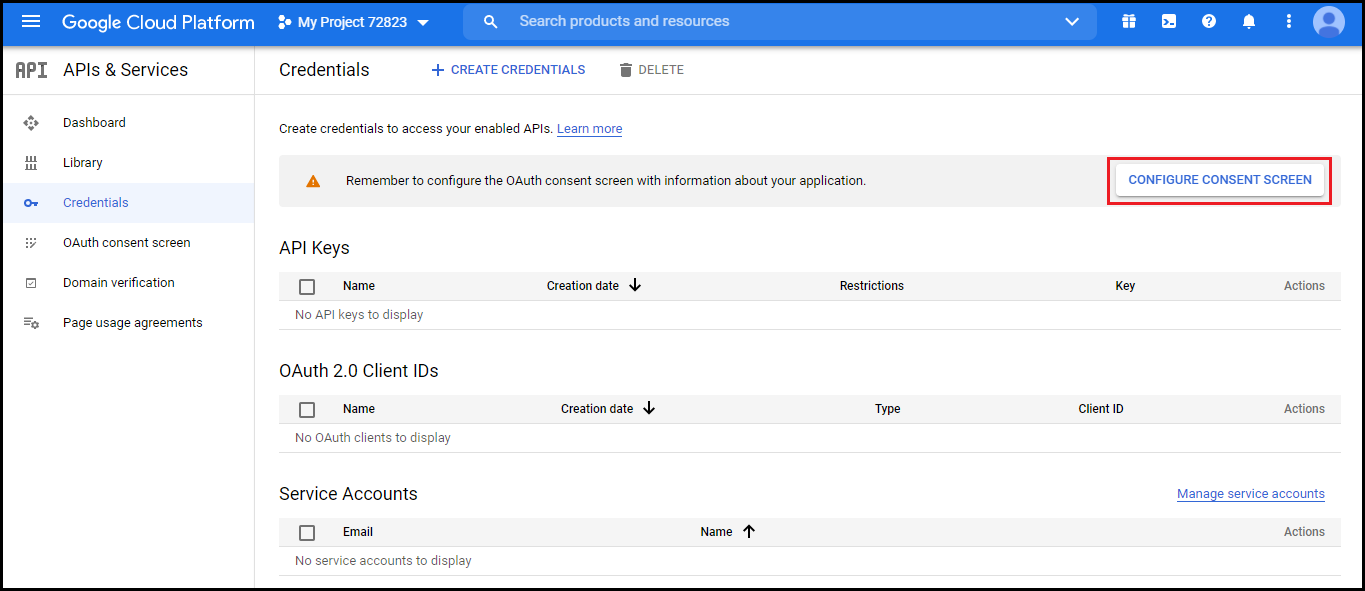
- In left pane, navigate to APIs & Services and select Credentials.

Click Configure consent screen.
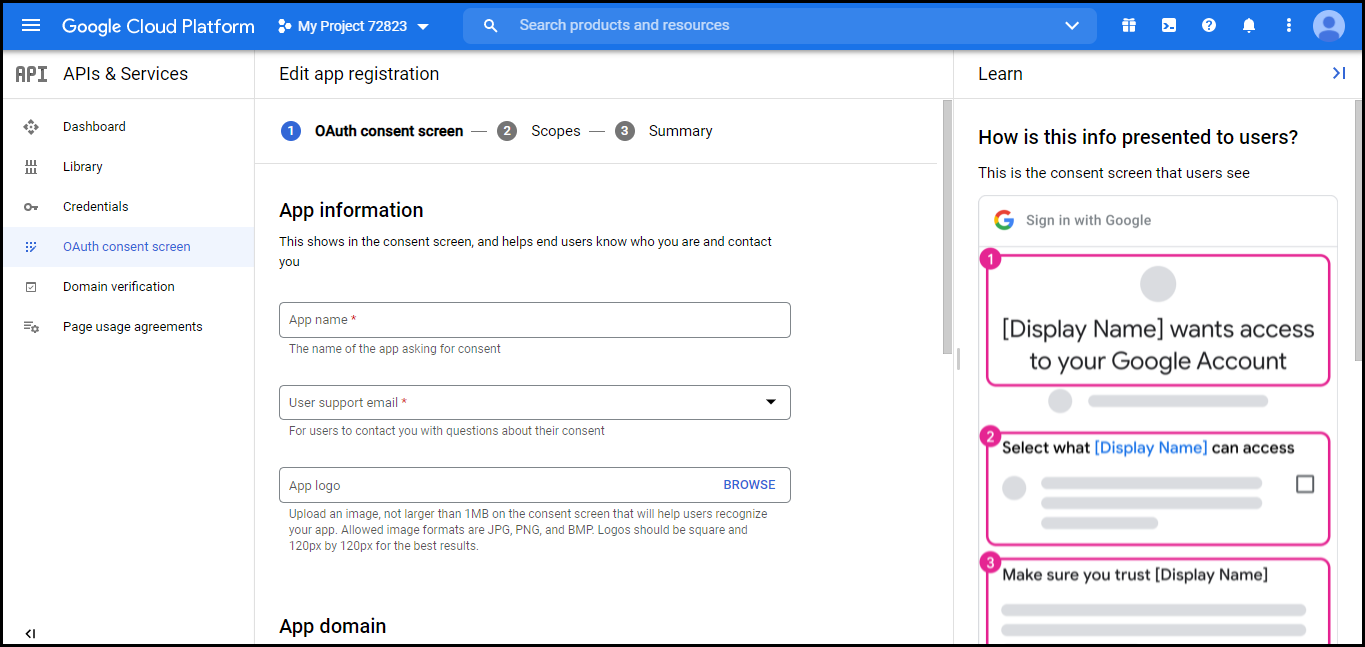
- In the OAuth consent screen section, fill all the required information and click Save And Continue. (Keep the App Domain and Authorized domains blank).
- In the Scope section, keep everything blank and Click Save And Continue.

- Check summary and navigate to Credentials in left pane. Click Create credentials. Select OAuth client ID.

- Select Web Application in Application Type dropdown. Enter application name and add below URL in Authorized redirect URIs and click Create.
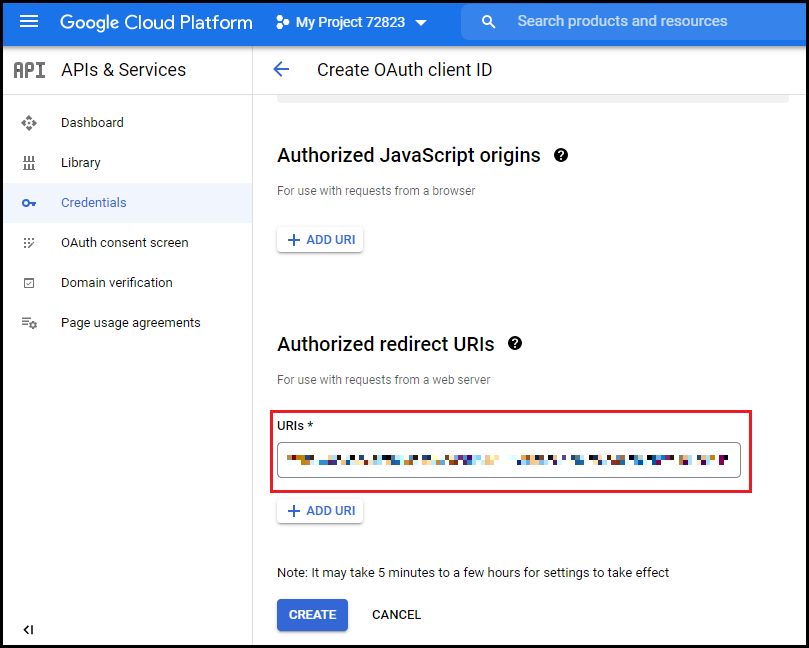
https://cnsdev.qhtpl.com/cns/
/webcns/idp-management/add-edit-idp
https://cnsqa.qhtpl.com/cns//webcns/idp-management/add-edit-idp Note:
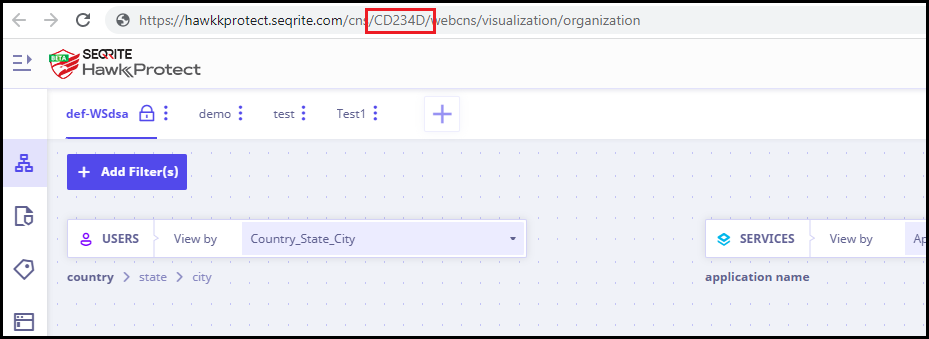
Replacewith your tenant code. You will get tenant code in your admin console URL. Refer the following image.
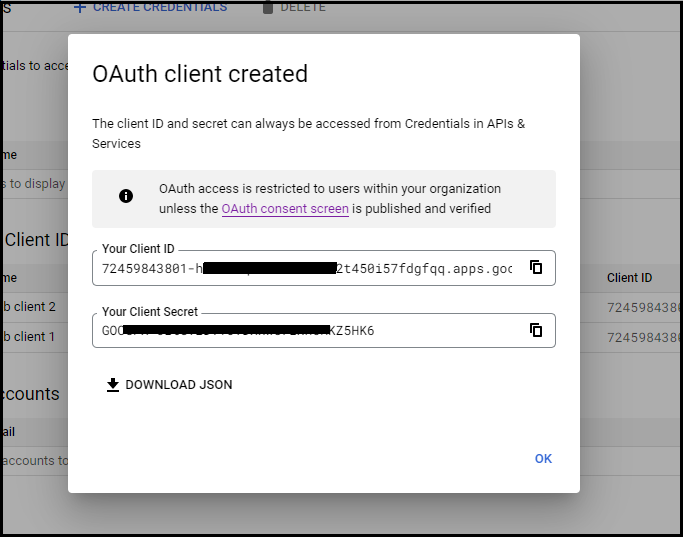
- Copy Client ID and Client Secret. Download JSON to get Project ID.
-
Perform the authorization step using Client ID, Client Secret and project ID created from above and must be performed using a Google Workspace Admin account.
Post Authorization Successful please create idp
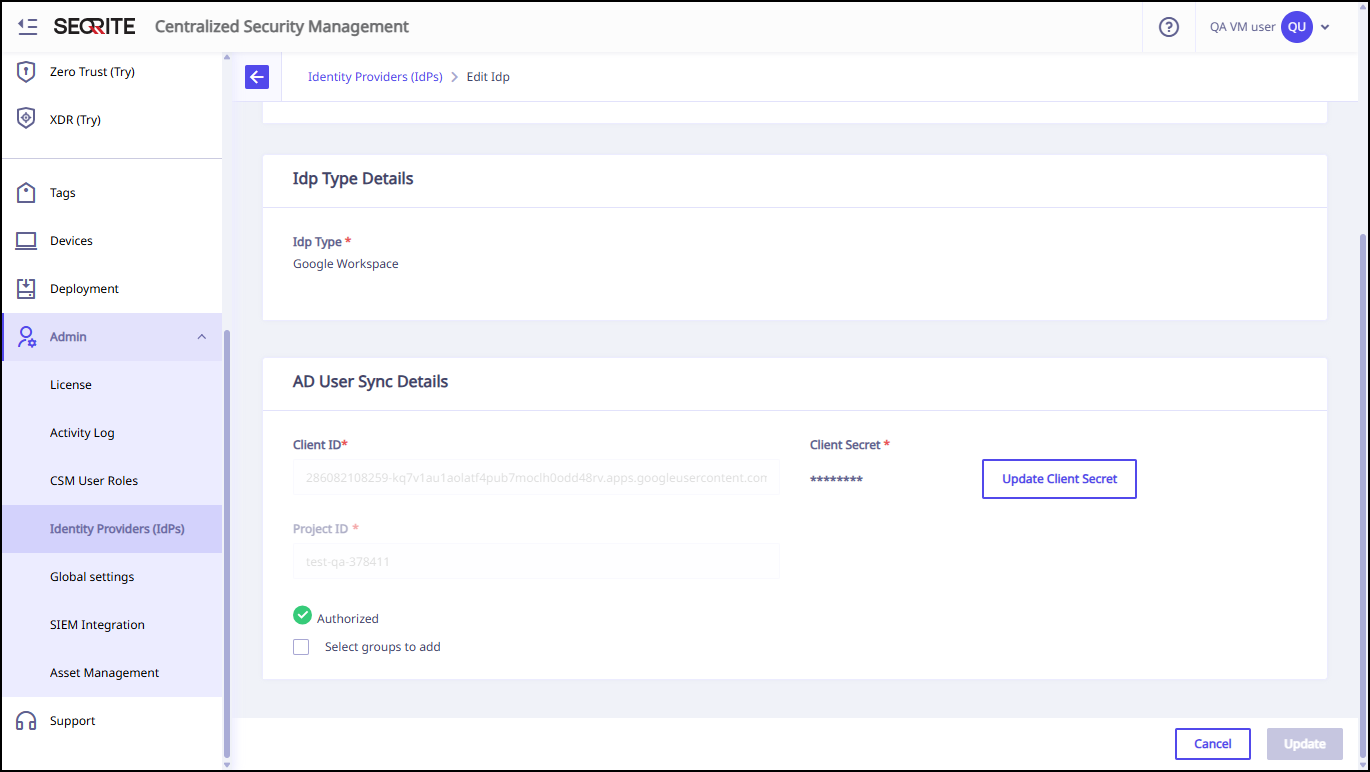
Note: The authorizing user must be an Admin with read access to Users, Groups, and Devices. These privileges are required to complete the IDP setup and ensure that user synchronization works correctly.
2. Reauthorization workflow for Admin when performing Google IDP creation again with same user
Removing existing OAuth client ID from google cloud console
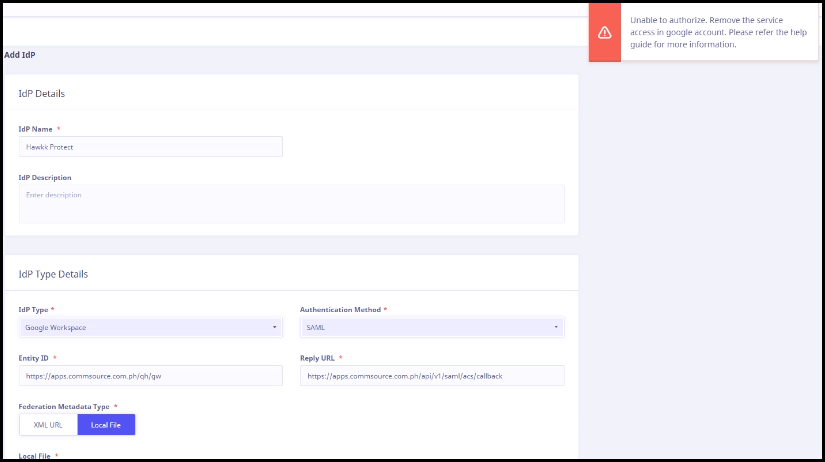
If the OAuth client ID has been authorized and already in use, then an error occurs on the Add IdP page for IdP type Google workspace.
We need to remove this OAuth client ID from google cloud account permissions page (URL).
To remove the existing OAuth client ID from google cloud console permissions page, follow these steps.
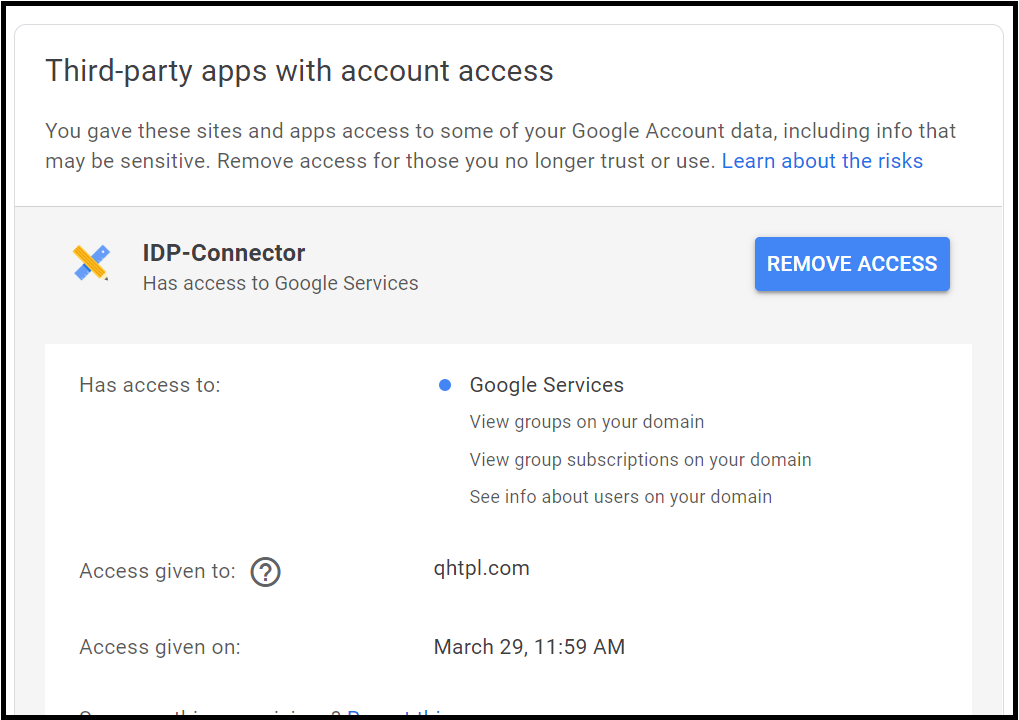
- Navigate to permissions page (https://myaccount.google.com/permissions) on google cloud console.
Note:
The admin user must be logged in for accessing this page.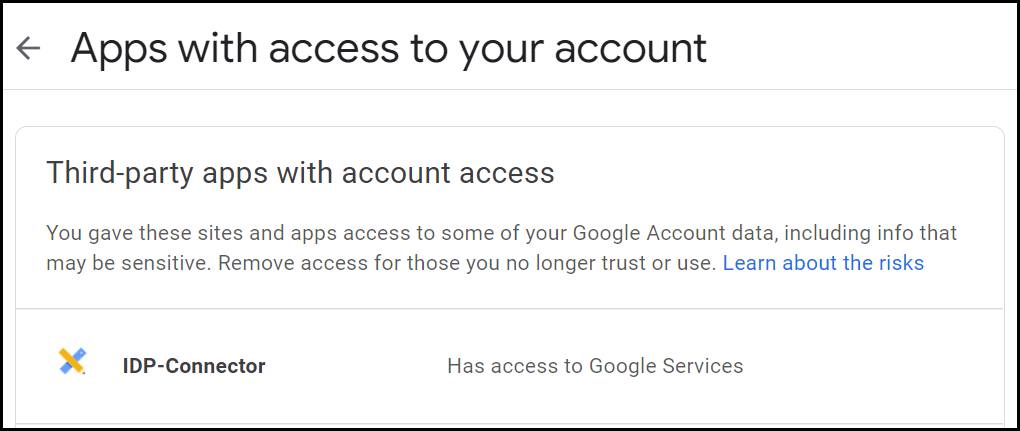
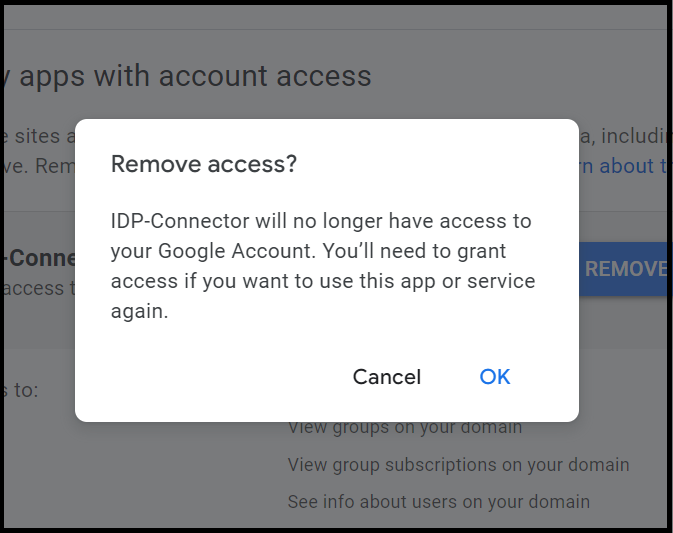
- Click the OAuth client ID for which you want to remove the access and click Remove Access.
- Click OK.
- Now you can add this OAuth client ID on the Add IdP page.