
Azure Active Directory Ingestion Connector Configuration Requirements
Follow these steps to set up the Azure Active Directory Ingestion Connector by registering a new application in the Microsoft Entra admin center and configuring necessary permissions.
Step 1: Register a New Application
- Sign in to the Microsoft Entra Admin Center:
- Navigate to Microsoft Entra admin center.
- Create a New Application Registration:
- Go to Identity > Applications > App registrations.
- Select New registration.
- Enter Application Details:
- Display Name: Provide a name for your application. This name will be visible to users during sign-in and can be changed later. Note that multiple app registrations can share the same name, but each app is uniquely identified by its Application (client) ID.
- Supported Account Types: Select Accounts in this organizational directory only (<Tenant Name/domain> only – Single tenant).
- Skip Redirect URI:
- Do not enter anything for Redirect URI (optional).

- Do not enter anything for Redirect URI (optional).
- Register the Application:
- Select Register to complete the initial registration.
- Select Register to complete the initial registration.
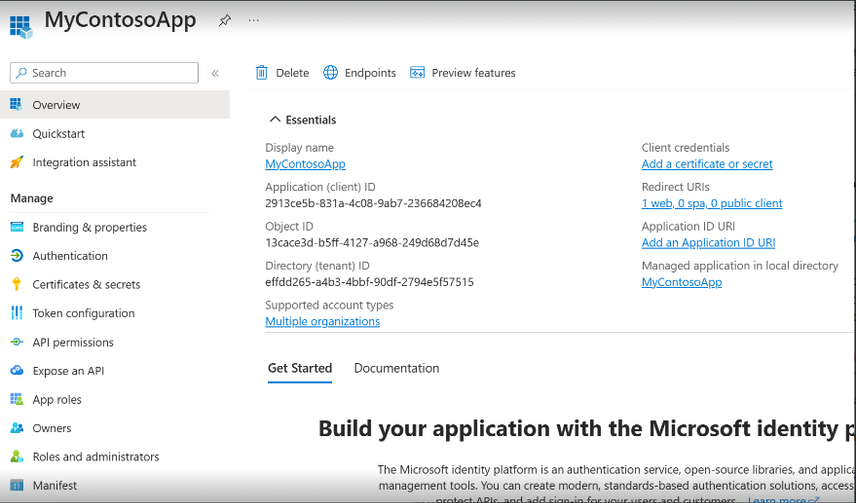
- View Application Details:
- Once the registration is complete, the Overview pane for the app registration is displayed. Here, you can see the Application (client) ID.
Step 2: Configure Client Credentials
- Add a Client Secret:
- In the app registration's Overview pane, select Certificates & secrets.
- Under Client secrets, select New client secret.
- Enter Secret Details:
- Description: Provide a description for the client secret.
- Expiration: Choose an expiration period for the secret. The maximum lifetime for a client secret is 24 months.
- Select Add.
- Record the Client Secret:
- Make sure to copy and save the client secret value. This value will not be displayed again after you leave the page.
Step 3: Assign API Permissions
- Add User API Permissions:
- Go to API permissions > Add a permission.
- Select Microsoft APIs, then Microsoft Graph.
- Choose Application permissions.
- Under Select permissions, search for User, and select:
- User.Read
- User.Read.All
- User.ReadWrite.All
- Add Audit Log Permissions:
- Go to API permissions > Add a permission.
- Select Microsoft APIs, then Microsoft Graph.
- Choose Application permissions.
- Under Select permissions, search for Audit, and select AuditLog.Read.All

Step 4: Configure the Azure Active Directory Ingestion Connector in XDR
- Navigate to the Ingestion Connector:
- Navigate to the Connector page in the XDR portal and select Ingestion.
- Configure the O365 Response Connector:
- Select O365 Response Connector and click Configure.
- Enter Configuration Details:
- Client Domain: Enter the client domain (e.g.,
quickheal.com). - Client ID: Enter the Application (client) ID obtained from the app registration.
- Client Secret: Enter the client secret recorded earlier.
- Client Domain: Enter the client domain (e.g.,
- Validate and Save:
- Select Validate and Save to complete the configuration.