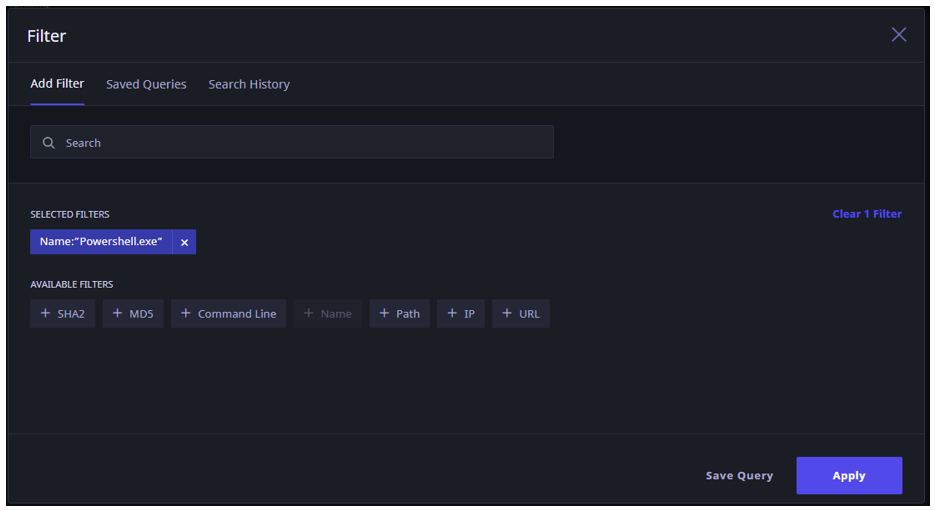
On the Seqrite XDR portal, click the Threat Hunting page in the left navigation pane. Click Add+. The Filter dialog is displayed.
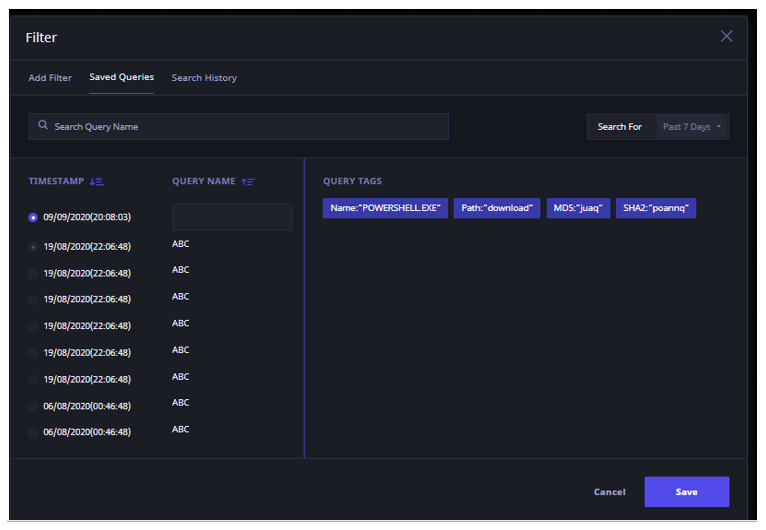
Click the Saved Queries tab.
The saved queries are displayed in order of the created timestamps.
Scroll down the query list, or use the sort icons besides the Time Stamp and Query Name columns to sort entries as required. Select the query that you want by clicking on the query. The query tags are displayed in the Query tags section for the selected query.
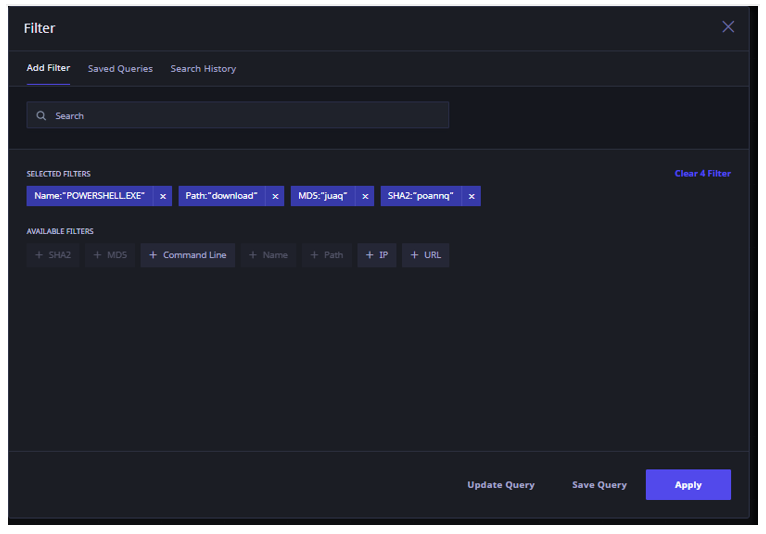
To add the Filters from the selected query to a new query, click Add Filters. The query is moved to the Add Filter tab and 2 extra buttons, Update Query and Save Query are displayed.
To update the query, add/remove filters as required and click Update Query.
To save as a new query, click Save Query. If you click Save Query, the query is moved to the Saved Queries tab.
Enter a name for the query in the Query Name column, and click Save. A success message is displayed and query is saved.