
To add Google Drive or Gmail instance as a connector in Seqrite Data Privacy, complete the following prerequisite step:
Adding scope and APIs for Google Cloud and Google Admin Console
Steps for adding scope and APIs for Google Cloud anf Google Admin Console:
- Create Project
- Enable API
- Create Credentials
- Add Scope
- Add Google Connector Configuration in Seqrite Admin Console
1. Create Project
- Sign in to the Google Cloud Console (https://console.cloud.google.com/)
- Select New Project from the projects drop down.
- Click Create Account.
- If email address is not available, click Don’t have an email address?
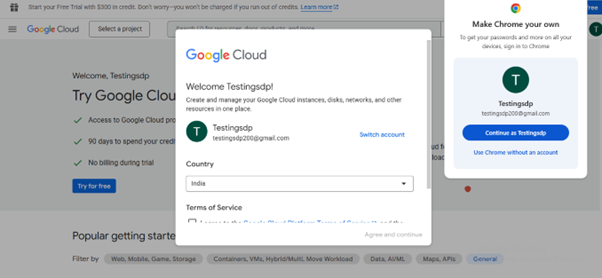
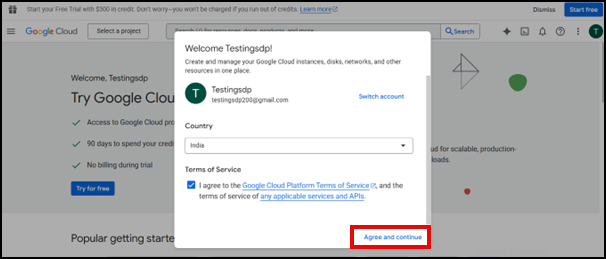
- Enter basic details and password.
- Verify using a phone number, accept the terms and condition from browser and click Agree and continue.
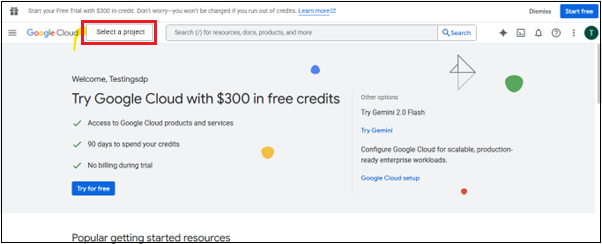
- Click Select a project
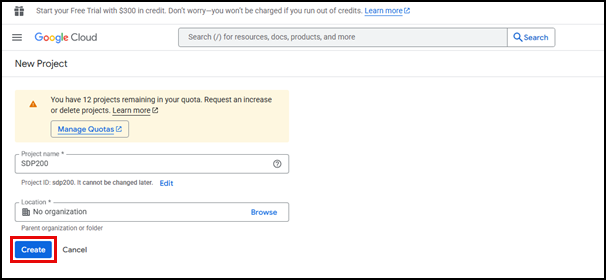
- Enter project name and click Create.
2. Enable API
- In the left navigation menu, click API & Services.
- Click +Enable API & Services.
- Search and enable following APIs:
- Gmail
- Google Drive
- Admin SDK API
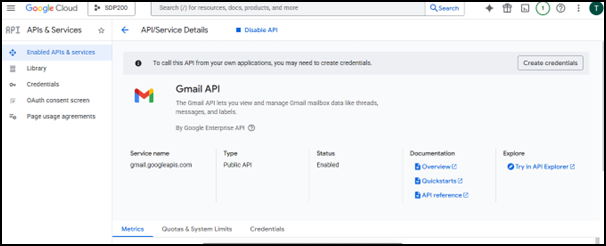
- Select Gmail API and click Enable.
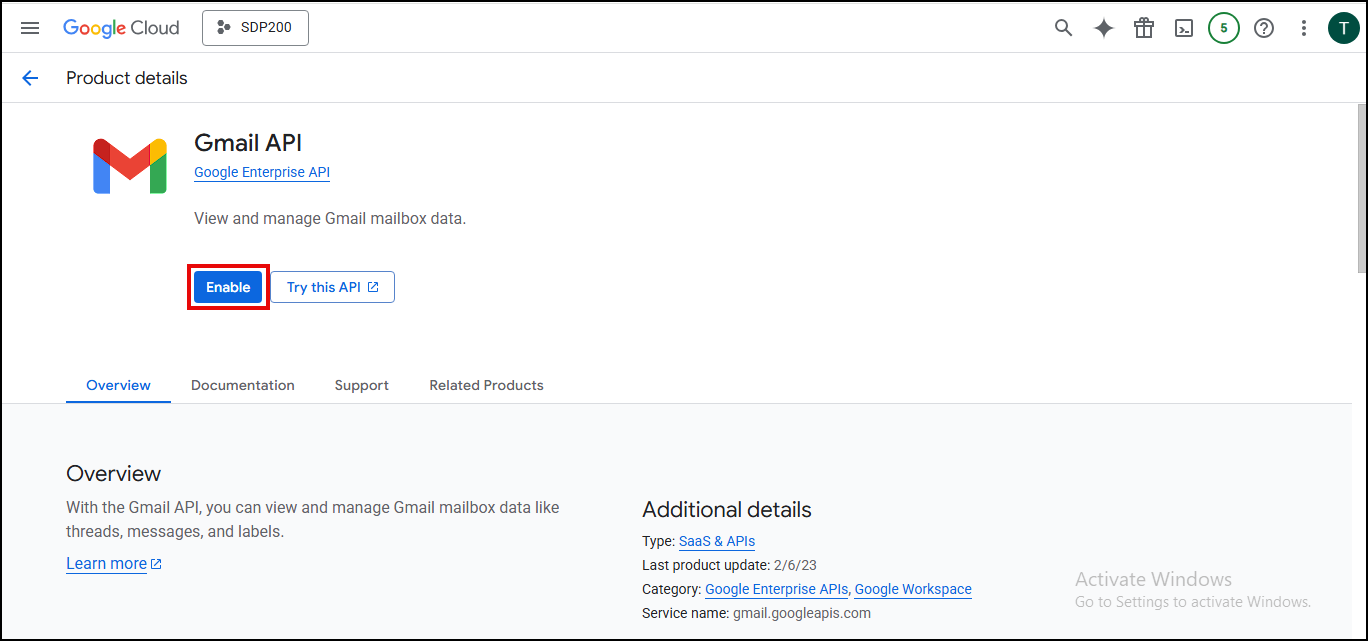
The Gmail API is enabled.
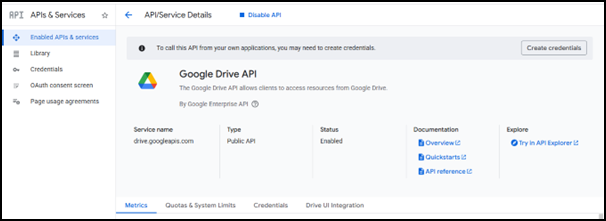
- Select Google Drive API and click Enable.
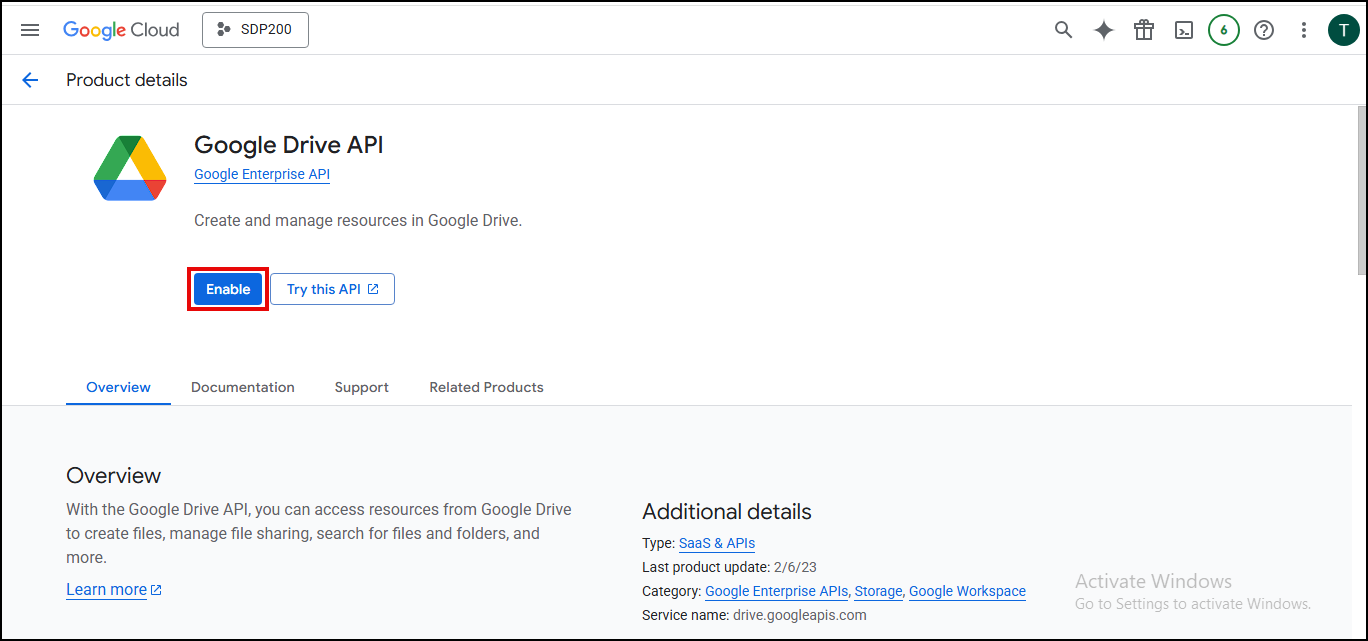
The Google Drive API is enabled.
- Select Admin SDK API and click Enable.
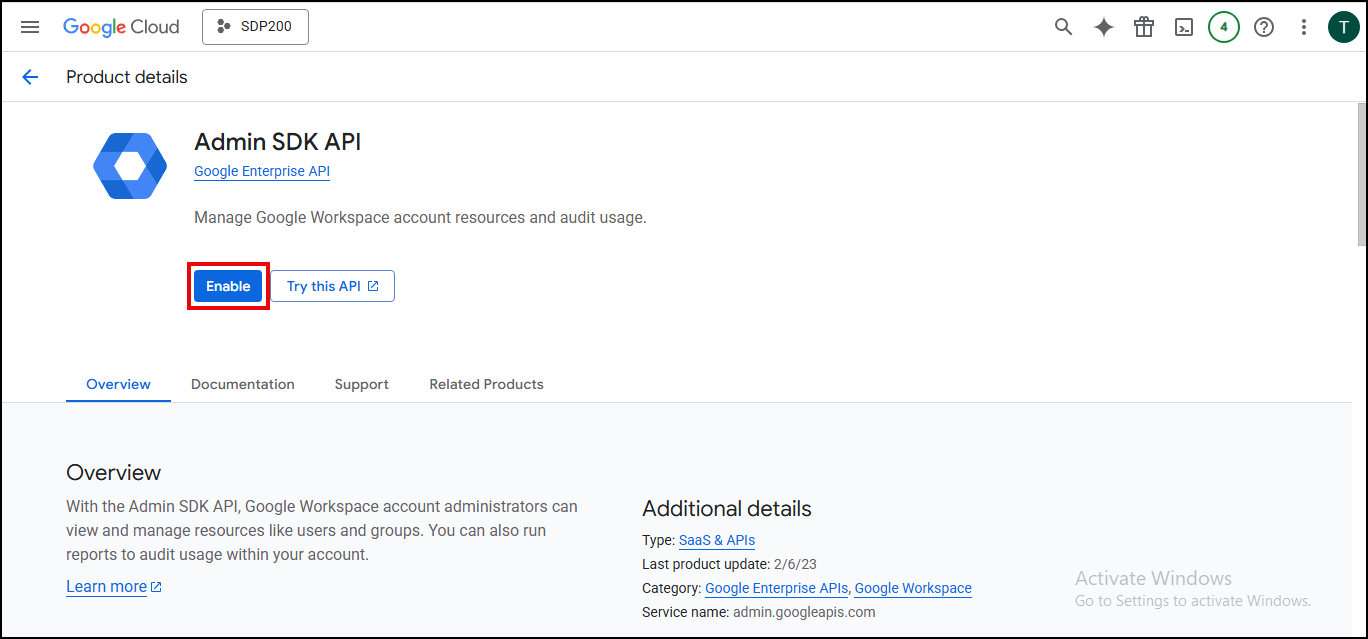
The Admin SDK API is enabled.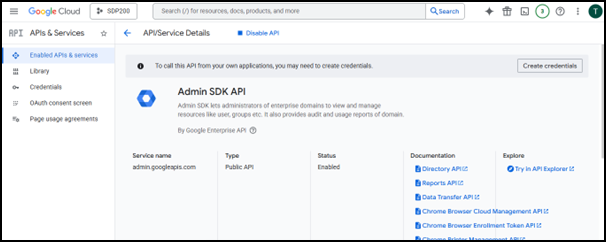
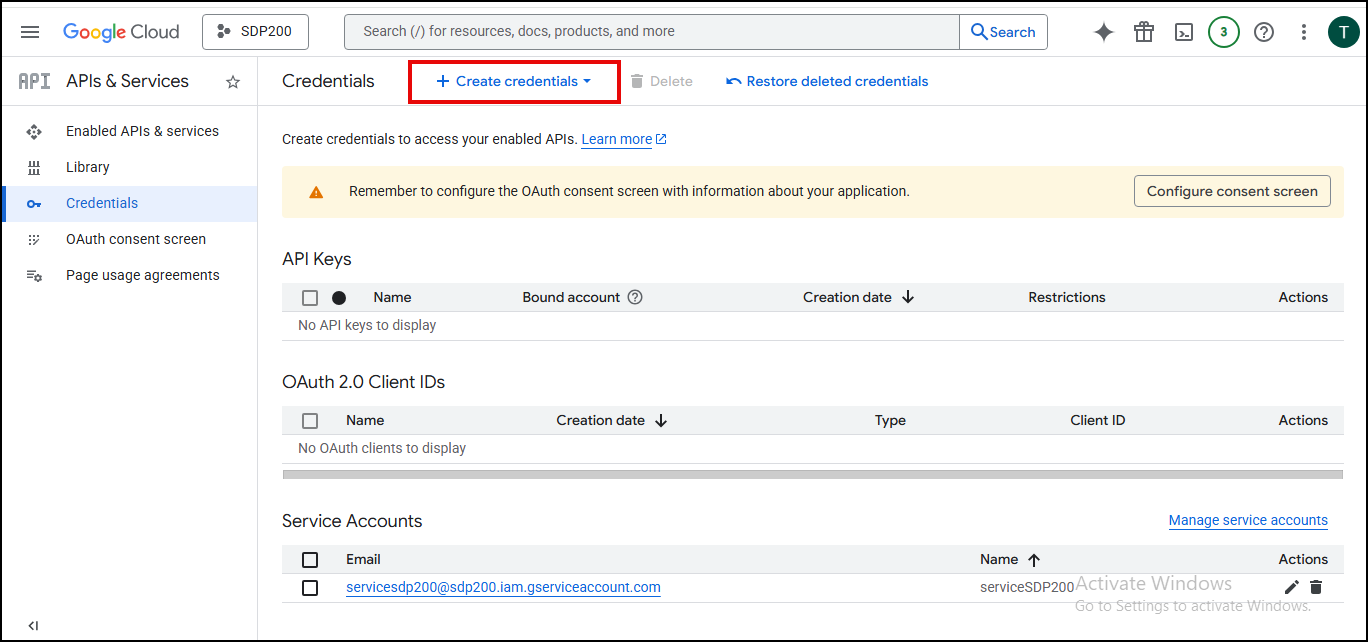
3. Create Credentials
- Under API & Services, navigate to Credentials tab.
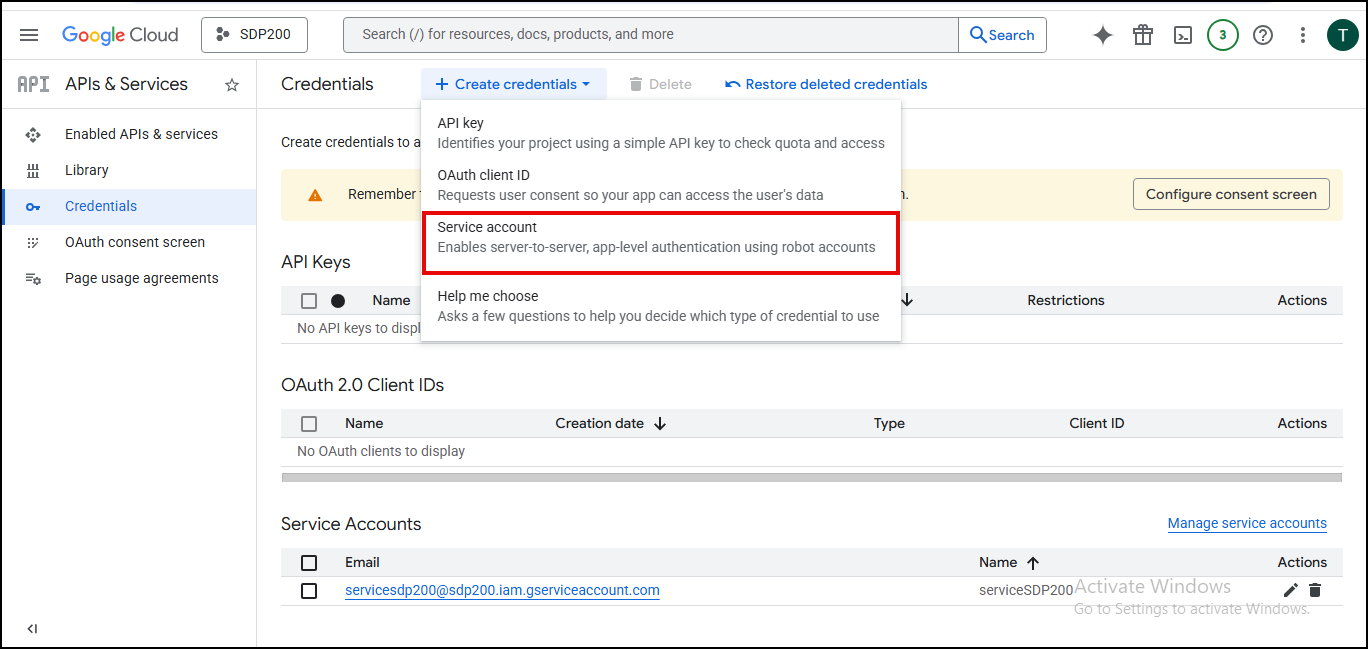
- Click Create Credentials and choose Service account.
- Enter required fields.
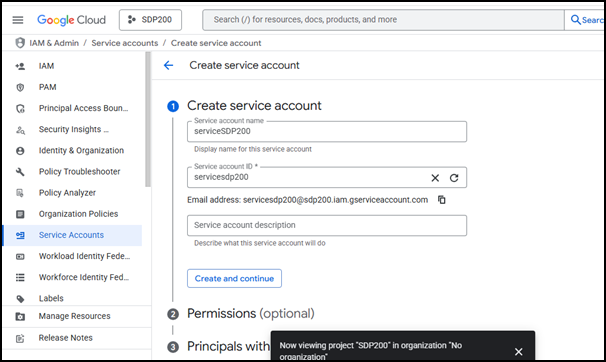
- Leave the optional steps and Click Done.
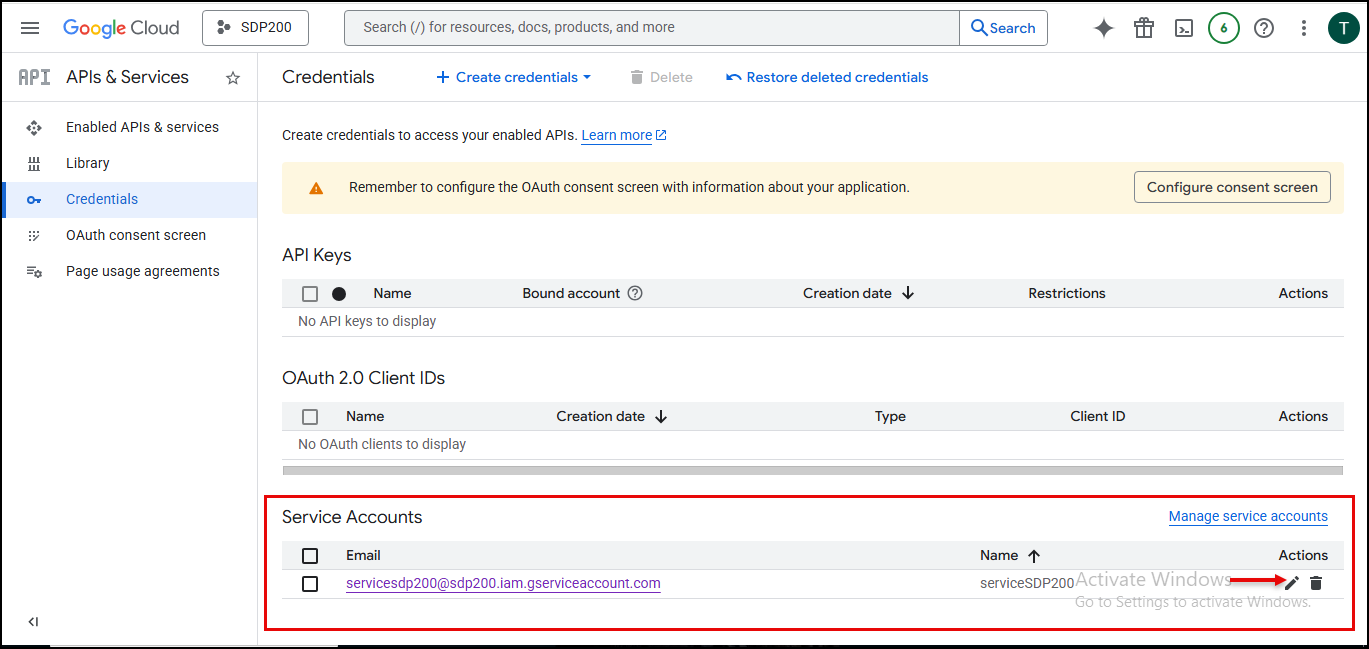
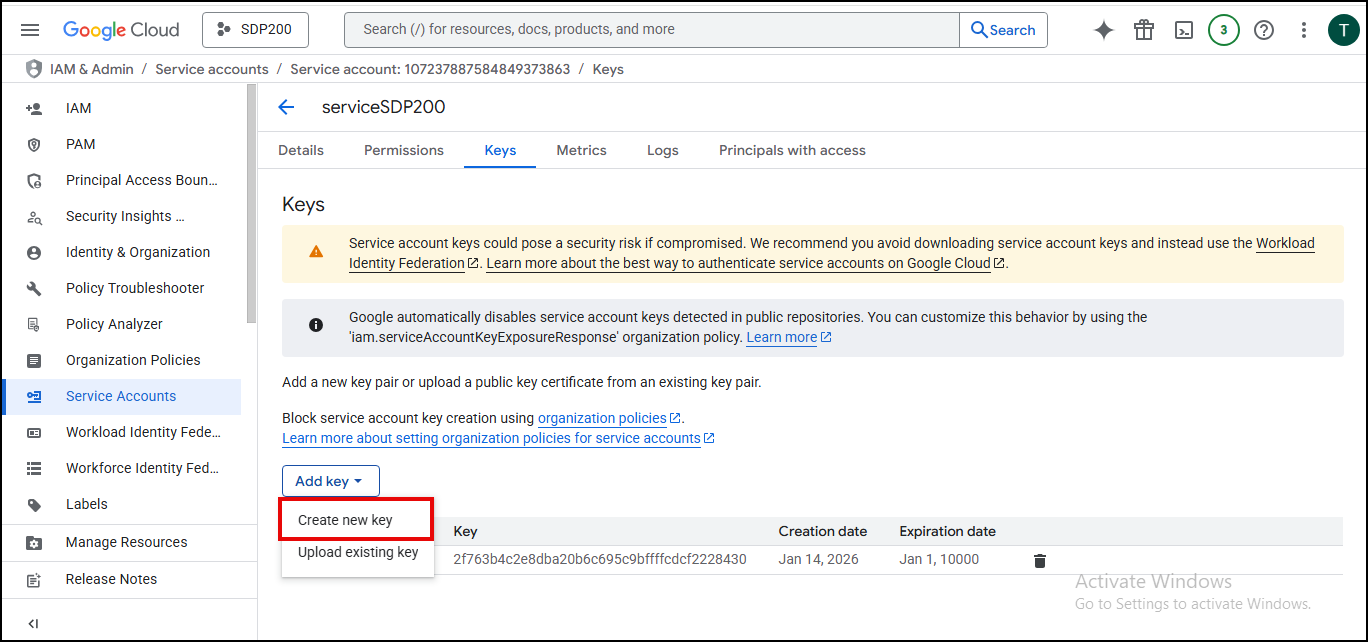
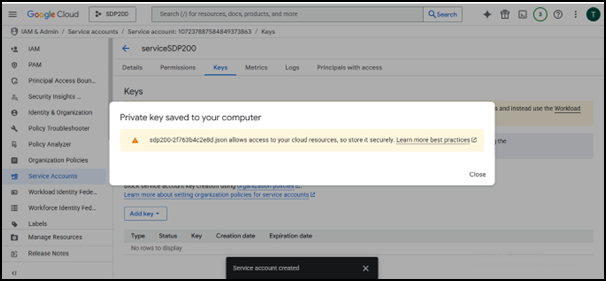
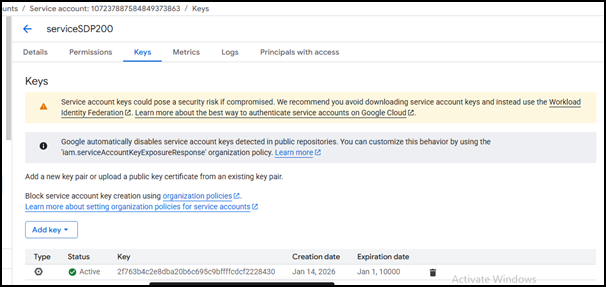
- Click Edit in the Service Accounts section and go to Keys tab.
- Click Create new key.
- Choose key type as JSON and click Create.
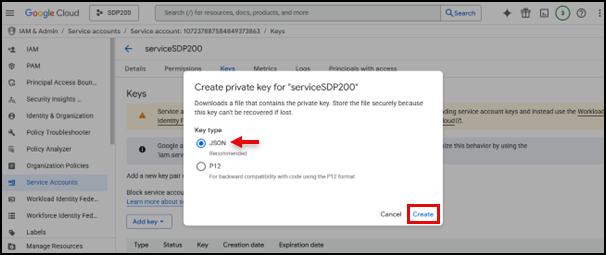
The JSON file will get downloaded.
4. Adding Scopes
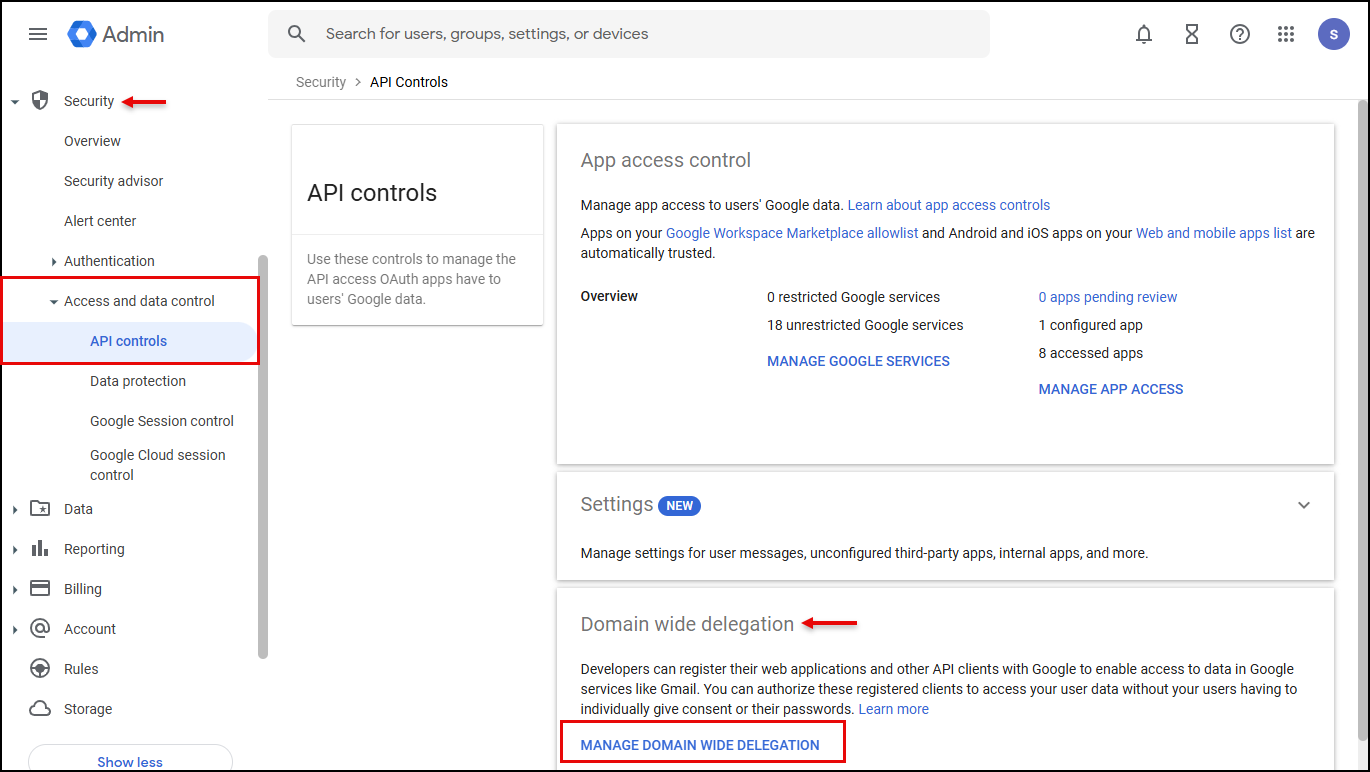
- Navigate to Google Domain wide Delegation.(https://admin.google.com/ac/owl/domainwidedelegation)
- In the left pane, click Security >> Access and Data Control >> API Controls.
- Under Domain wide delegation click Manage Domain Wide Delegation.
- Click Add New, enter the clientId (you can find this value inside the JSON credentials file that you downloaded from the Google Cloud Console in the previous step).
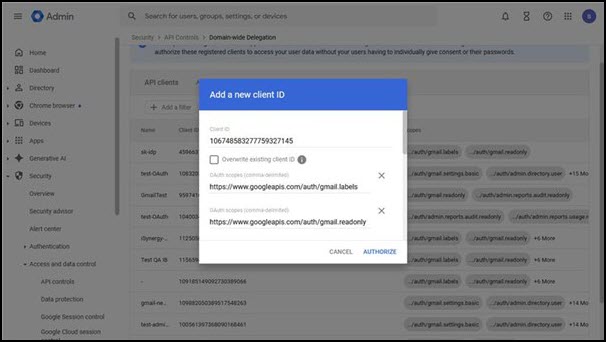
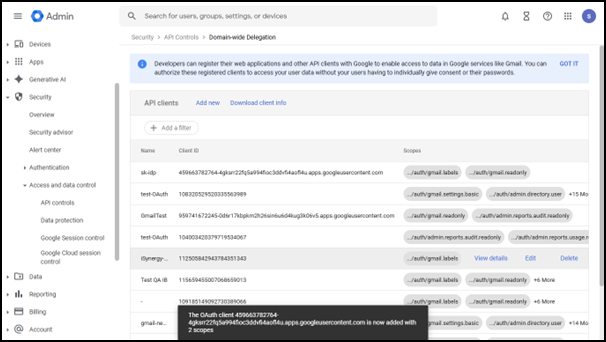
- Add following scopes under scope:
- https://www.googleapis.com/auth/gmail.labels
- https://www.googleapis.com/auth/gmail.readonly
- https://mail.google.com/
- https://www.googleapis.com/auth/admin.directory.user.readonly
- https://www.googleapis.com/auth/drive.readonly
- https://www.googleapis.com/auth/drive.file
- https://www.googleapis.com/auth/drive
- In Domain-Wide Delegation, scopes define the administrator-approved permission boundaries that control what a service account can do while acting on behalf of users—without requiring individual user consent.
- You do not need to add all APIs—configure Google Drive connectors only when adding a Google Drive connector, and Gmail APIs only when adding a Gmail connector.
Note:
Scope and Their Purpose
Gmail Scope
- https://www.googleapis.com/auth/gmail.readonly
- Purpose: Read emails only
- Used for: Listing messages, Reading subject/body/from/to, Reading threads
- https://www.googleapis.com/auth/gmail.labels
- Purpose: Work with Gmail labels
- https://mail.google.com/
- Purpose: Full Gmail access
Admin Directory Scope
- https://www.googleapis.com/auth/admin.directory.user.readonly
- Purpose: That scope belongs to Admin SDK → Directory API.
It is used to read Workspace user details. - Used for: Fetching users list, Validating user emails, Looking up user details (name, email, status)
Drive Scopes
- https://www.googleapis.com/auth/drive.readonly
- Purpose: Read Drive files only
- https://www.googleapis.com/auth/drive.file
- Purpose: Working only with files the app created/was given access to
- https://www.googleapis.com/auth/drive
- Purpose: Full Drive Access
Add Google Connector Configuration in Seqrite Admin Console
Follow these steps to configure Google Drive/Gmail as a Connector:
- In the left navigation pane, click Discovery and Classification and then click Connectors.
- Select Google Drive from the configured data source list, and then click Add Instance.
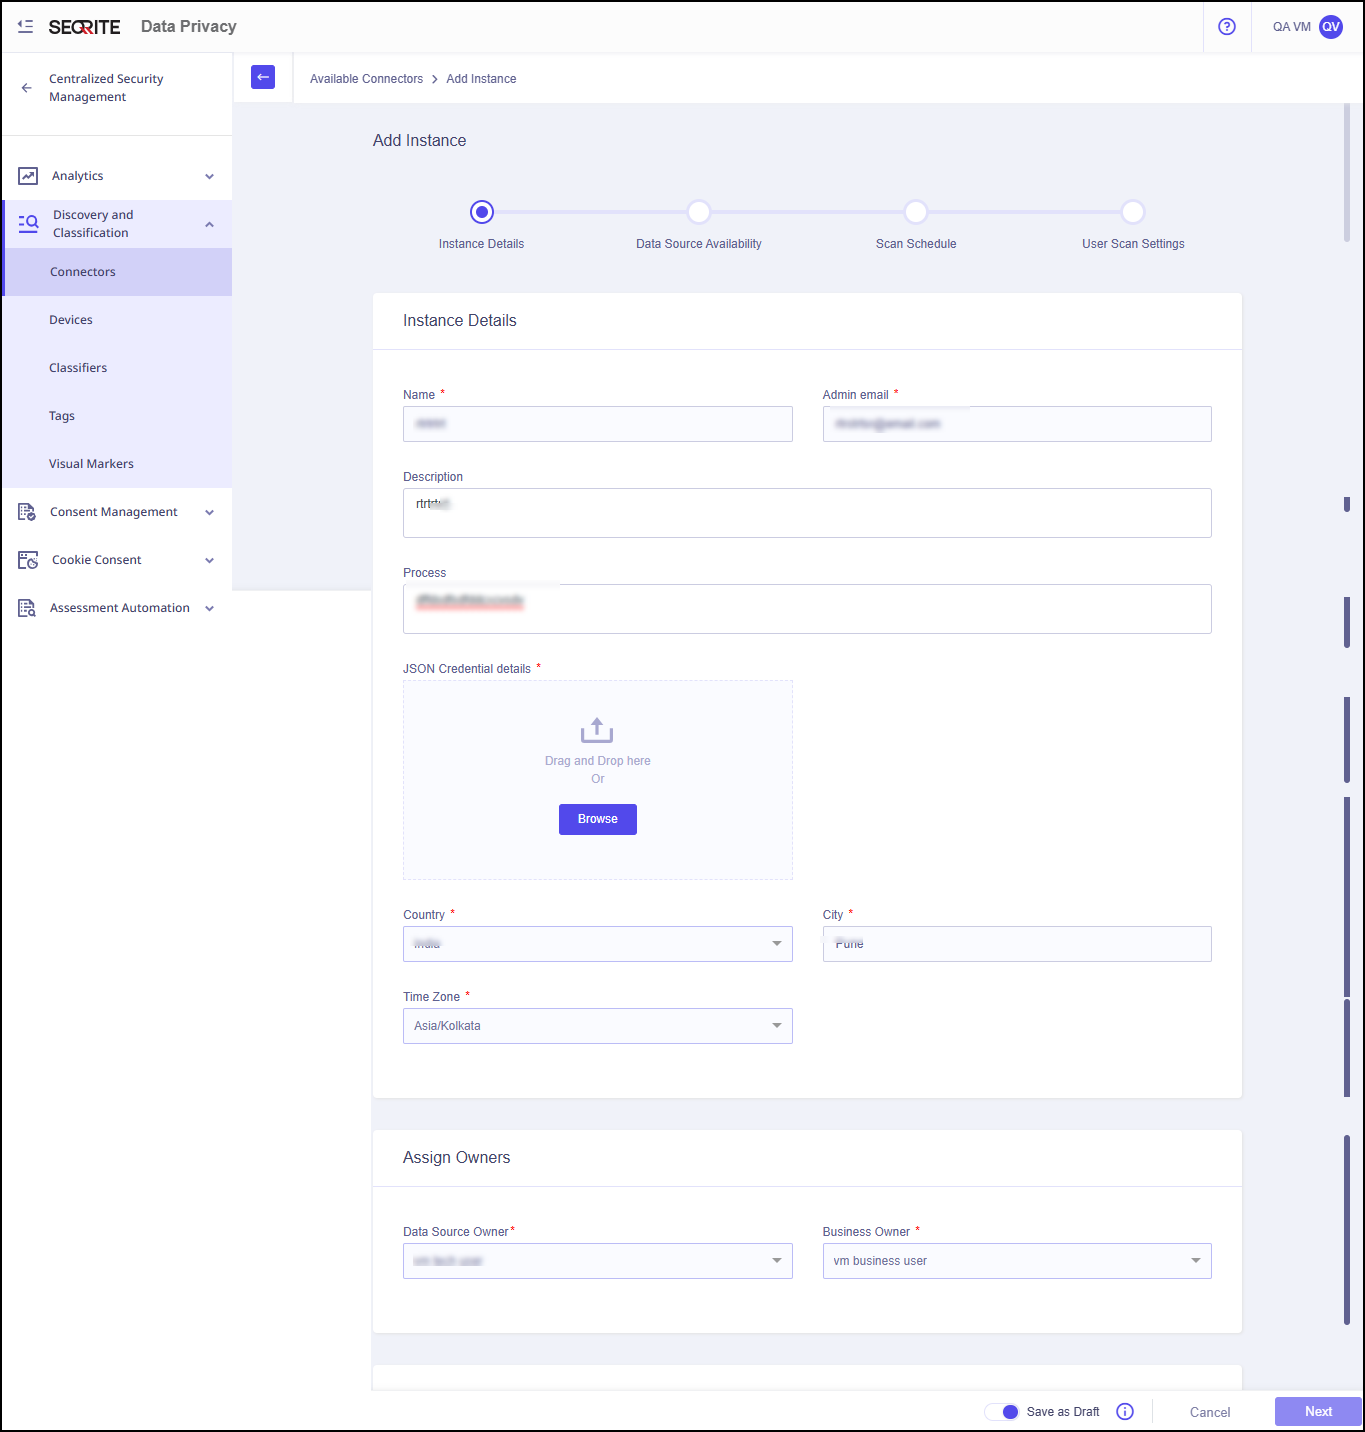
- Enter Basic Instance Details and Owner details:
- Name
- Admin Email
- Description
- Process
- JSON Credential details
Note:The Json file downloaded from the Service Account needs to be added under the Json Credentials - Data Source Owner: The person who owns the data source and makes technical decisions about it.
- Business Owner: The person who is responsible for the business decisions about the data source.
- Click Check Connection.
- Click Next.
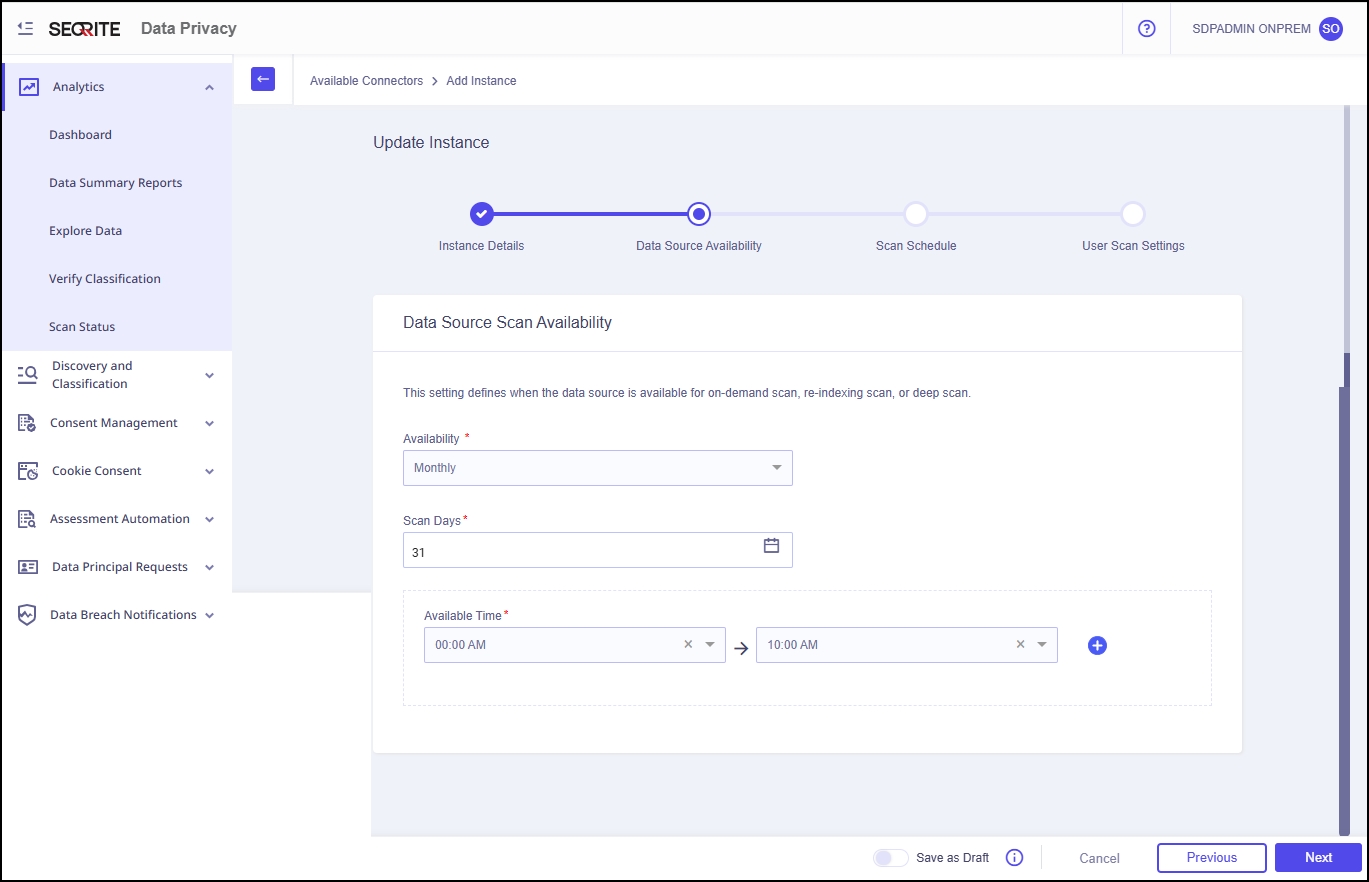
- Enter the Data Source Scan Availability details.
This setting defines when the data source is available for on-demand scan, re-indexing scan, or deep scan.- Availability: Monthly, weekly or daily
- Scan Days
- Available Time
- Click Next.
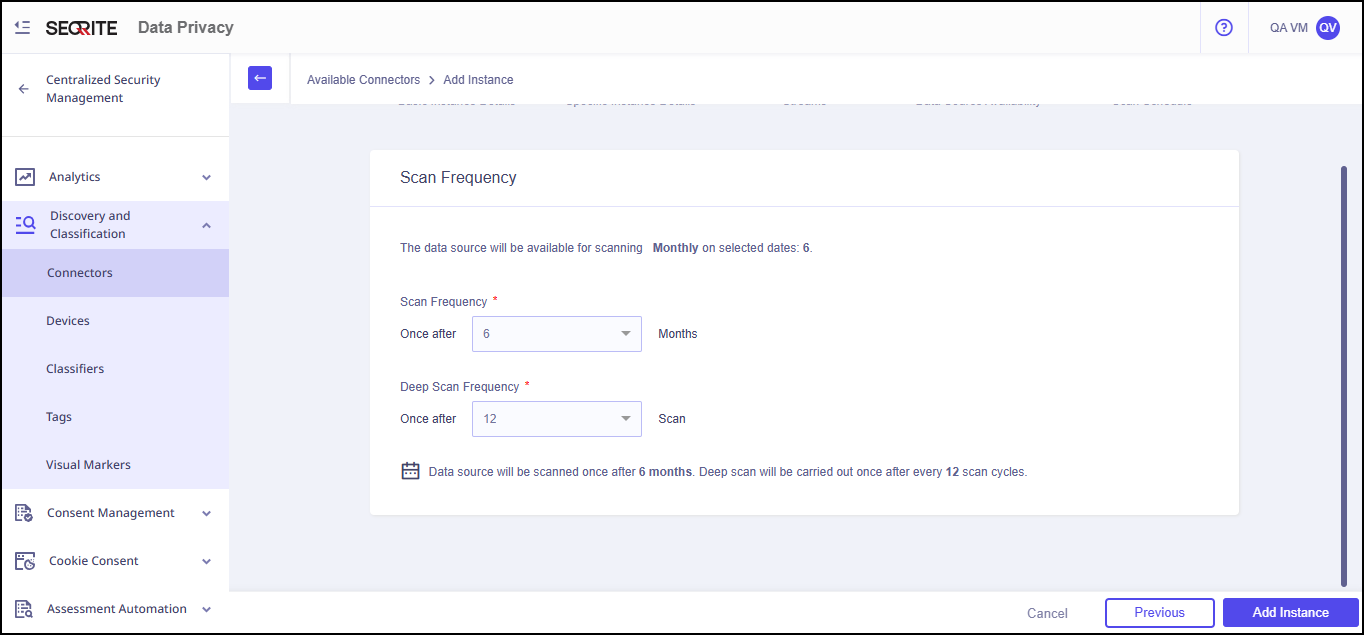
- Enter Scan Schedule/Scan Frequency details:
- Scan Frequency
- Deep Scan Frequency
Note:- The data source will be available for scanning monthly on selected date.
- The data source will be scanned based on the user‑defined interval. A deep scan will be performed after the number of scan cycles specified by the user.
- Click Next.
- Enter User Scan Settings details:
- Scan Type: Full User Scan or Selective User Scan
- Type of Scan: Here, you can include or exclude users from the scan based on their assigned tags.
- Enter User Tags that is either User Email or User Group
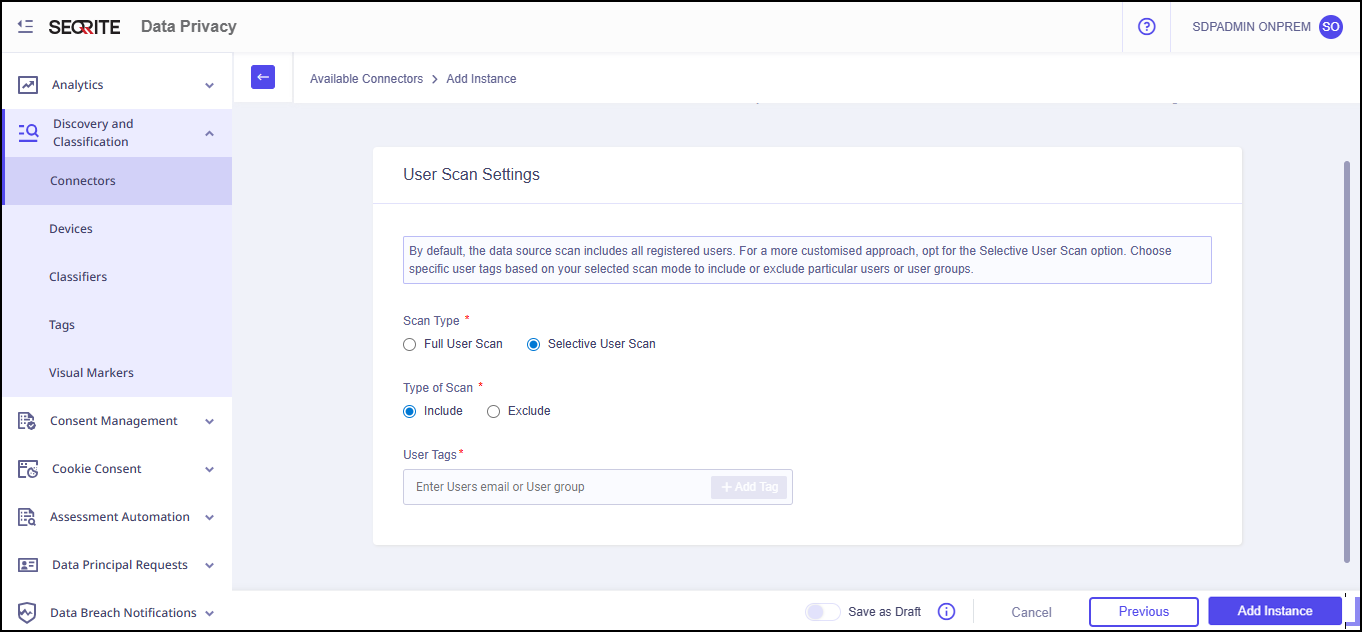
- Click Add Instance.
Instance of the data source is added successfully.
Configured Data Sources page is displayed.
If the provided details are accurate, the connection with Google Drive will be established successfully.

Note: Tags can be created based on the attributes such as Email, Last Name, First Name , Department etc. after the Google Identity Provider (IDP) has been configured and user synchronization has been successfully completed in the Seqrite CSM Console.