
Creating An Enterprise Application On The Organization’s Azure AD
Before adding Microsoft Azure as an IDP, we need to create an enterprise application on the organization’s azure AD which will serve the SAML request. To create this application, follow these steps:
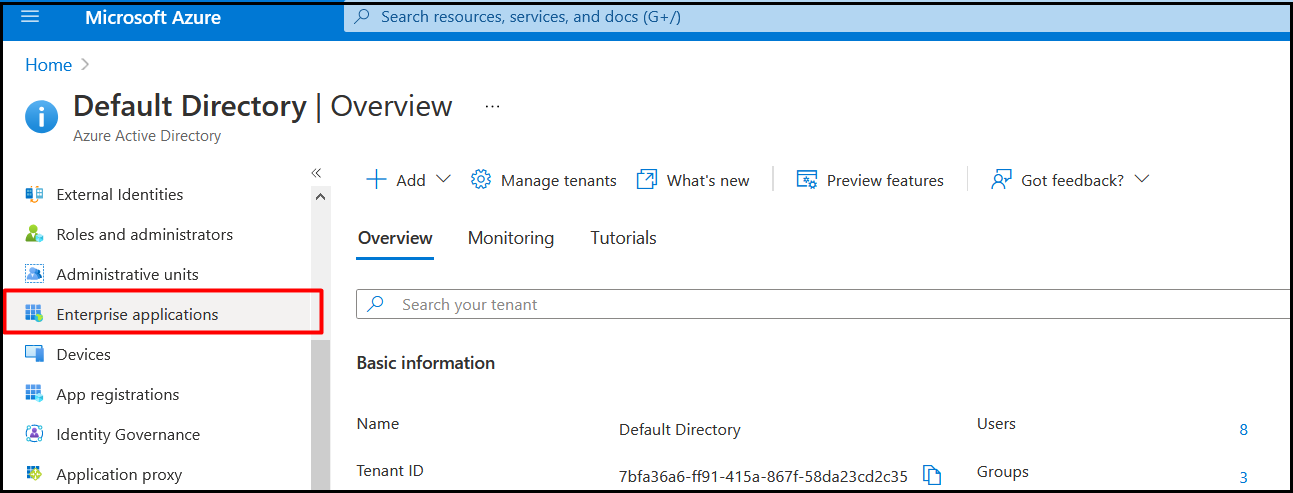
- Login to the azure account with admin rights. Navigate to the azure active directory and select Enterprise applications in the left pane.
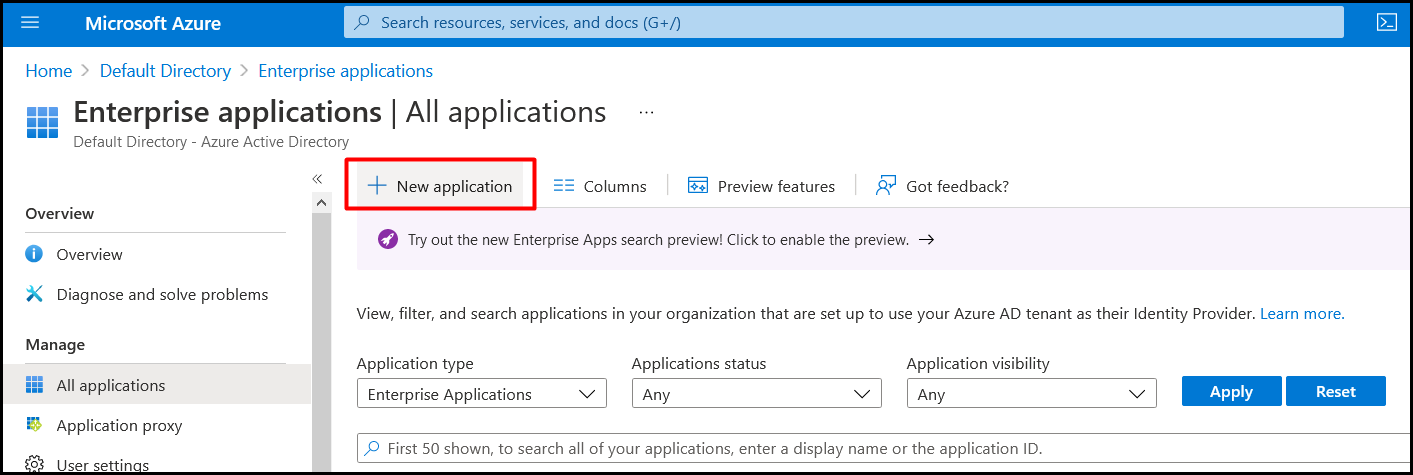
- Click New Application.
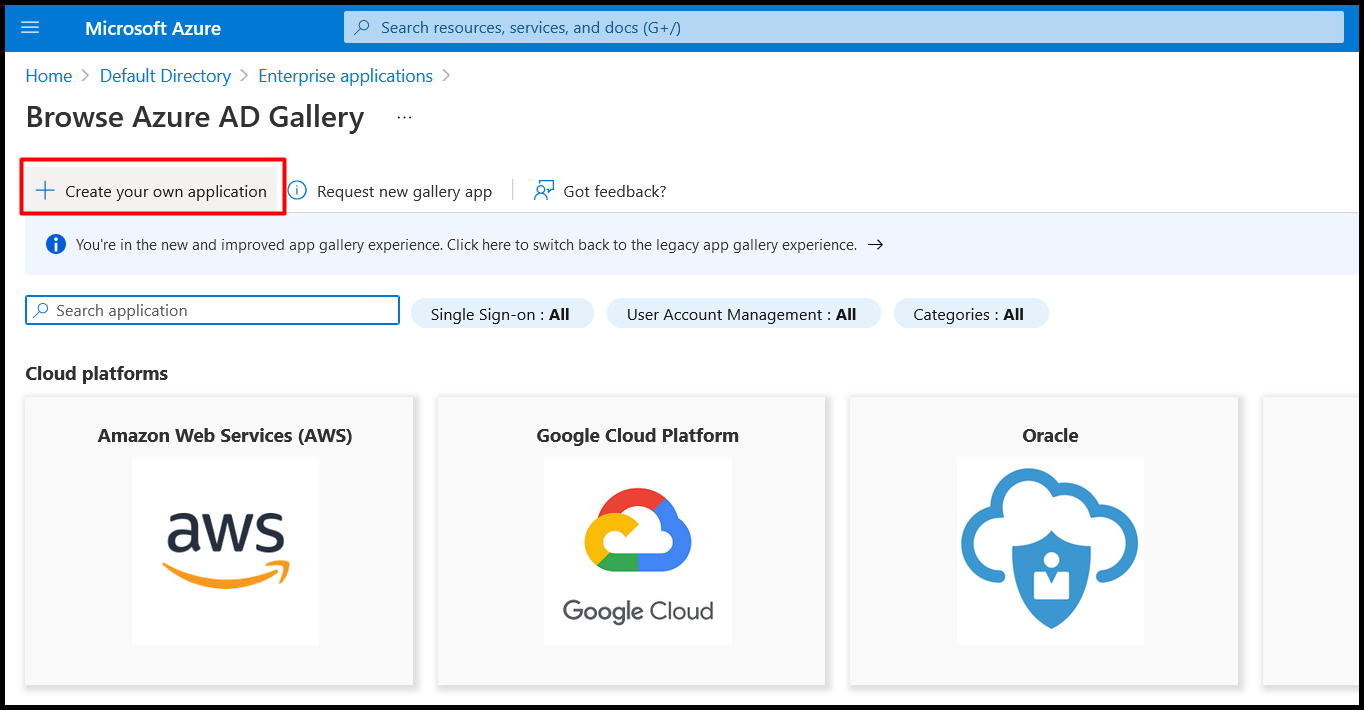
- Click Create your own application.
- Enter the following details in the Create your own application dialog.

- Enter the name of the application.
- Select Non gallery option as shown in above image.
- Click Create.
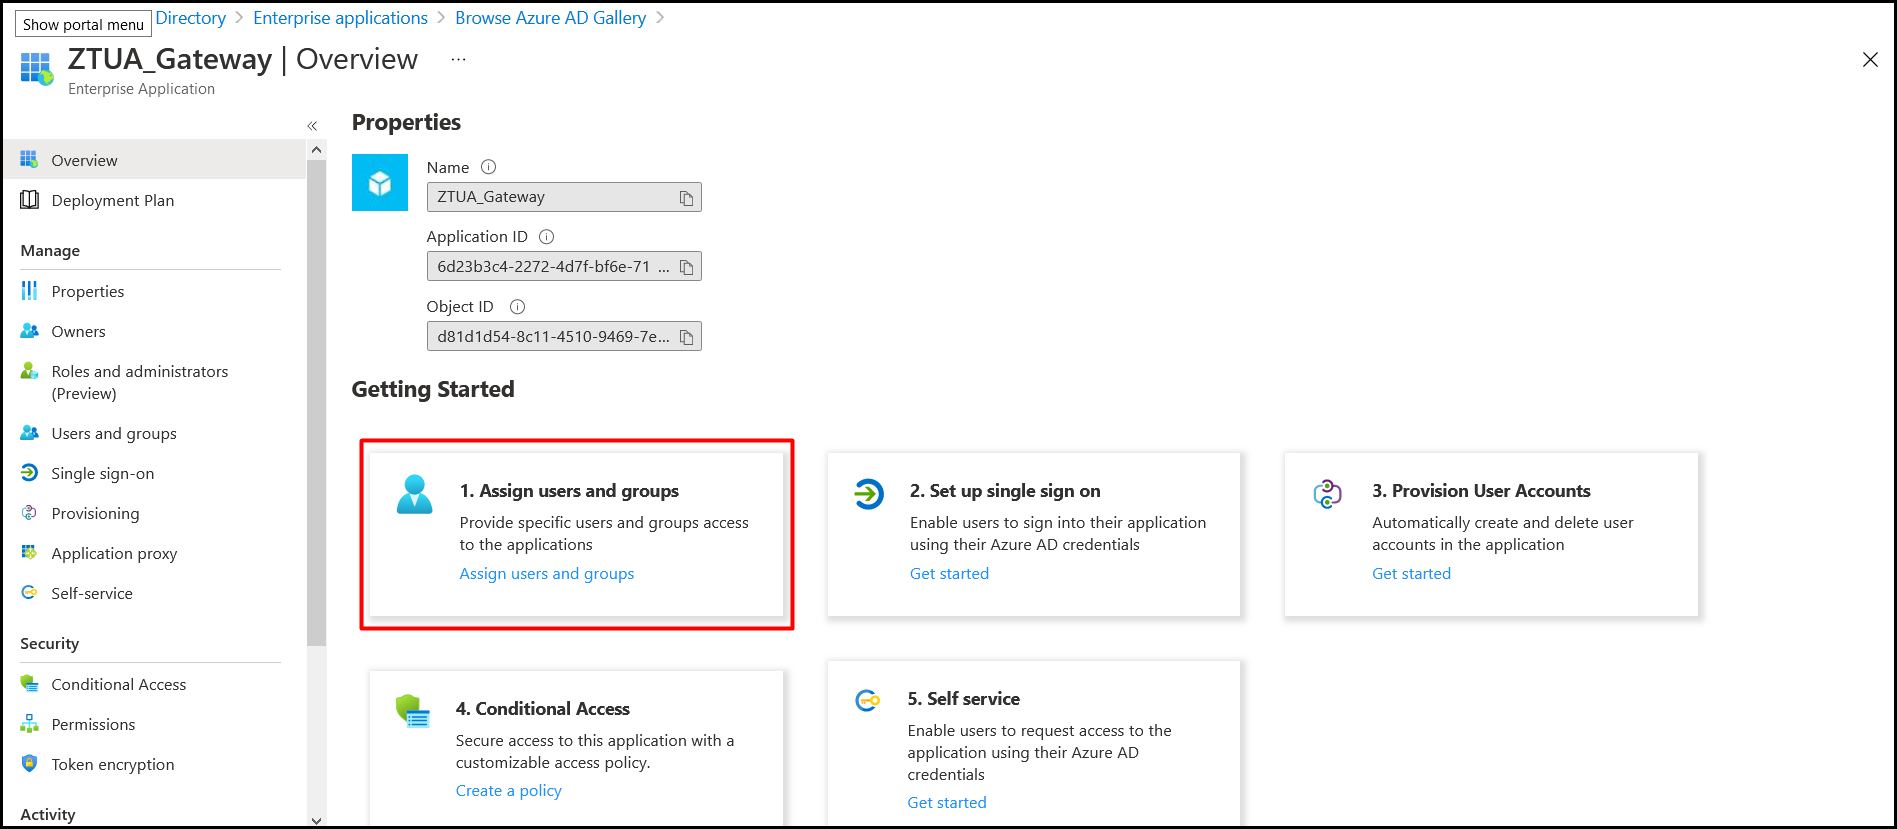
You will be redirected on the page of the newly created application.
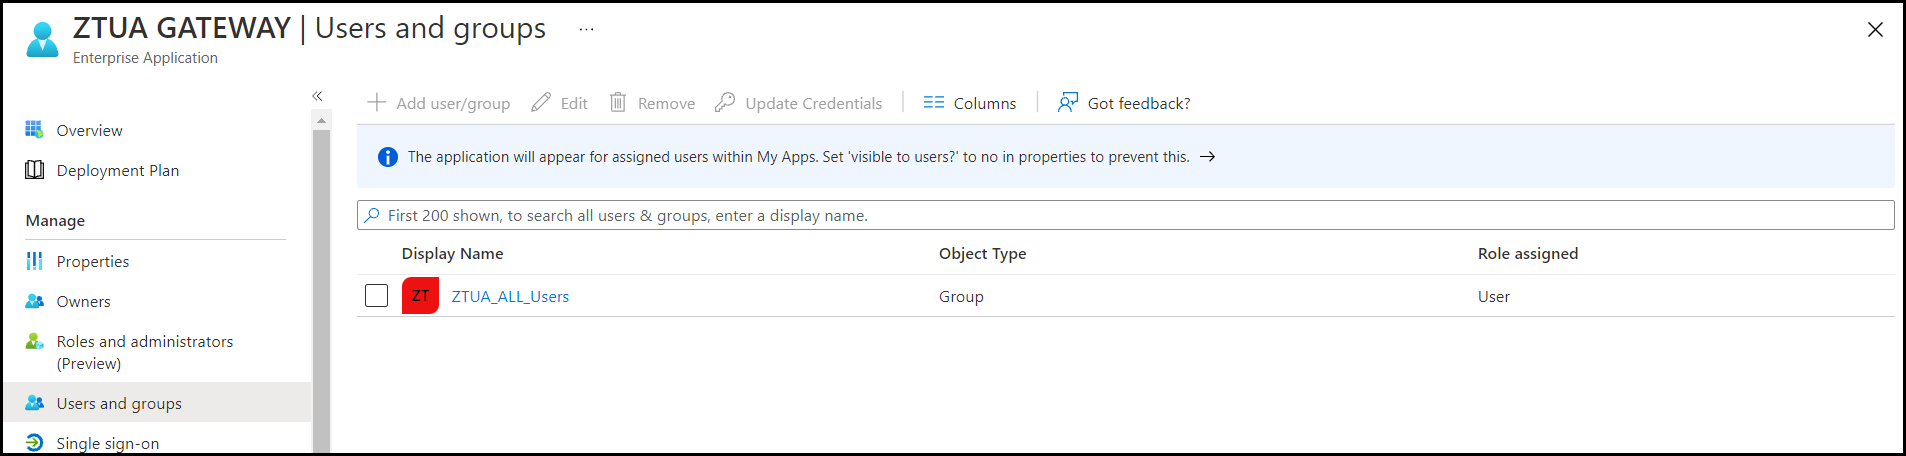
- Click Assign users and groups. This option is used to assign the users/groups that will be allowed to authenticate and access the seqrite HawkkProtect user portal.
- Select the users and groups which will be allowed to access the seqrite HawkkProtect user portal.
- Navigate to the Overview of the created application. Now the administrator has to configure SSO for this application.
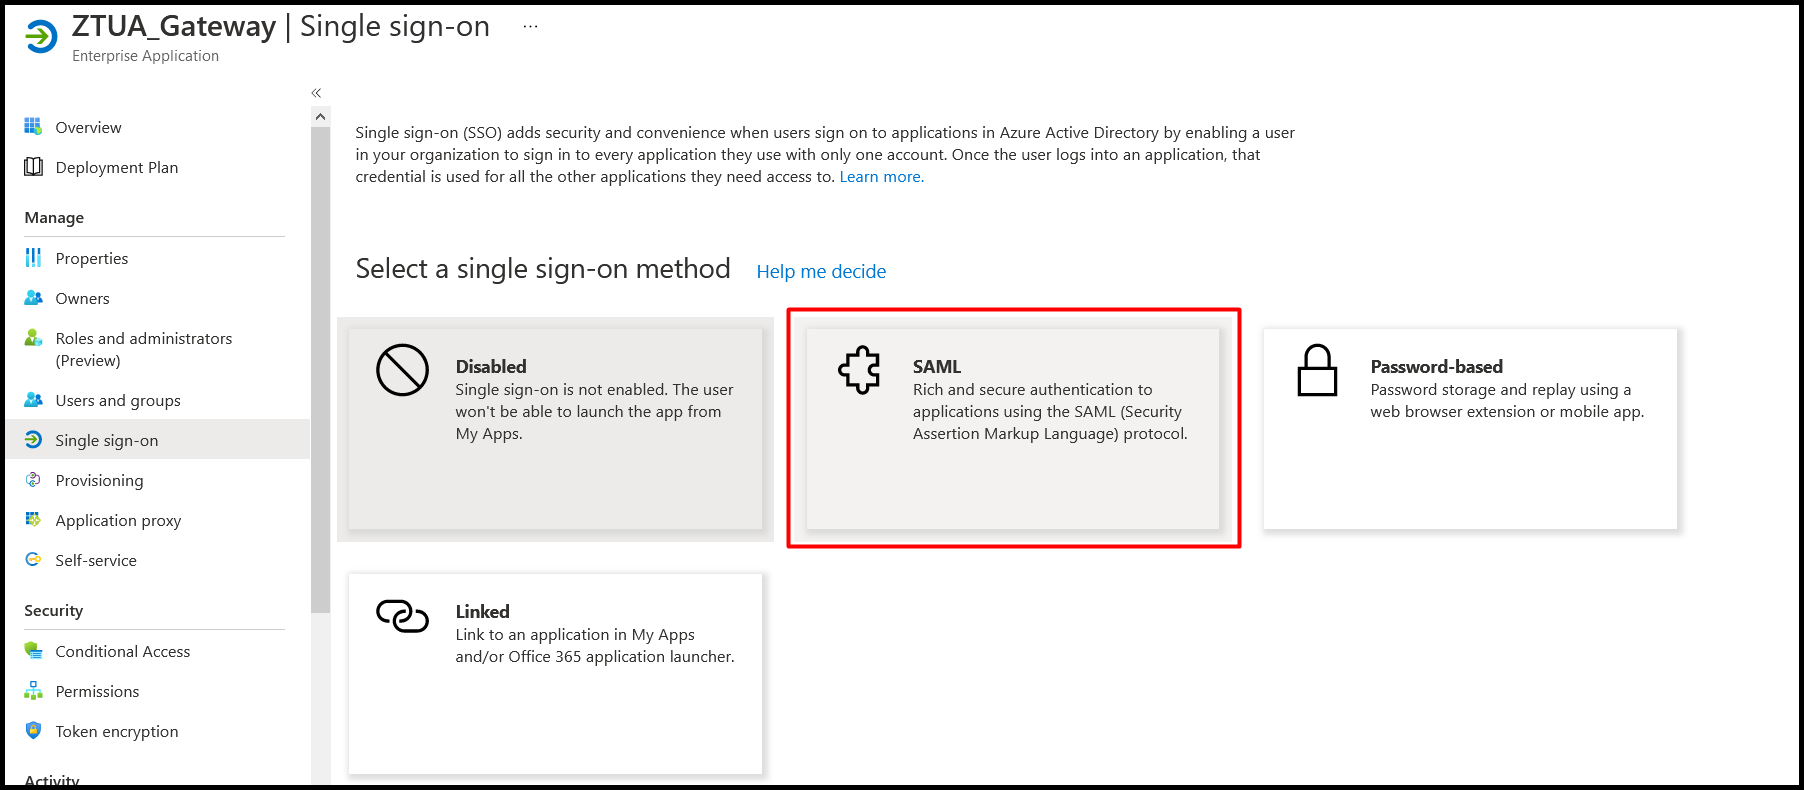
Under Getting started, click Set up single sign on option.
- On the set up single sign on page, select SAML.
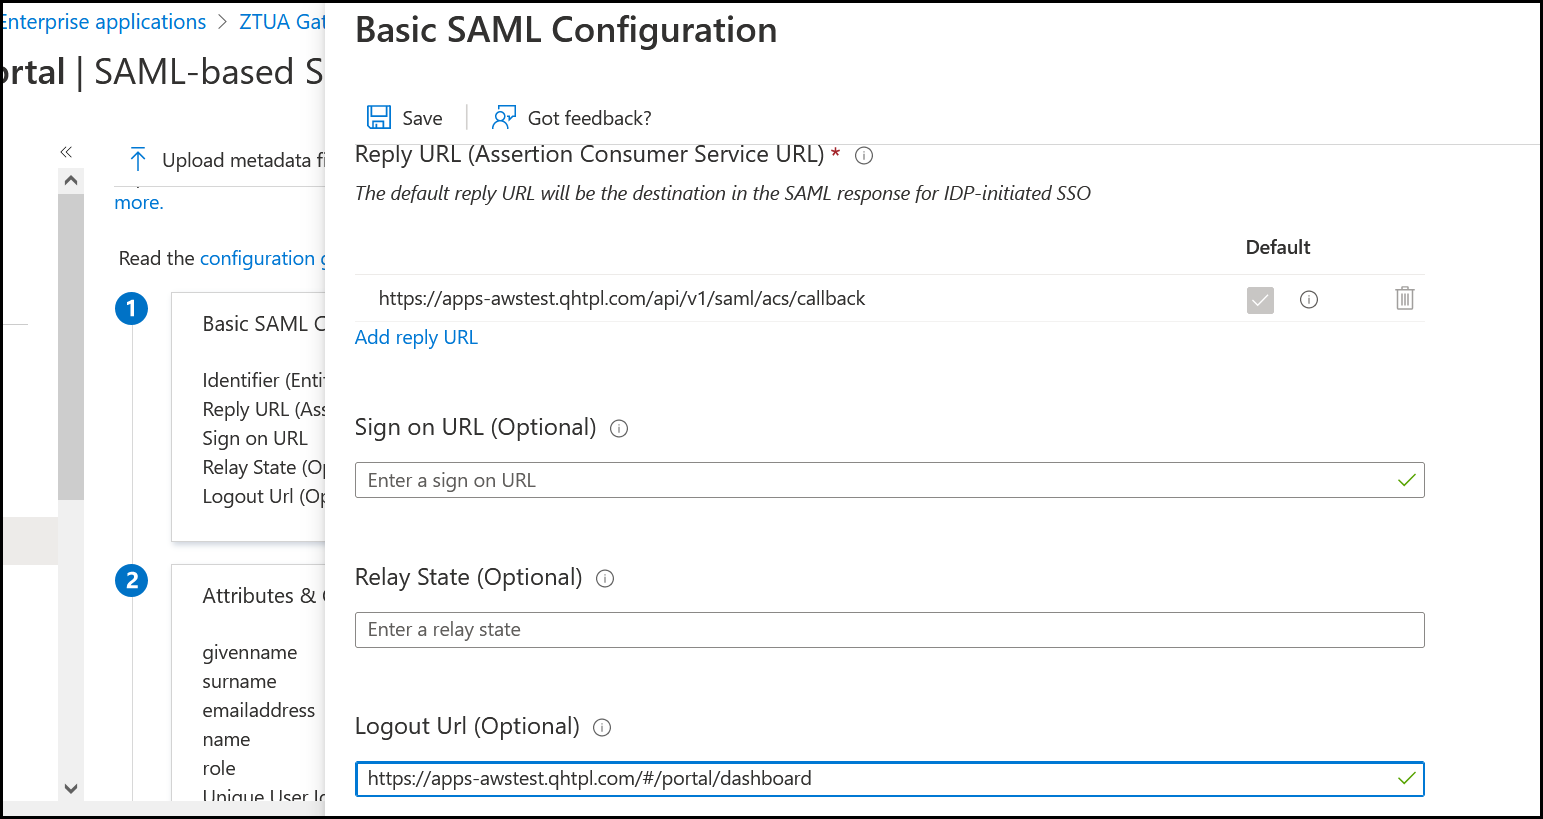
- Navigate to Single sign-on in the left pane to configure the Identifier (Entity ID) and the reply URL of the ZTUA Gateway of the organization in the basic SAML Configuration.
Click edit to add the parameters.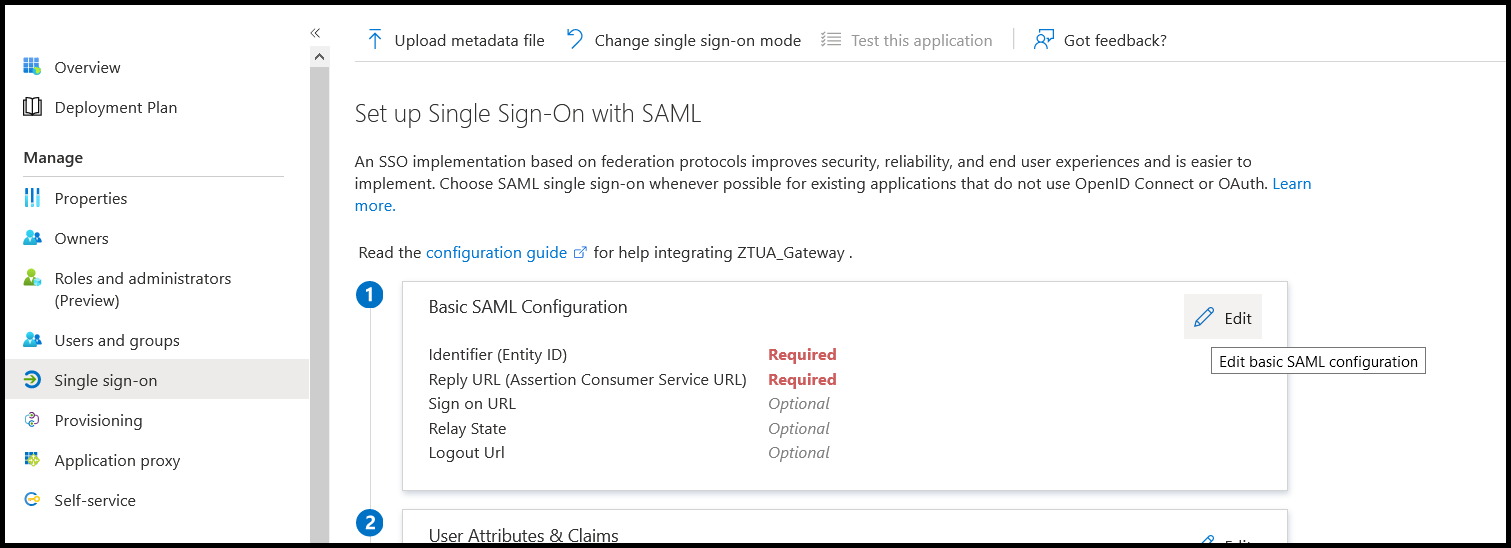
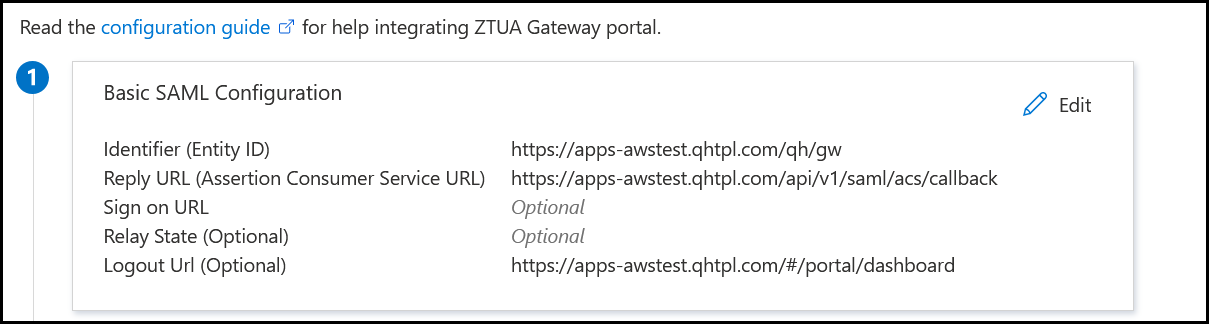
- The Entity ID and Reply URL are the parameters which administrator has to configure while add Microsoft azure as the IdP for the gateway.
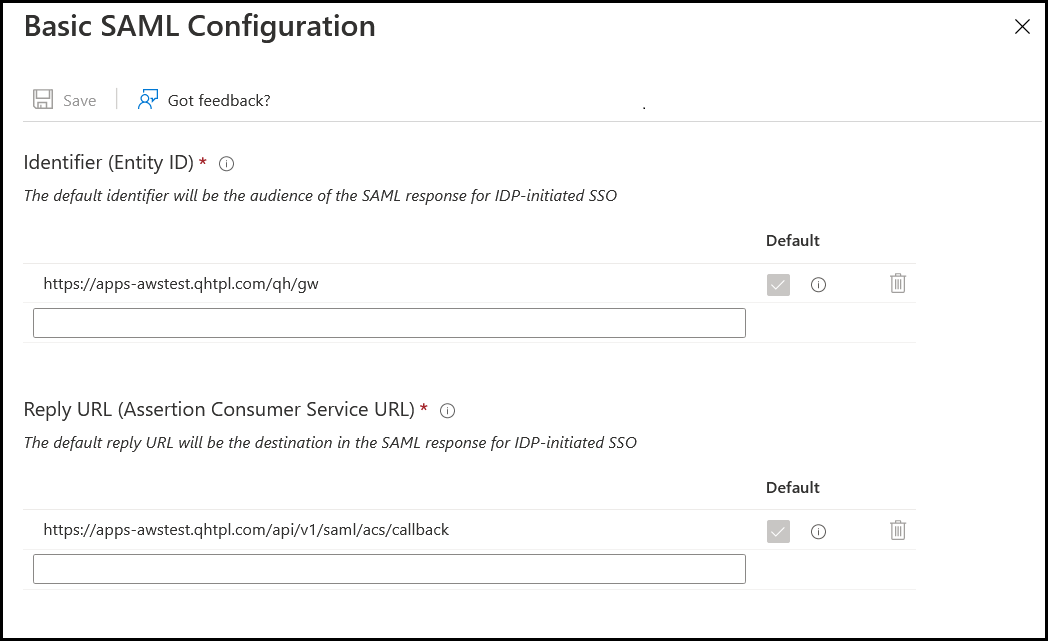
We have to use the same Entity ID and reply URL in the basic SAML configuration of the application.
Consider an example where the ZTUA gateway base domain is “apps-awstest.qhtpl.com” and the Entity ID and Reply URL are configured on the gateway as shown below.
The Base domain can be configured according to your organization domain (For example: apps.company.com).- Entity ID:
/qh/gw
For example: https://apps-awstest.qhtpl.com/qh/gw - Reply URL:
/api/v1/saml/acs/callback
For example: https://apps-awstest.qhtpl.com/api/v1/saml/acs/callback - Logout URL:
/#/portal/dashboard
For example: https://apps-awstest.qhtpl.com/#/portal/dashboard
Configure the parameters and click Save.
- Entity ID:
- The application creation is now complete.
Now you can copy the App Federation metadata URL and use it while adding the IDP on gateway.
Creating An Application On Microsoft Azure With Microsoft Graph API
You need to sync Microsoft Azure AD users and their attributes for policy creation. For this you need to add another application on MS Azure with Microsoft graph API.
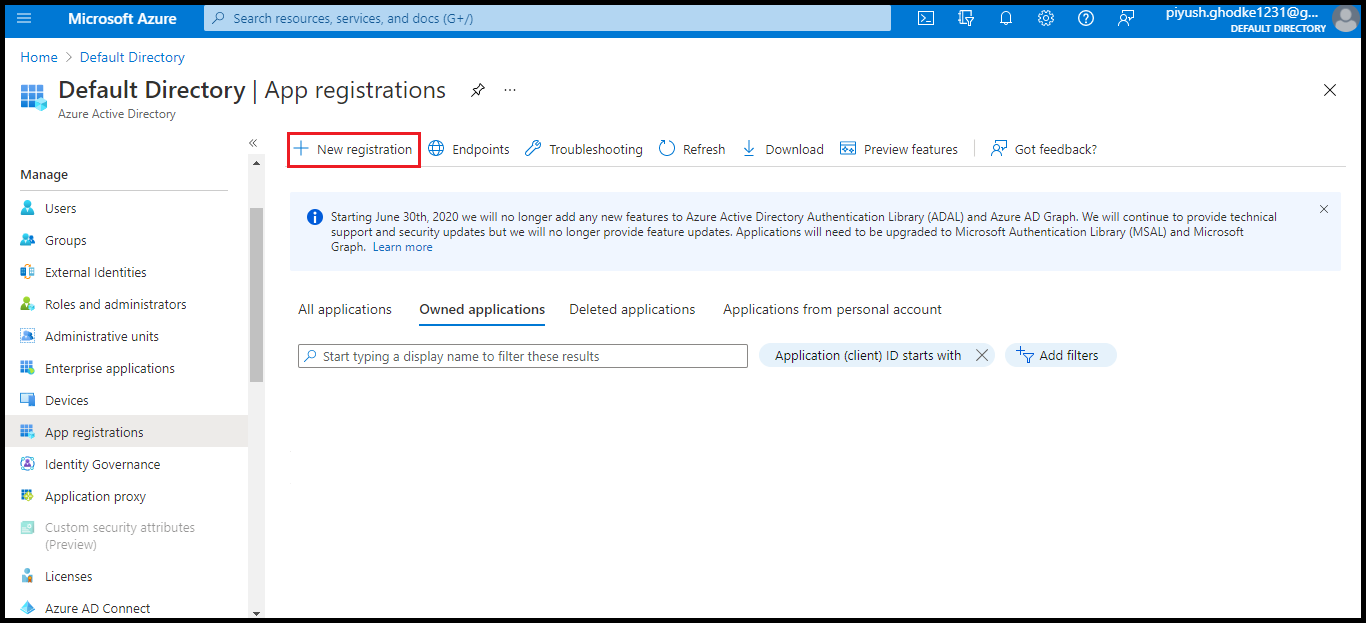
- Log on to the azure account with admin rights. Navigate to the Default directory and click App registrations in the left pane. Click New registration.
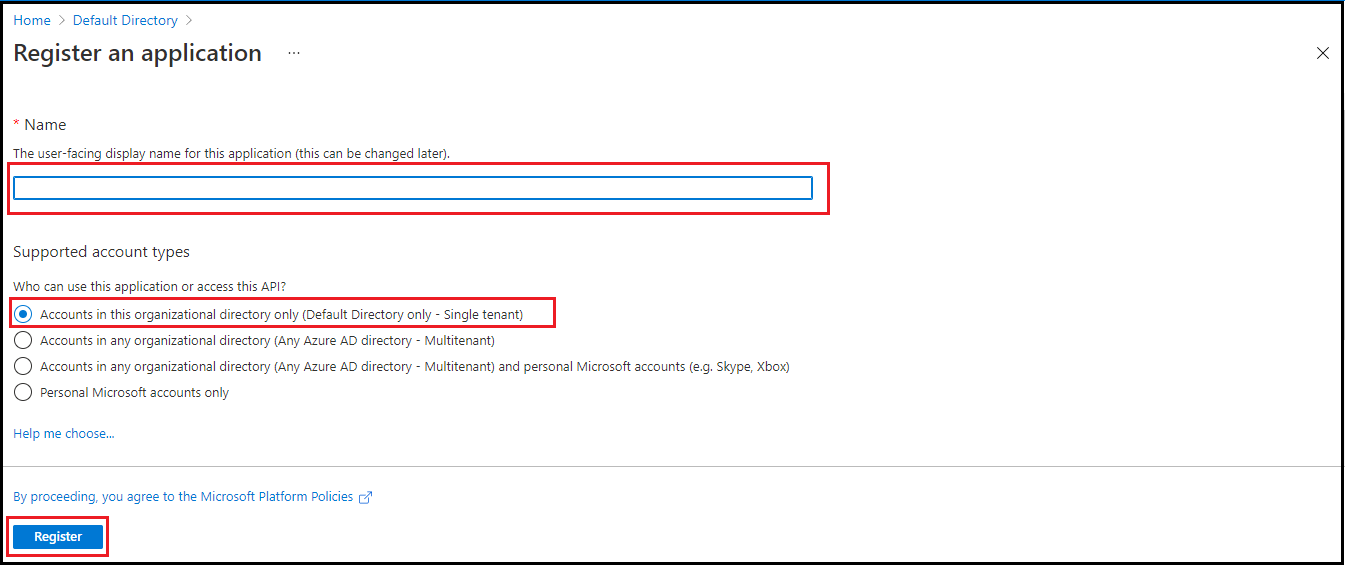
- Enter the application name and select Accounts in this organizational directory only option. Click Register button.
- On the Overview page, click Add a certificate or secret under essentials.
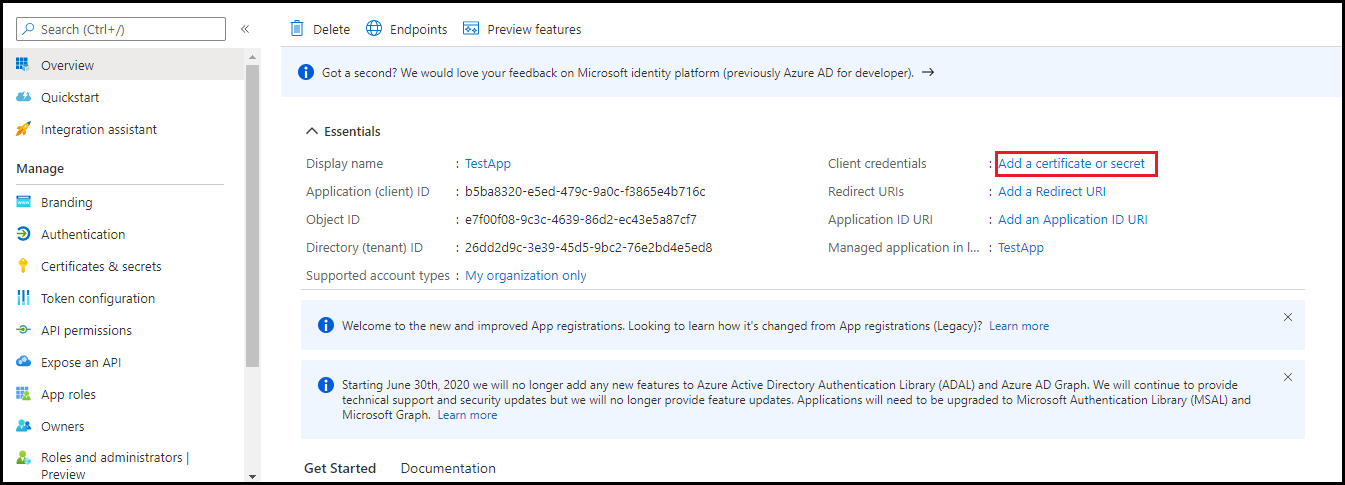
A new page is displayed.
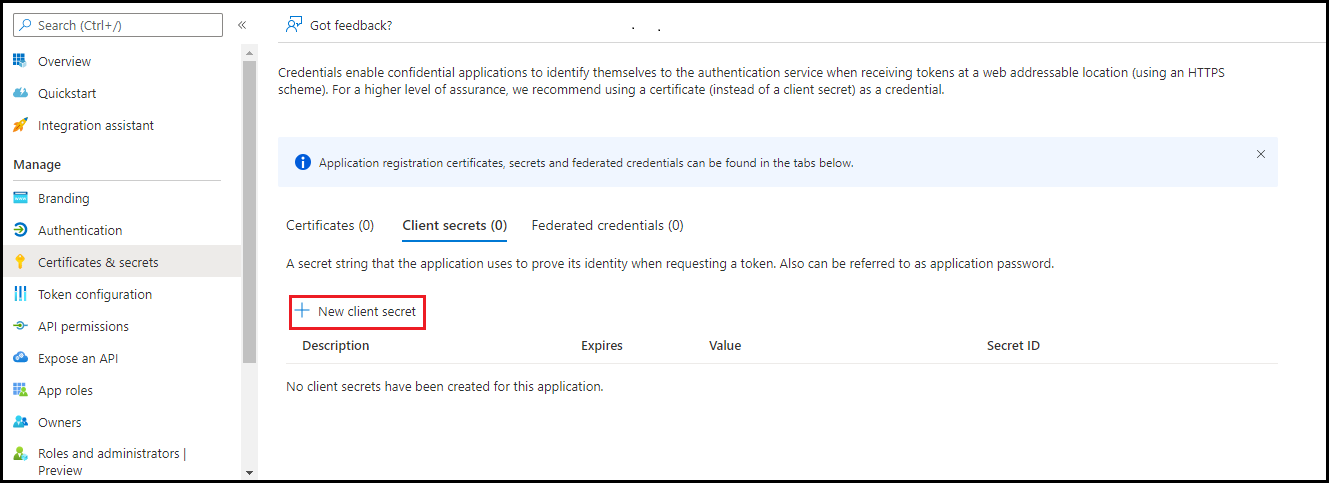
- Click New client secret.
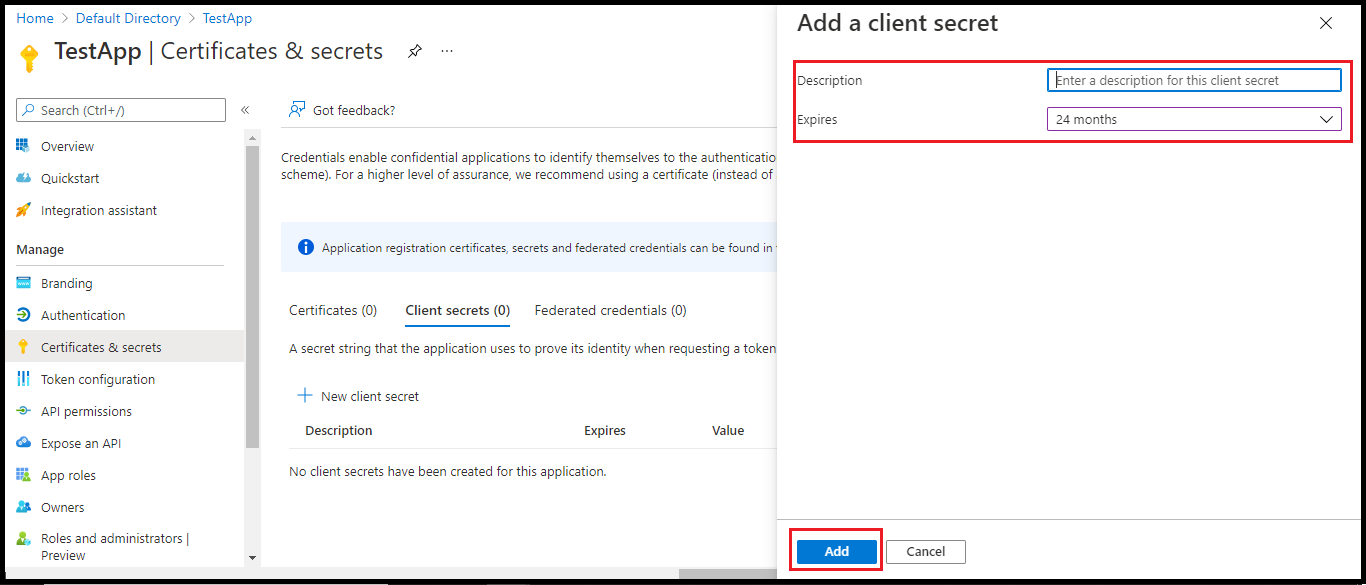
In the right pane, enter the description and select the expiry period.
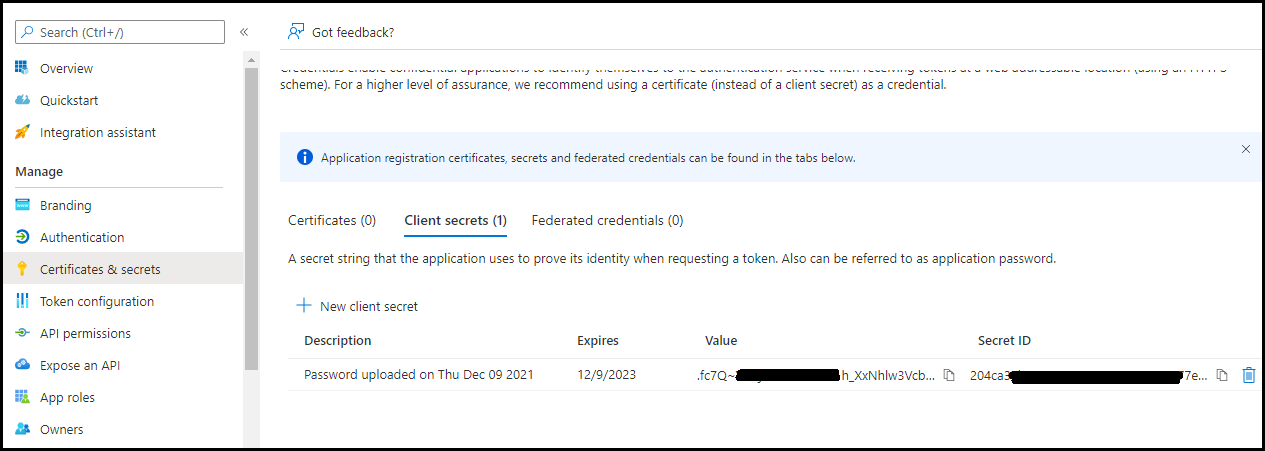
- Navigate to Certificates & secrets. Copy the secret value and secret ID for future reference.
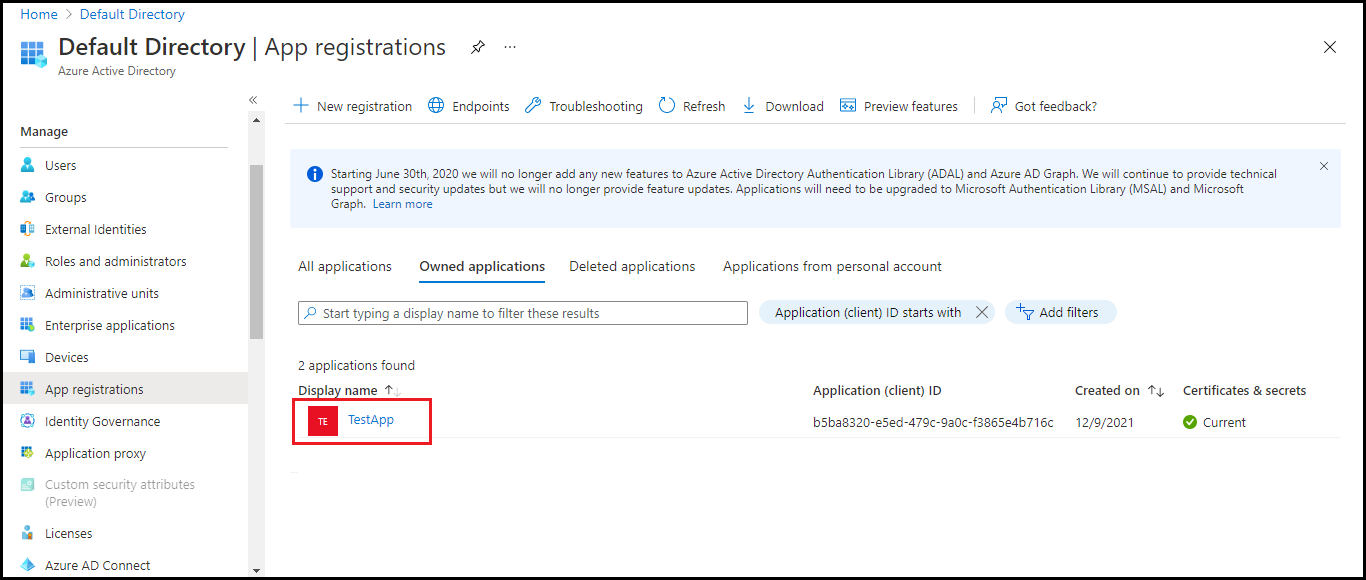
- Navigate to App registrations in the left pane. Click the application name.
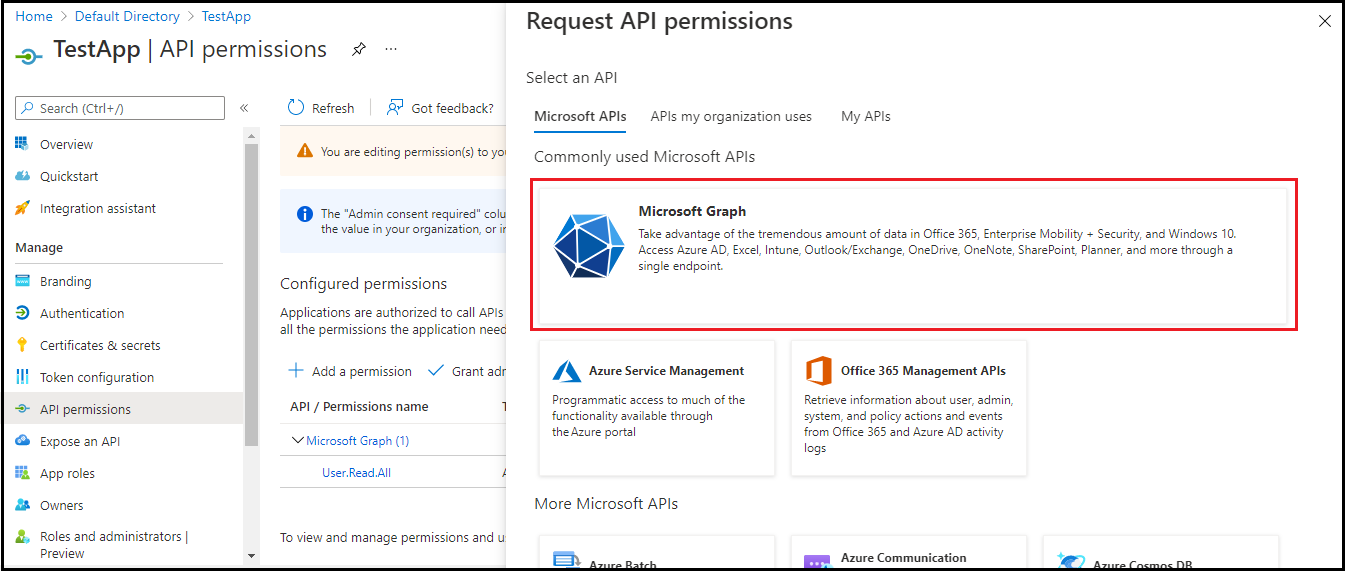
- Navigate to API permissions in the left pane and click Add a permission.
- In the right pane, click Microsoft Graph.
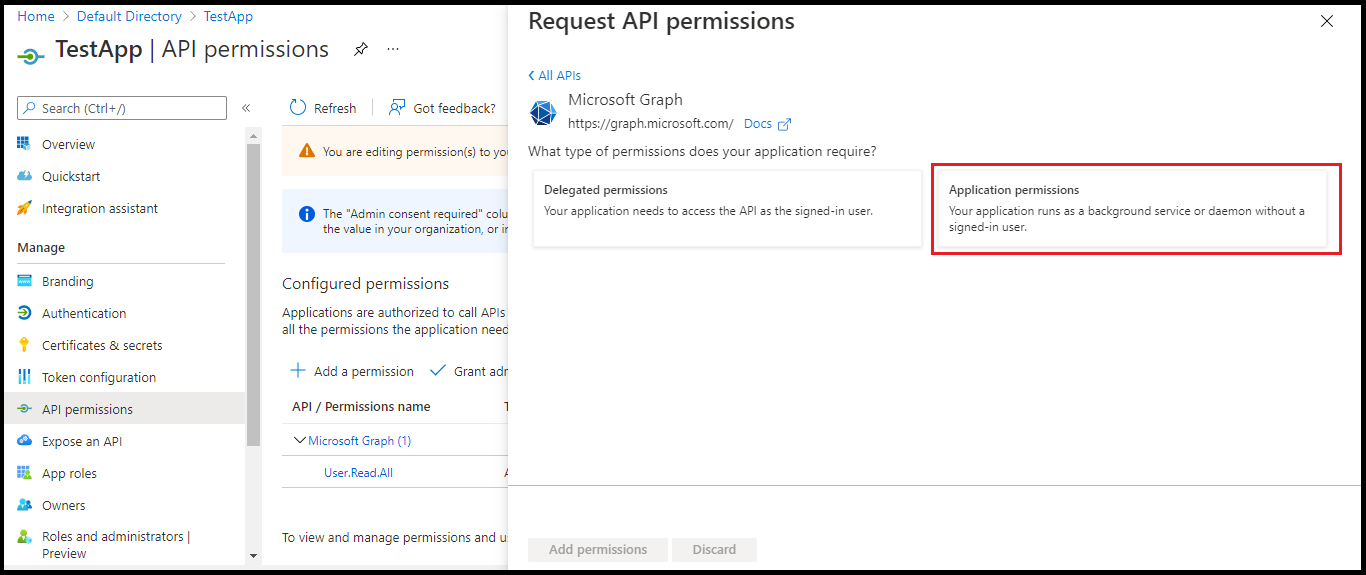
- Click Application permissions.
- Under the User tab, select User.Read.All permission.
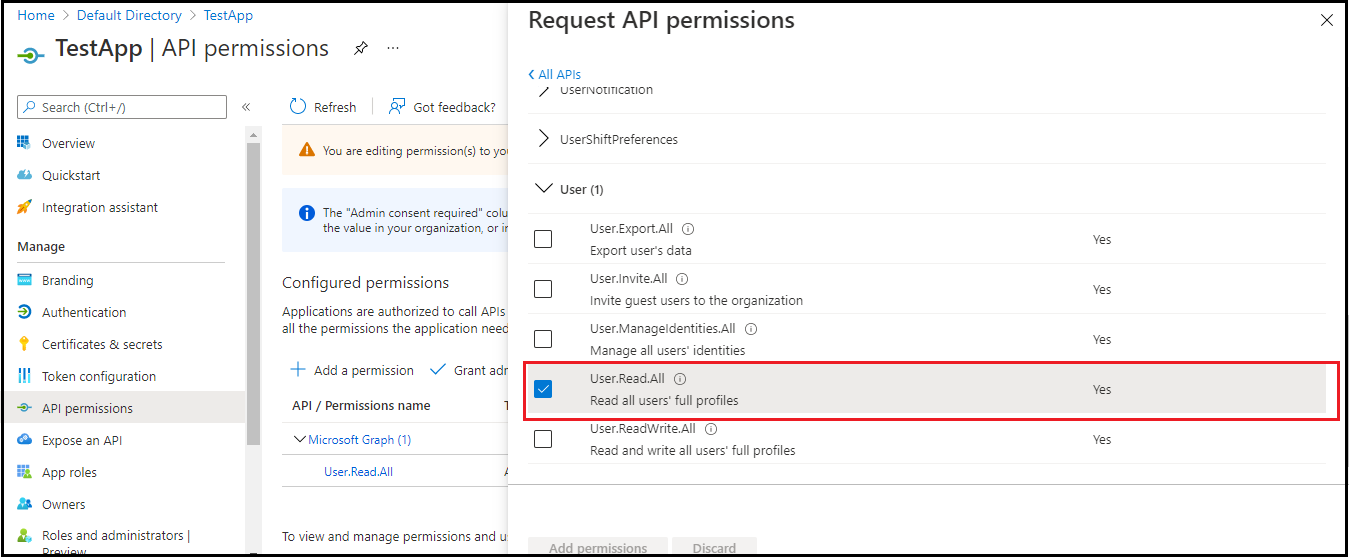
- Under the directory tab, select Directory.Read.All permission.
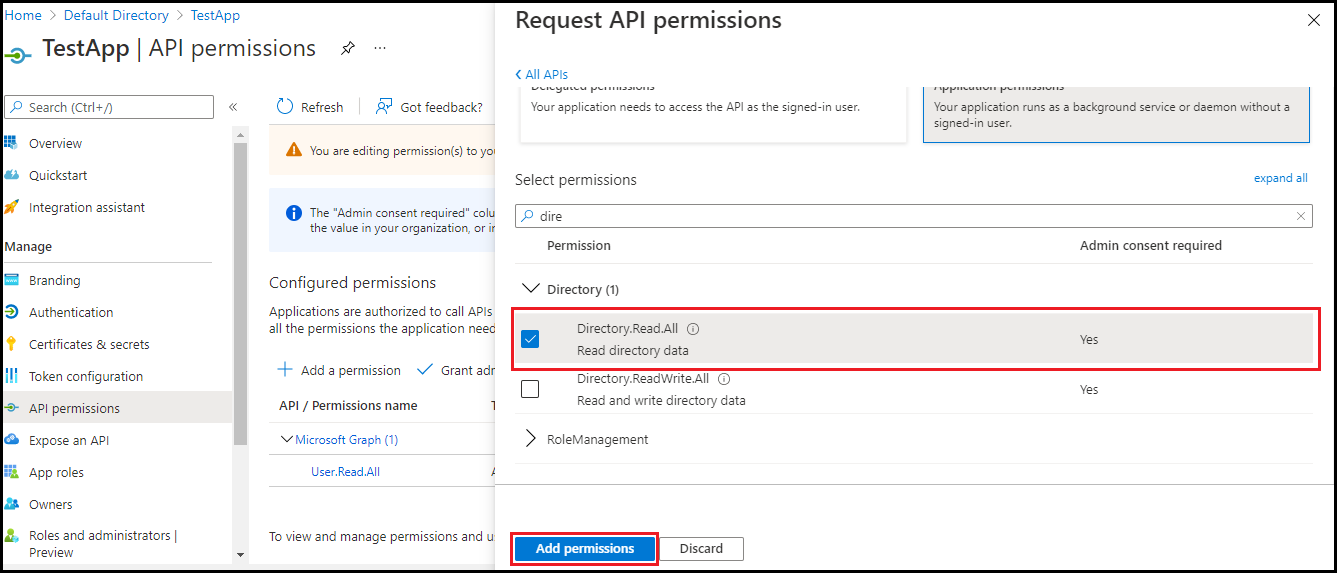
After selecting these permissions, click Add permissions.
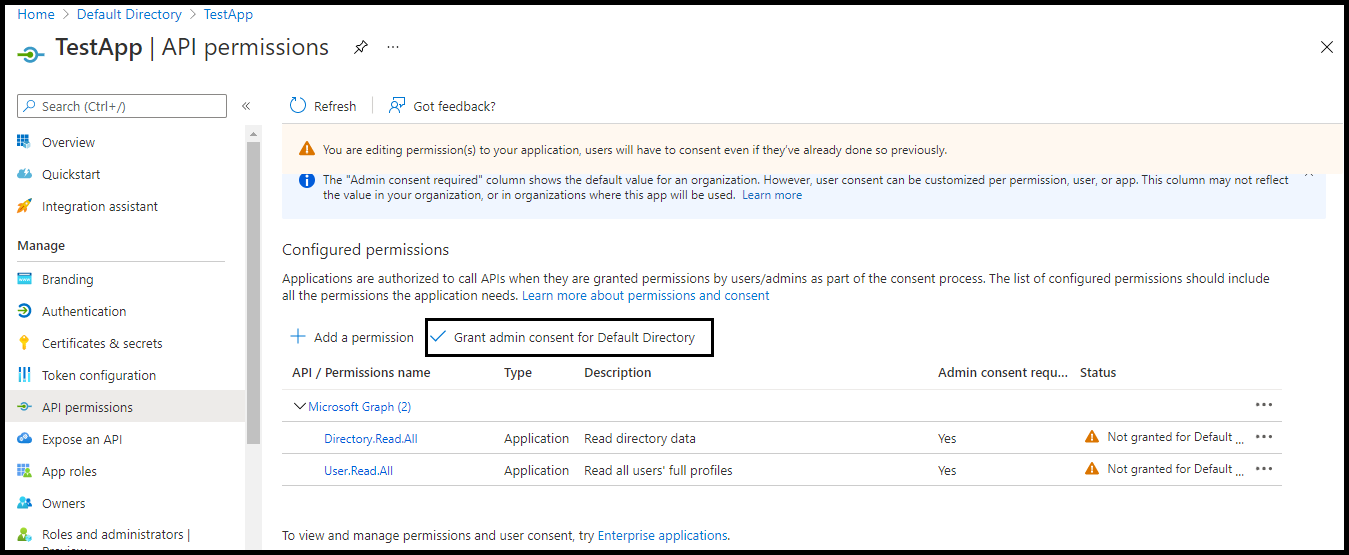
- On the API Permissions page, click Grant admin consent for Default Directory.
- Navigate to the Overview section of your Application and copy Application (Client) ID, Directory (Tenant) ID for future reference.

- Click Endpoints and copy OAuth 2.0 token endpoint (v2) for future reference.
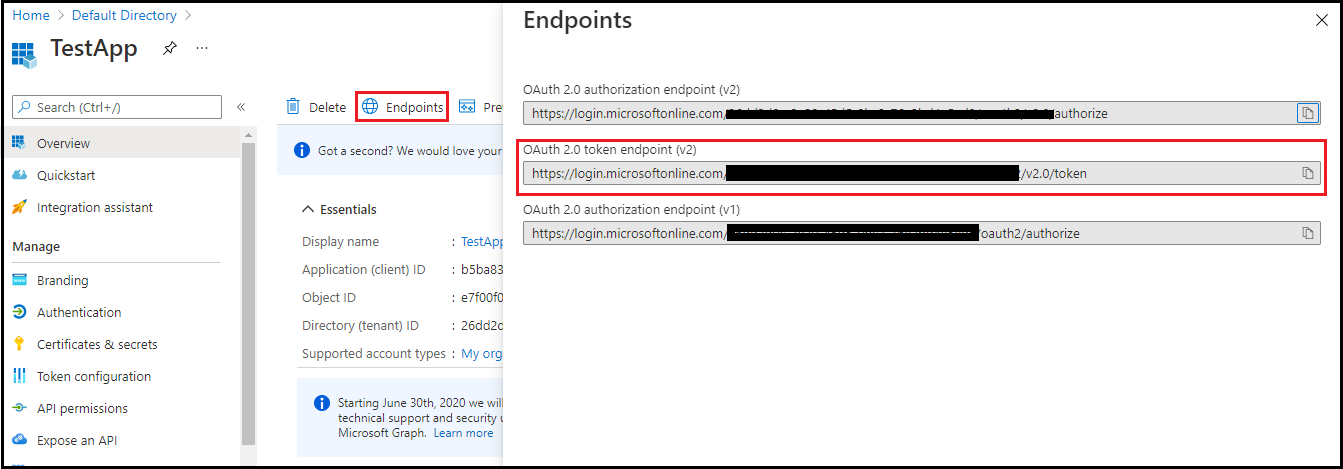
The Application (client) ID, Client secrets, OAuth 2.0 token endpoint (v2) are required for adding IdP during the onboarding process.