
On the User page, you can manage the users in the organization who have been added using the respective Identity providers from the Identity Providers (IdPs) section from Admin.
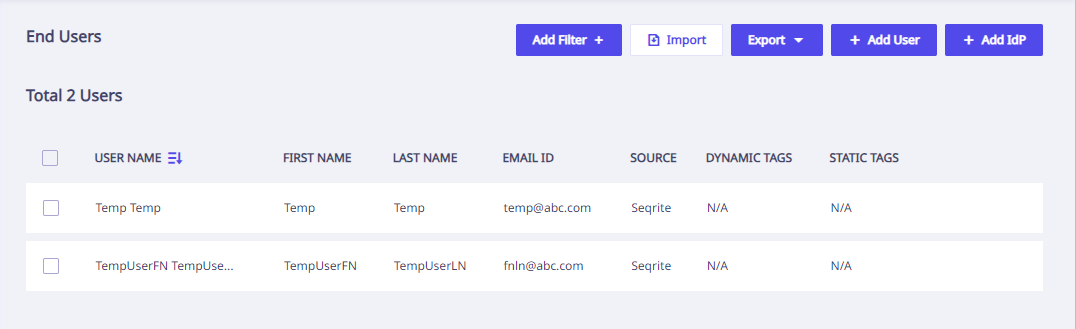
This page displays a list of end users along with the following user details,
| Column Name | Description |
|---|---|
| User Name | Username as per the IdP details. You can sort the users alphabetically by clicking on the icon present beside the User Name Label. |
| First Name | First name of the user. |
| Last Name | Last name of the user. |
| Email ID | Email ID of the user. |
| Source | The IdP Type through which the user has been added. |
| Dynamic Tags | Dynamic tags assigned to the user. |
| Static Tags | Static tags assigned to the user. |
When you click any user, the above information is displayed in the right panel as follows,
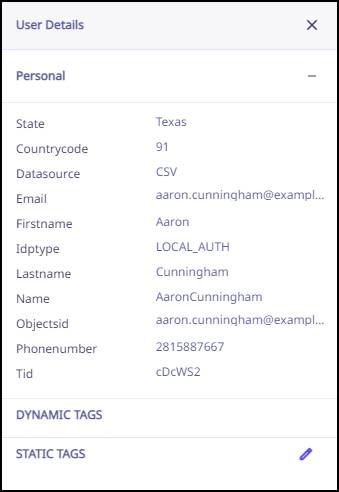
The pencil icon is available next to the static tags label. By clicking this icon, you can add new static tags for a particular user.
Actions Available with Users
The End Users Page offers a range of bulk actions for you to utilize.
- Adding Filter
- Importing Users
- Exporting Users
- Adding Users Manually
- Adding IdP
- Bulk actions: Select the checkboxes in front of the user names,
- to add static tags for the selected users.
- to delete the selected users.
- to send the installer link for the selected users.
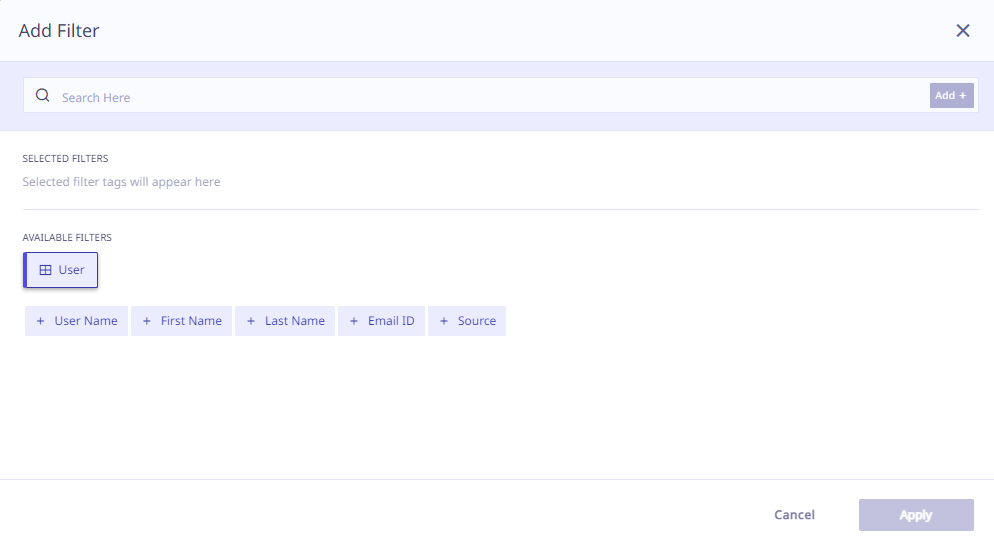
Adding Filter
You can filter or search the users by adding available filters as follows,
Importing Users
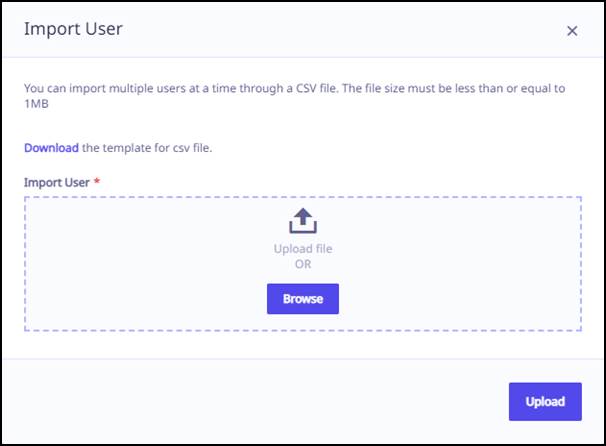
You can import multiple users at a time through a CSV file. The file size must be less than or equal to 1MB.
To import users, follow these steps:
-
On the End Users Page, click Import. The Import User dialog appears.
-
Click Browse and navigate to the folder containing the .CSV file. If you do not have the .CSV file ready, you can download the template file using the download link on the Import User dialog and then use the downloaded file as template to add new users.
Sample File

Note: ☛
Country codes and phone numbers will only be relevant for local IDP end users, and not for others.Note: ☛
Ensure that the user data is correctly entered in the .CSV file. Any file containing incorrectly entered user data will not pass the validation check during import process.Note: ☛
The email address must be a business email address. HawkkEye will not accept generic email addresses. - Select the .CSV file containing the users’ data.
- Click Import. After successful import, a success prompt is displayed. The import process takes place in the background and after completion you will be notified via email about number of users imported.
Exporting Users
To export the user data, follow these steps:
- Click the "Export" button located in the upper right-hand corner.
- Choose the Identity Provider (IdP) from the available options. Once selected, the associated Users List will be displayed.
- All users related to the chosen Identity Provider will be included in the export. After the export process is complete, a download browser pop-up will appear.
- Click the download link to view the exported file.
- The downloaded CSV file content is in the following format:

Adding Users Manually
To add end users manually, follow these steps:
- Click the “Add User” button located in the upper right-hand corner.
- Fill in the mandatory fields First Name, Last Name, Email Address, and Phone Number.
- Click “Add”.
- After successful addition, a success prompt appears, and the new user is listed on the End User Page. Users added manually will be linked to the Seqrite Identity Provider by default.
Adding IdP
To add Identity Providers (IdPs), refer to the steps outlined under the heading Adding IdP from the Admin Section.
Bulk actions
-
Adding static tags for the selected users
Select the users by checking the checkboxes in front of the User Name. Click Add Static Tag. The Add Static Tag dialog box appears. Add the tag and click Save. The tag gets applied to the selected users.
-
Deleting the selected users
Select the users by checking the checkboxes in front of the User Name. Select the delete option from the top drop-down and click Submit. A confirmation message appears. Click Delete and the selected users get deleted.
-
Sending the installer link
From the End Users Page, you can send a HawkkAgent installer link to multiple users. It is self-installation, as a user gets the installer link and can install the HawkkAgent. To self-install the HawkkAgents, follow these steps.- Select the users from the user list to whom you want to send the installer link. At the top of the user list, a dropdown appears. From that top dropdown list, select Send Installer Link.
- The ‘Select Product‘ dropdown list appears.
- Select the product and click Submit.
- The selected users get the installer link on their respective email IDs for the selected products.
- The user can download the package and install the product from the link received through the email. Once the installation is successful, you can see the device on which the product has been installed, on the Devices Page.
For detailed information on the installation process of HawkkAgent, refer to Installing HawkkAgent Section. It offers step-by-step instructions and additional information to ensure a successful installation.