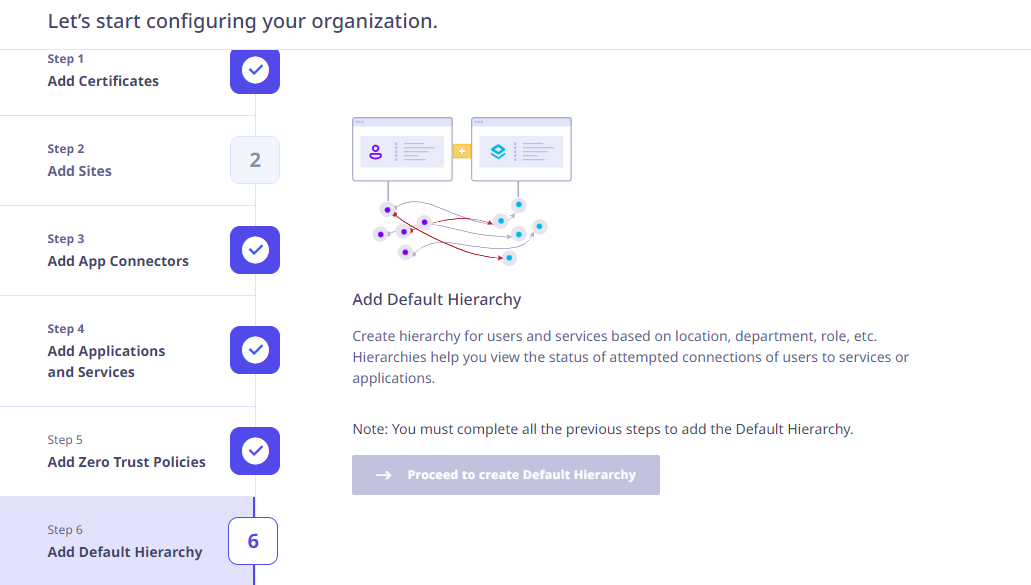
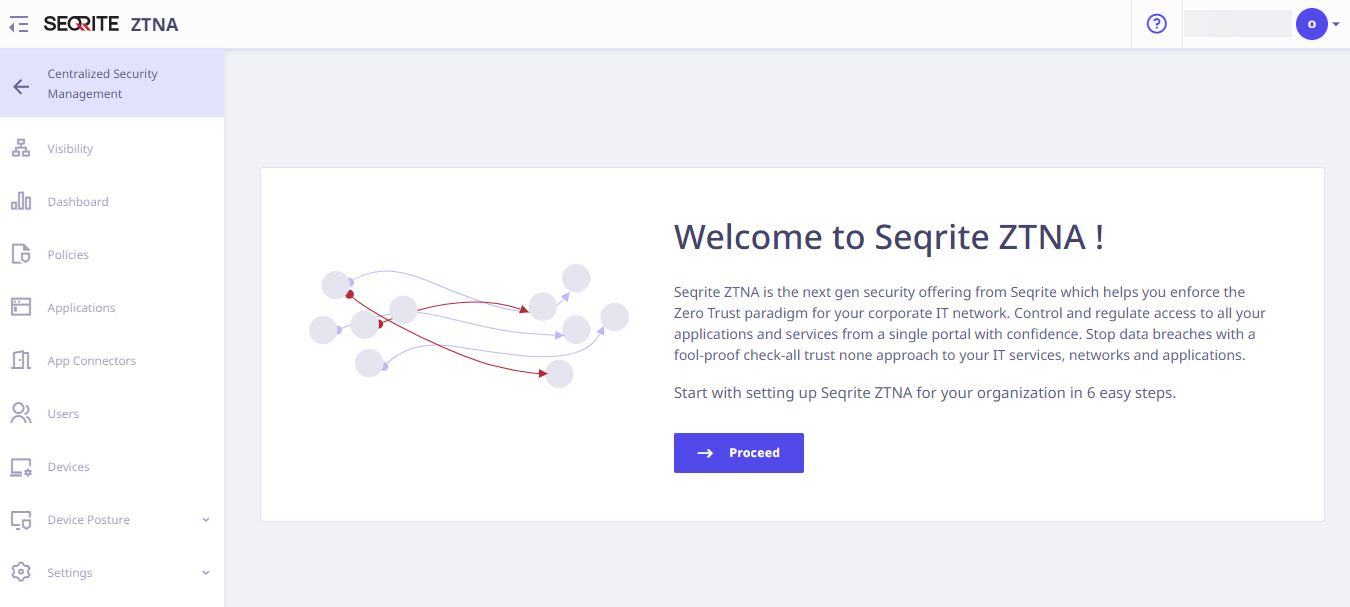
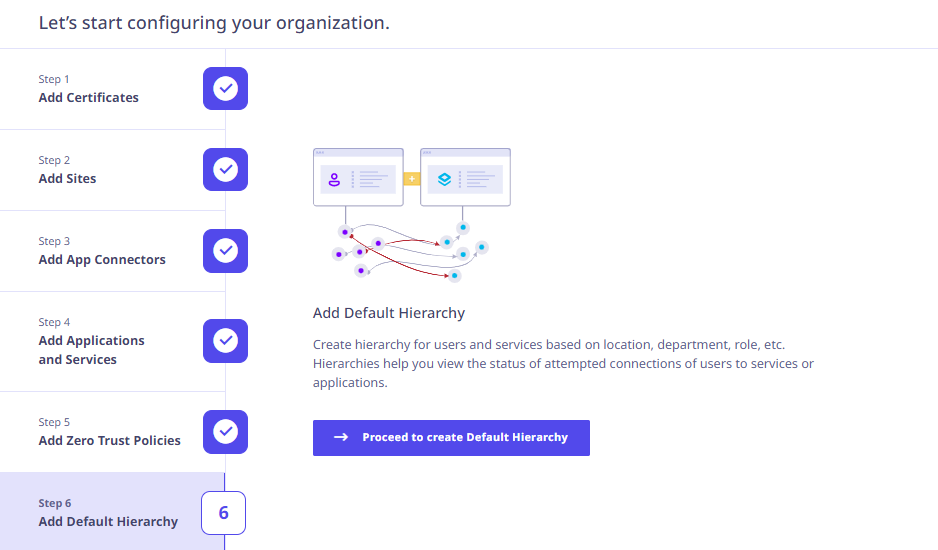
When you log on for the first time, a wizard appears to help the user configure their organization setup in Seqrite ZTNA. The complete on-boarding of Users, Applications and Services can be done in the following 6 steps.
- Add Certificates
- Add Sites
- Add App Connectors
- Add Applications and Services
- Add Zero Trust Policies
- Add Default Hierarchy
Click Proceed to start the on-boarding.
Adding Certificates
In this step, add a valid security certificate for your organization so that the connections between Seqrite ZTNA and application servers are secure and authenticated.
Select the type of certificate as required. Depending on your selection, follow these steps.
Note: To integrate the ADFS IdP type with Seqrite ZTNA, only a custom certificate can be used.
Adding a custom certificate
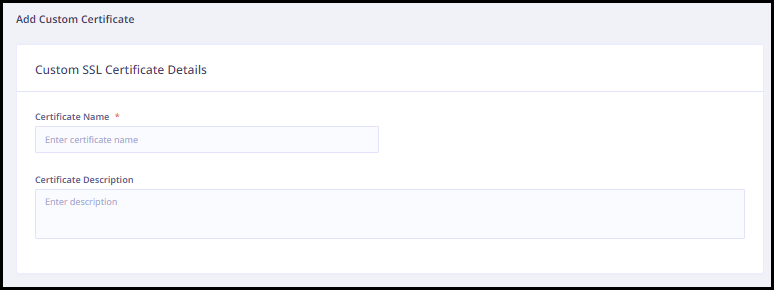
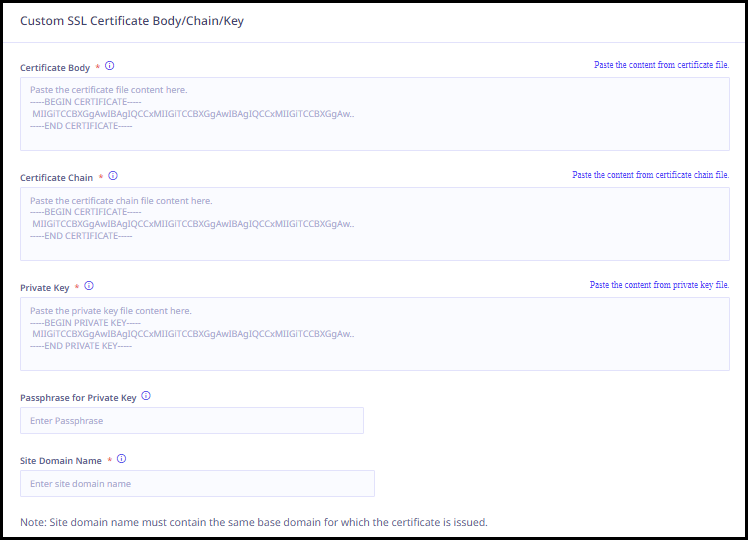
Enter the following certificate details.
- Enter the certificate name.
- Enter the certificate description.
- Paste the certificate body file content.
- Upload the certificate chain file. The certificate chain file is used if there are multiple entries in a certificate file.
- Paste the private key file content.
- Enter the site domain name.
- Enter the passphrase. A Passphrase is required for an encrypted private key file.
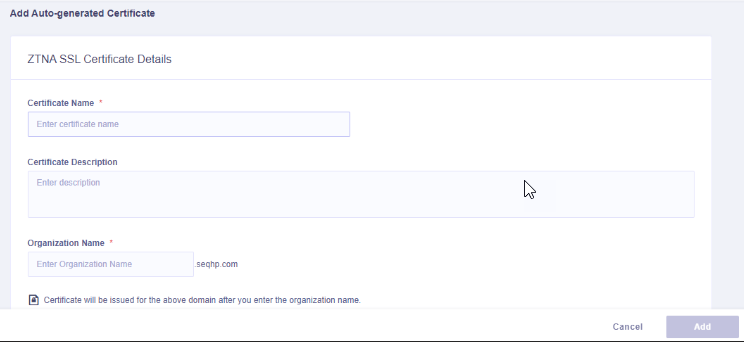
Adding an auto-generated certificate
Enter the following certificate details.
- Enter the certificate name.
- Enter the certificate description.
- Enter the organization name.
- Enter the site domain name.
After this is done, click Add Certificate. The Certificates page is displayed.
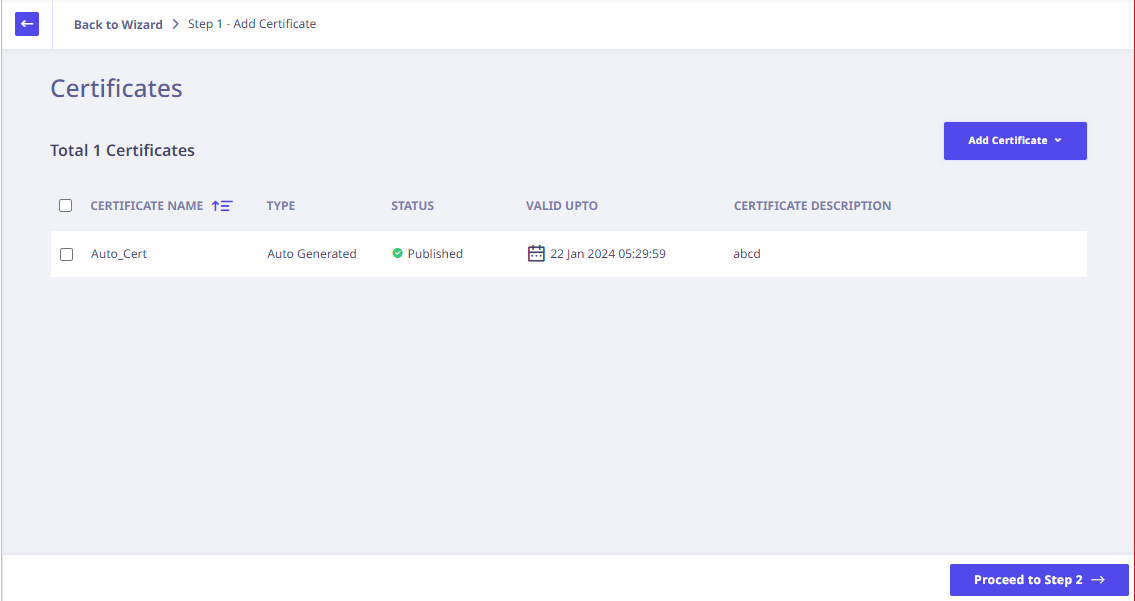
Click Proceed to Step 2. The Add Site dialog is displayed.
Adding Sites
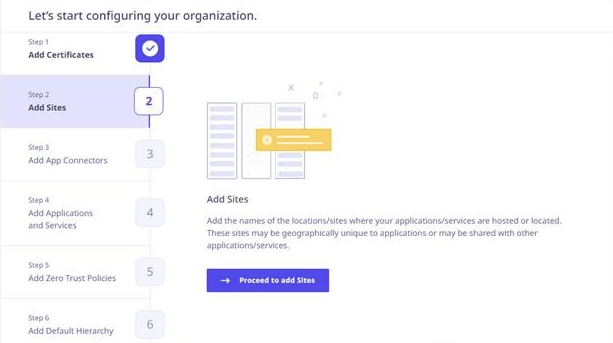
Click Proceed to add Sites. The Add Site dialog is displayed.
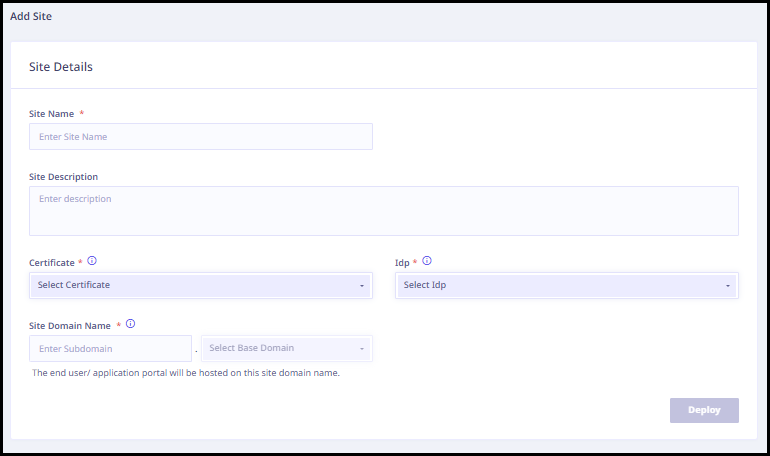
- Enter the following site details.
- Enter the site name.
- Enter the site description, if any.
- Select the appropriate certificate from the drop-down menu.
- Select the appropriate IdP from the drop-down menu.
- Enter the sub domain in the Site Domain Name textbox and select the base domain from the drop-down menu.
- Click Deploy.
-
The Site Deployment Live Logs pop up window appears as follows.
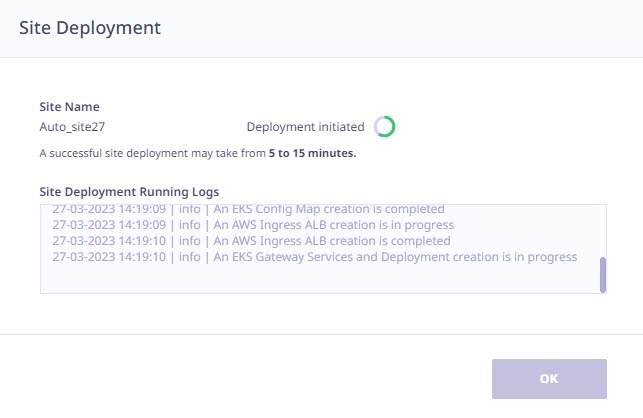
On this screen the Administrator gets to know the progress of the site deployment through the live logs.
Note: A successful site deployment may take from 5 to 15 minutes.
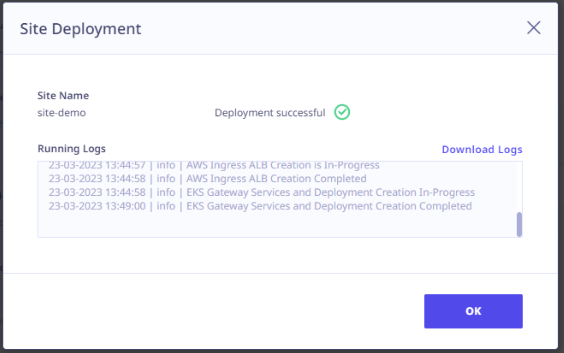
The ‘Download Logs‘ option becomes available after a successful site deployment, allowing the administrator to download the logs from that location. In the event of a failed site deployment, the ‘Download Logs’ option also appears, enabling the administrator to download the logs and share them with technical support for further analysis.
- Enter the sub domain in the Site Domain Name textbox and select the base domain from the drop-down menu. Click Deploy. If verification is successful, the DNS Addition form dialog is enabled.
- In the DNS addition section, perform the following steps.
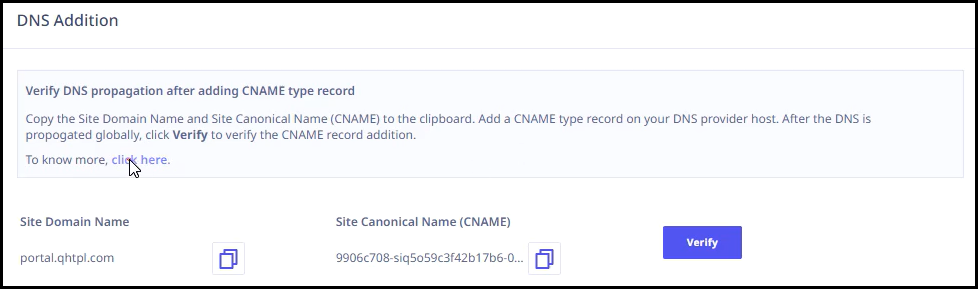
- Copy the site domain name and site canonical name (CNAME).
- Add a CNAME type record in your DNS provider host.
- After the DNS is propagated globally, click Verify.
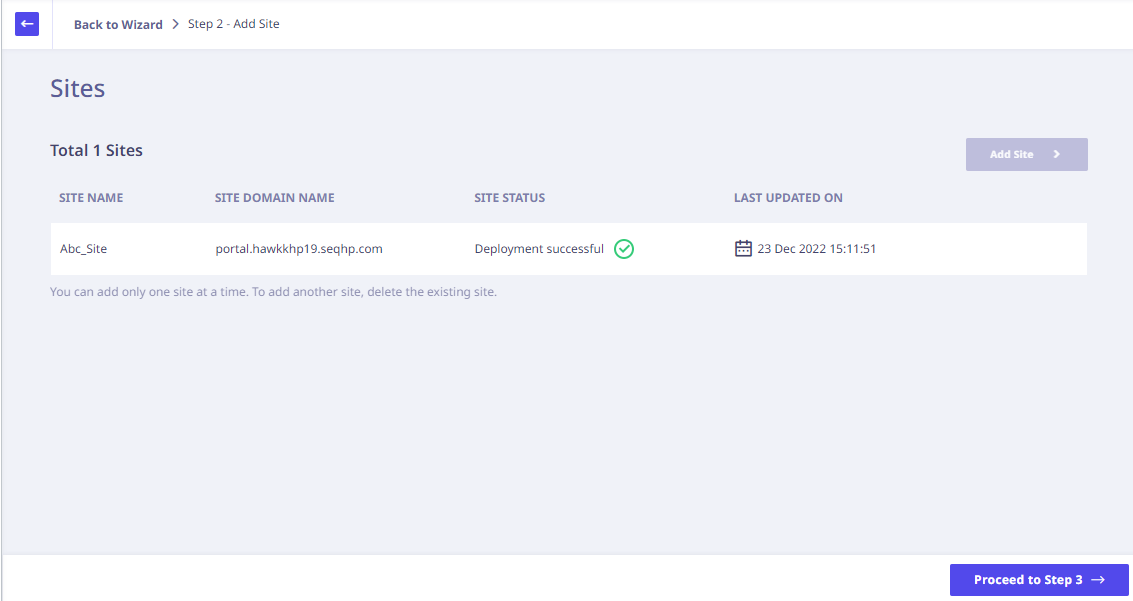
- After this is done, click Finish. The Sites page appears.
- Click Proceed to Step 3 for adding the App Connectors.
Once the verification is successful, the DNS Addition form dialog is enabled.
Note: The DNS addition is required only in case of custom certificate and not in case of the auto-generated certificate.
Adding App Connectors
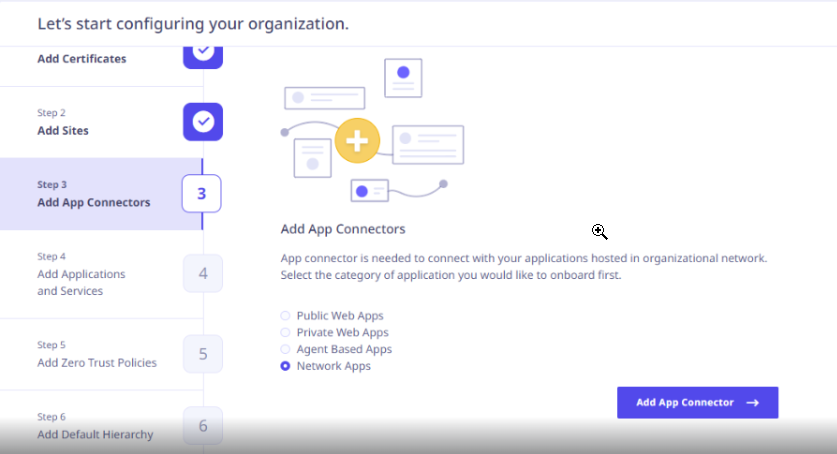
If you want to configure app connector later, you can select Public Web Apps and click Skip step 3.
Click Add App Connectors. The Add App Connector Deployment page appears.
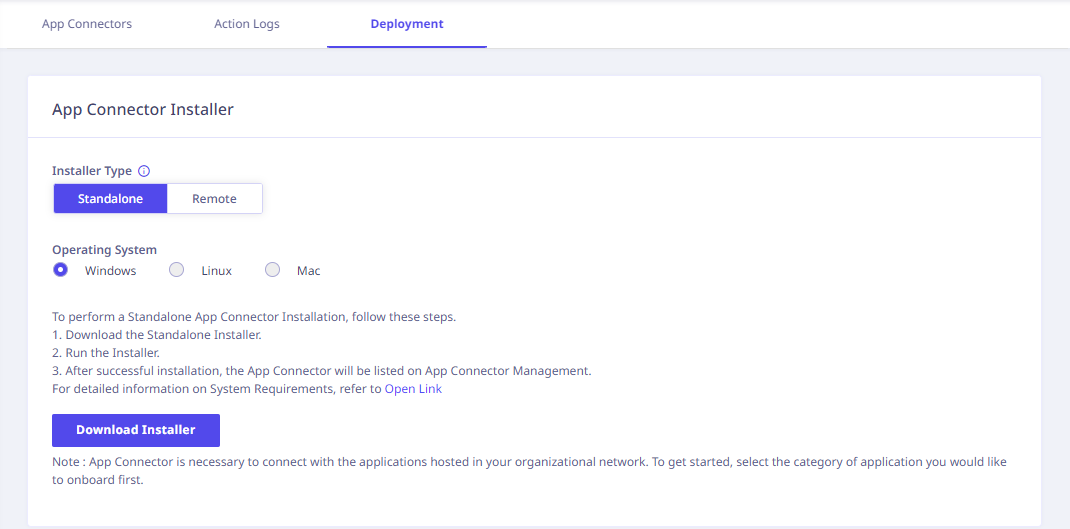
To add App Connectors, refer the details mentioned here. Post deployment, the App Connectors page displays list of App Connectors.
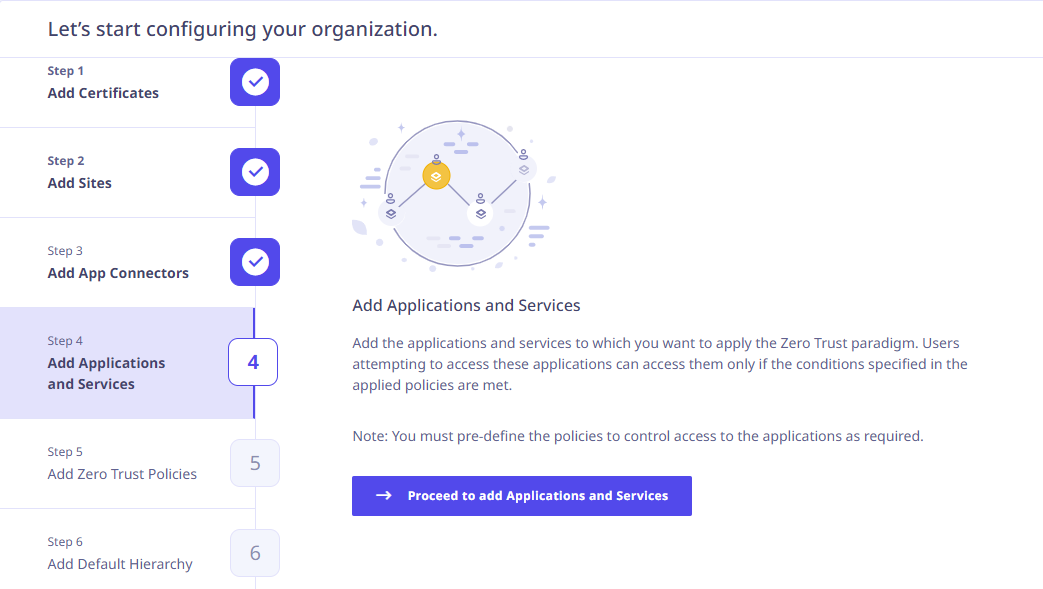
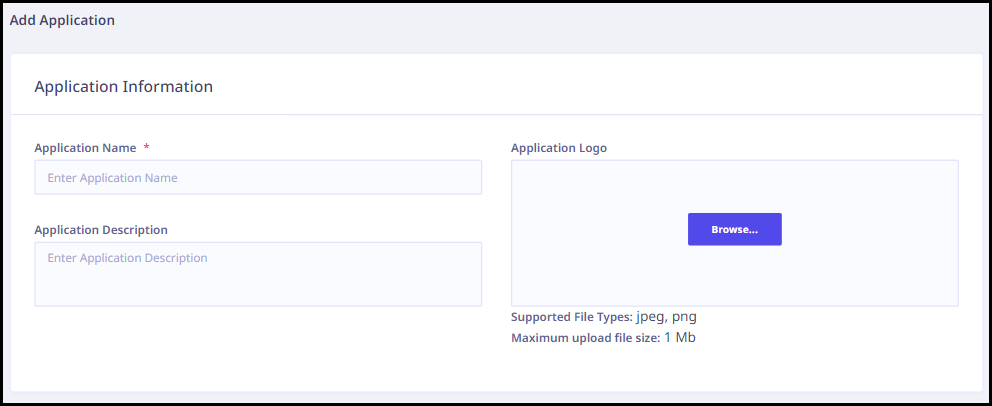
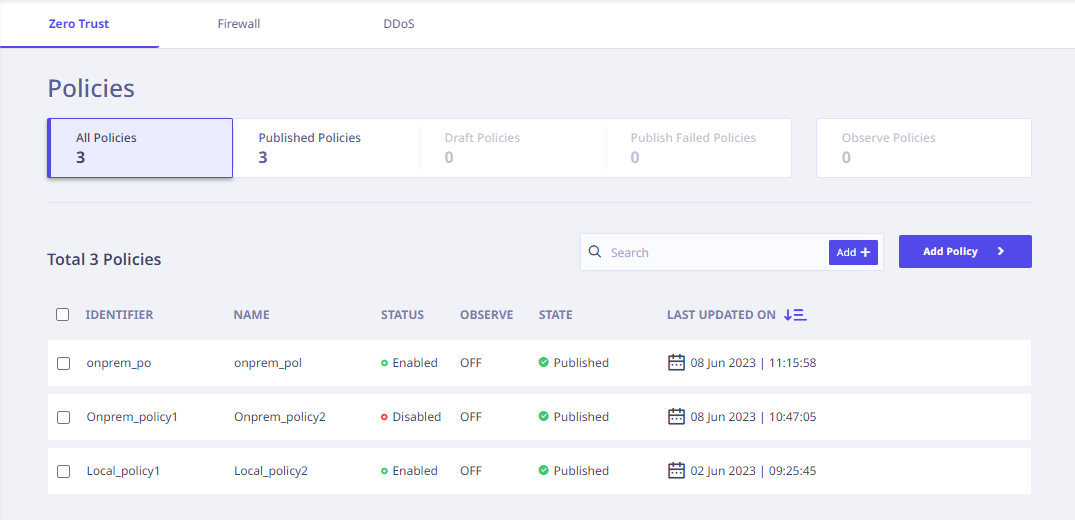
Click Proceed to Step NaN to start adding applications and services. Here, the tenant administrator must add the applications and services to which you want to apply the Zero Trust paradigm. Click Proceed to add Applications and Services. The Add Application dialog is displayed. Enter the following information in the Application Information section. Enter the following details and select appropriate options (wherever applicable) in the Application Details section. Depending on the application type that you select, relevant parameters are displayed. In this step, you must add the policies with the necessary conditions to access or restrict access to the applications. Click Proceed to add Zero Trust Policies. The Add Policy dialog is displayed. I. In the Policy Information dialog, enter the following information. II. In the Allow Rule dialog, enter the following information. III. Click Save as draft if you want to work on the policy later. Else, click Add Policy. By default, the Zero Trust Policies page with added policies is displayed. You can view the Firewall and DDoS Policies Pages by clicking the respective tabs at the top. Click Proceed to Step 6. The Add Default Hierarchy dialog is displayed. You can create the default hierarchy for users and services based on location, department, role, etc. Click Proceed to create Default Hierarchy. The Default Hierarchy dialog is displayed. You can enter the User and Service Hierarchy details as required. These details help you view the status of the attempted connections of users to the grouped applications and services. Enter the details as follows. In the User Hierarchy dialog, enter the following details. In the Service Hierarchy dialog, enter the following details. After entering this information, click Create. A success prompt is displayed for a successful configuration. You can now view the connections between the users to the applications and services on the dashboard.
Note: You can add and use a maximum of 6 hierarchy tags for each hierarchy. A maximum of 6 hierarchies (1 Default and 5 Custom) can be created in one workspace.
Click View Connections. This will open the Hierarchy view on the Visibility page.
Note:
Adding Applications and Services
Select one of the application types.
Adding Public Web Apps
Adding Private Web Apps
Adding Agent Based Apps
Adding Network Apps
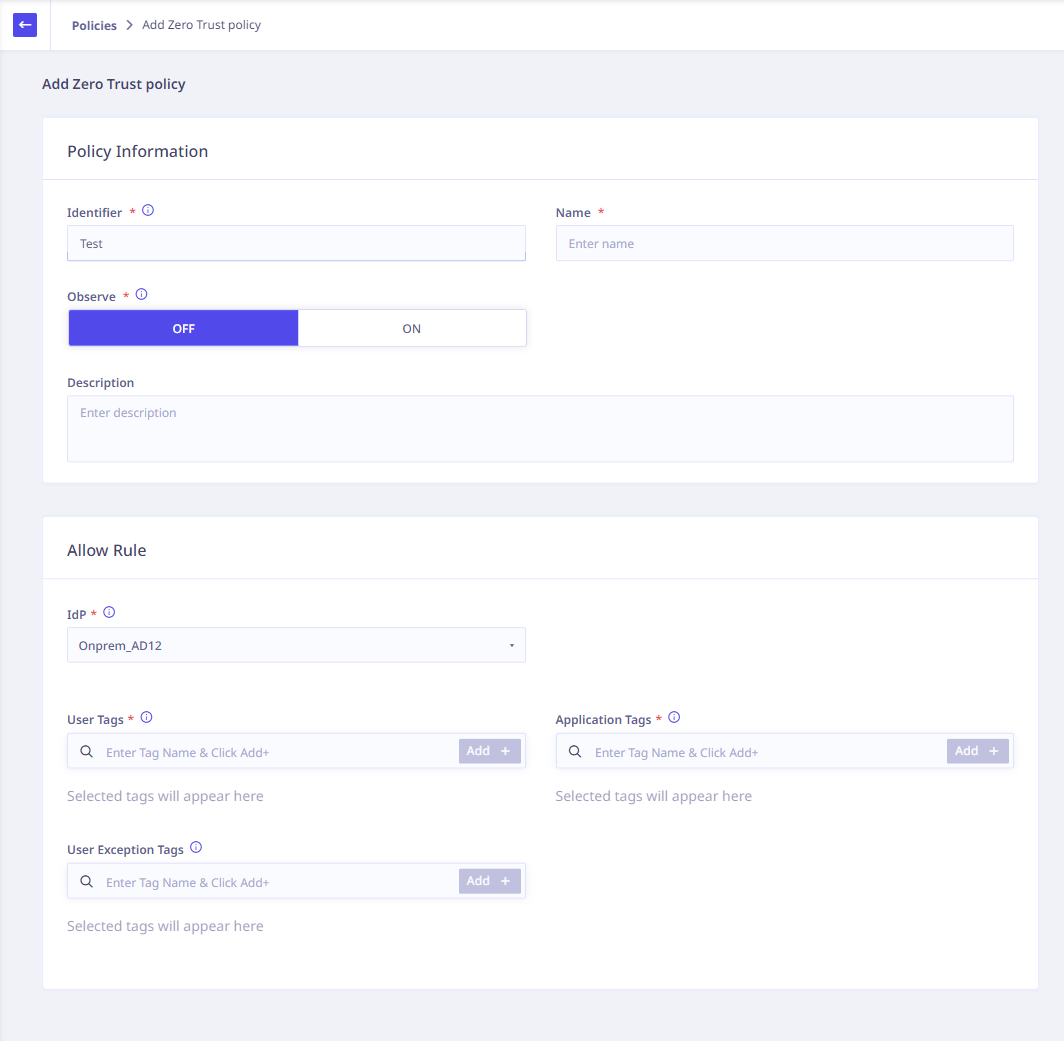
Adding Zero Trust Policies
Column Name
Description
Identifier
Suitable identifier for the policy.
Name
Name of the policy.
Observe
Shows whether connections allowed under this policy are being observed.
Description
Detailed description of the policy.
Column Name
Description
IdP
Select the appropriate IdP from the configured IdPs.
User Tags
Tags applied on the user from the configured IdP.
Application Tags
Tags applied on applications where the connection is received. Add specific tags here so that users will only be allowed to access applications which are configured here.
User Exception Tags
Based on connection requirements, these tags will exclude users to whom available source tags are applicable.
Adding Default Hierarchy
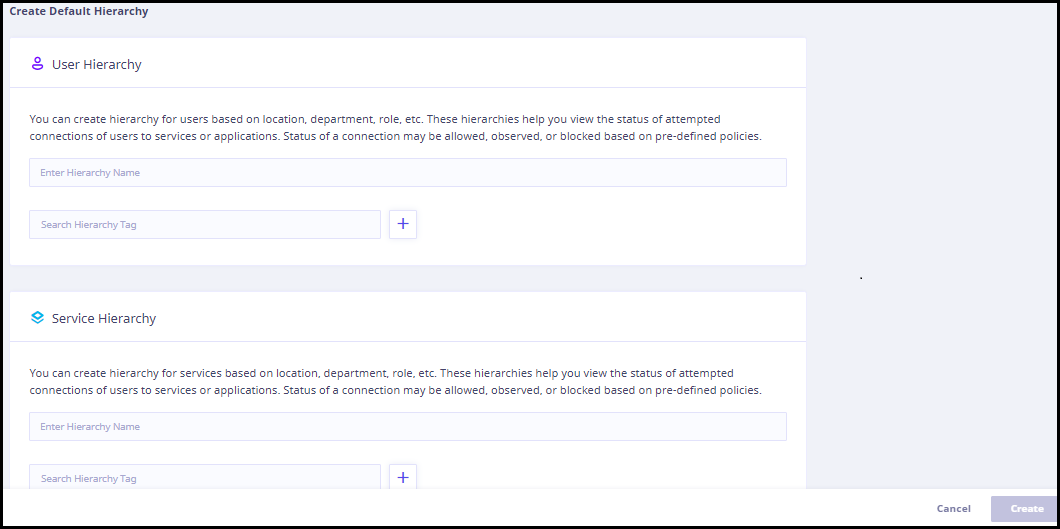
If you see the Proceed to create Default Hierarchy button disabled, you must complete all the previous steps to add the Default Hierarchy.